The fudge’s unique feature is the creamy, tenacious consistency, which might make you wonder whether you can freeze fudge? Many people who are making fudge at home by themselves often cook a large quantity.
However, unless you host plenty of guests, it cannot be easy to eat everything at once. On the other hand, putting it into the freezer and save some for later in the year would be great, but can you do so without losing its texture and quality?
Please read this article and find out how and why it is indeed possible to freeze fudge and be surprised how simple it is. Furthermore, find out how to preserve the consistency so that the pieces later will still melt in your mouth.

What Is Fudge?
Fudge is a popular candy that is either handmade or available to buy in almost every supermarket or candy shop. It consists of milk, sugar, cocoa powder of decent quality, butter, and some other flavors depending on the type.
It is very popular among children and adults, most likely due to the inexpensive ingredients paired with the fact that it has a more excellent appearance than standard cheap candies. Its shape makes them look similar to brownies, which results from the fact that they are produced on a tray and then cut into squared pieces.
Just like its simple appearance, fudge is rather straightforward to make. In fact, you can whip up this dessert in microwaves. With a few easy-to-find ingredients, foolproof recipes, and a few hours waiting for the fudge to set, you’ll have a melt-in-your-mouth dessert to indulge yourself.
Freezing Behavior Of Fudge
Before showing you how to freeze fudge, take a moment at this chapter below to understand which ingredients work well together when freezing.
Main Fudge Base
As fudge is a mixture of a couple of ingredients, one may wonder whether the candy is freezing similarly to plain water. If you have, for example, ever frozen a bottle of Coca-Cola, you might have noticed that the Coke syrup has separated from the water as it freezes a little later.
However, I can calm you down as you do not have to expect such freezing behavior from fudge. Its essential ingredients, which are milk, sugar, butter, and cocoa, should usually freeze all at a very similar point in time.
This means that the mixture will continue to look homogeny, and you will not be able to tell the ingredients. Nonetheless, keep in mind that if you add more elements to the standard recipe, such as flavors, or syrups, everything can change.
Especially syrups containing a lot of sugar and salty ingredients tend to take a little more time to freeze, which could then distort the picture. If you have used honey as an alternative to sugar, you may experience changes in the consistency also.
Furthermore, honey is crystallizing after a while, making the shelf life of fudge being made with honey even shorter.
Toppings
In addition to the base, there are also some issues with the toppings that can arise. For example, nuts embedded in the base will freeze without any problems, but if you have sprinkled some on the top of the fudge, they will eventually fall off.
The same will happen with pretty much any topping, as the top layer of the fudge dough will lose the sticky surface to hold the toppings onto it. Hence, if you want to use toppings, either work them into the fudge mixture or sprinkle them on top after defrosting.
Step By Step Guide To Freeze Fudge
I think this was enough knowledge on fudge. Now you are ready to follow the easy steps and correctly freeze your home-made fudge.
What You Will Need:
- Kitchen knife
- Aluminum foil or plastic wrap
- Air sealing freezer bag
- Self-sticking labels
Step 1: Preparation
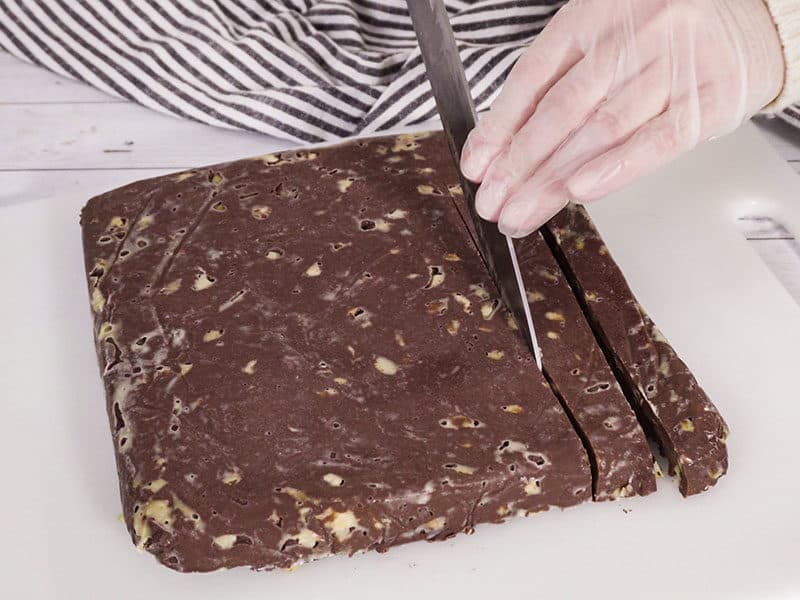
In most cases, your freezer is not big enough to freeze an entire tray. Even if it is not a good idea, as it becomes unhandy when defrosting it later. Hence, cut your fudge into pieces. The size of the elements depends on your preferences.
As a piece of good advice, smaller pieces defrost quickly later, and you will furthermore be very flexible, as you can take out only what you want to eat at that moment.
On the contrary, making too small pieces makes them relatively easy to dry out since there will be many surfaces in relation to the volume. I, therefore, recommend cutting squares of 2 inches as a good balance between flexibility and avoiding dry pieces.
Step 2: Wrapping
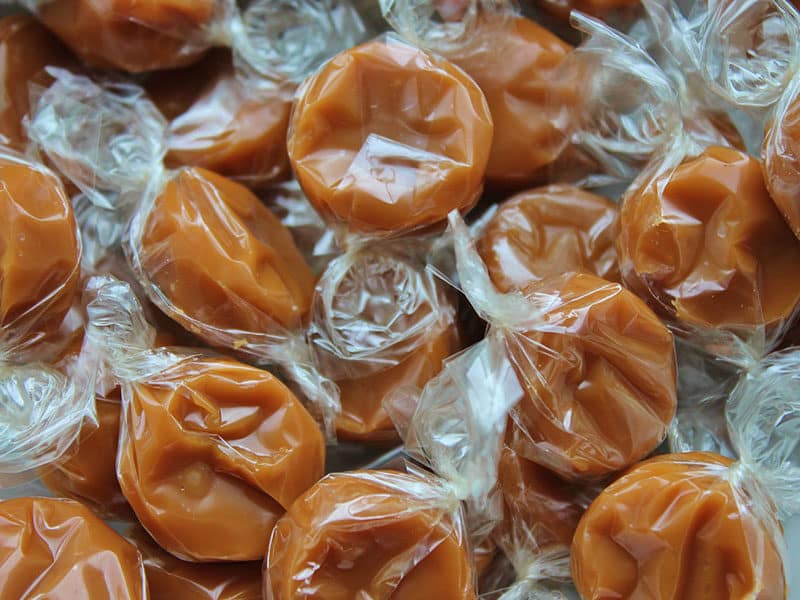
To avoid that, the pieces will stick together later, wrap each piece individually. Use a material that is as air sealing as possible, such as aluminum foil or plastic wrap. Actual paper, such as greaseproof paper, is not sealing, which will support the pieces to dry out.
As for aluminum foil, there are two main choices you can choose from: regular and heavy-duty aluminum foil. Because there are a few key differences between heavy-duty and regular aluminum foil, it’ll help to know these dissimilarities to decide which one is better for you.
Step 3: Freezer Bag
Once all pieces are wrapped, place them into a sealable freezer bag. As you can see, being airproof is very important, and those steps should not be neglected. If the bag gets too full, use another one for the remaining pieces, as it is essential to air seal the bag.
Remove as much air as possible before sealing and make sure that the bag cannot accidentally open by itself while lying in the freezer.
Step 4: Labelling
This may sound as being too ordinary, and you can skip it, but trust me, after a while, you will have a lot of different things in your freezer, and it is easy to lose track of what every package is and how long it is staying there already.
Maybe, over time, you are making different types of fudge, and with a label, you will always, Therefore, create a label where you state the ingredients of the fudge and the date you were cooking it. Ideally, you use self-sticking labels, but you can also take a standard paper and stick it on the freezer bag with tape.
Step 5: Storing
Try to find a flat space in your freezer. To protect other food items in there from actually warming up, try to move everything away and lay the fudge-filled freezer bag directly on one of the shelves or the bottom of a drawer. Once the fudge is fully frozen, you can place other things on top of it again. It will take between six to 12 hours for the fudge to freeze fully.
How To Defrost Frozen Fudge Afterward?
Freezing fudge the right way is just half of the journey. When the day comes, and you want to eat it or offer it to guests in your house, you need to pay attention to a few things again to make sure you will retain the taste and consistency and hide from your guests that it was frozen.
What You Will Need:
- Space in your fridge
Step 1: It’s All About Time
Fudge does not like to have the environment temperature changing too quickly as this can deform the texture. Therefore, plan a bit of time and start the thawing one to two hours before you need them.
Step 2: Use The Fridge
Take the freezer bag out of the freezer and place it into the fridge first. Keep the bag closed and sealed thereby. Keep the candies for at least 30 minutes, ideally, however, for two hours in the refrigerator to help them adjust to the warmer climate.
Step 3: Serving
Take the freezer bag out of the fridge and take all pieces out. If it is a warm day, you may want to keep the aluminum wrap around them, as the moisture of the air will immediately sit on the pieces. Hence, it can be a good idea to unwrap them right before you eat them.
If you have an air-conditioned home, you can unwrap them before serving and place them on a serving plate. Try not to put too many layers above each other as they could still stick a little.
Serve them together with cookies, savory sandwiches dishes, milk, coffee, and delicious turmeric tea, and your guests will feel like on a traditional British afternoon tea ceremony.
How Long Can Fudge Be Stored?
Below you can quickly see and compare the shelf life of fresh, home-made, and bought fudge.
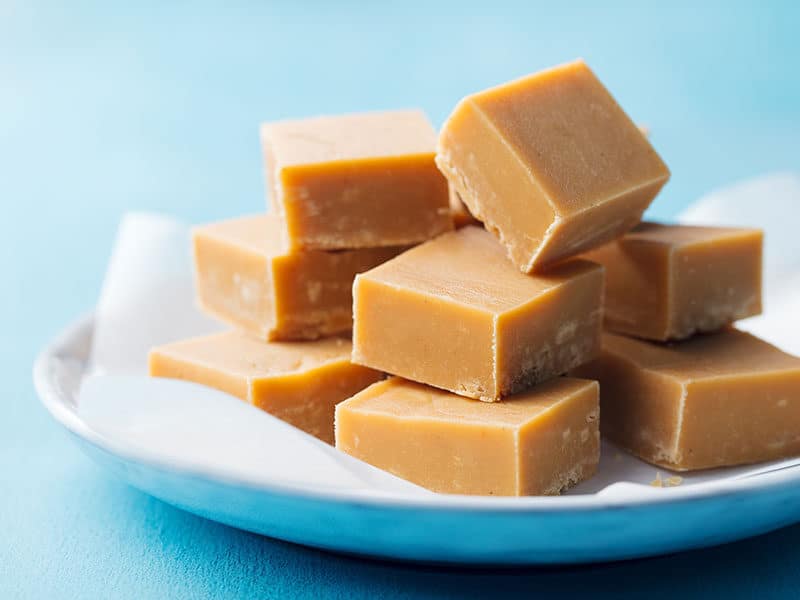
Fresh fudge, stored without any packaging or in a wrapping that allows air to pass through, you can keep it only for a maximum of two days. If, however, you store it in an airtight box, you can keep it at room temperature for about seven to 14 days.
However, avoid exposure to the heat of more than 22 degrees C (72 degrees F) as well as direct sunlight.
If you store your fudge in the fridge directly after making it, then you can keep it for two to three weeks, provided that you are using an airtight container as well.
If you want to store it even longer, you have to freeze it, using the steps above, allowing you to keep it for up to one year. If you plan to freeze it, put it in the freezer directly after making it. Old fudge will not taste well anymore if frozen.
Pro Tips From A Chef
To be on the absolute safe side, follow these few tips from master chefs creating fudge almost every day.
Avoid Drying Out
Fudge is only tasty if it has that typical consistency, which will get lost if it dries out too quickly. Therefore, try to be quickly already when making it and make sure you have all ingredients prepared so you can smoothly jump from step to step.
Once done, immediately get started with freezing and only keep a few pieces outside, which you are planning to eat the same day.
Avoid Ingredients With Water
If you want to freeze your fudge, ditch ingredients which contain water, such as fresh fruit. The water will freeze first and change the texture of the fudge, which will ruin the taste.
Maybe it has happened to you that some fruit got stuck to the back wall of your fridge and has become frozen. You always can recognize a change in texture, as well as a loss in taste.
How To Recover Changed Consistency
If it has happened that the consistency changed during the freezing process, take extra time with defrosting. Keep it in an air-tight package in the fridge for a couple of hours, until it has fully defrosted. Observe if the different ingredients merge together again.
If this does not help, you can unwrap all pieces and throw them into a tray (ideally a small one that fits the size of the pieces. Place the tray in the oven and slowly warm it up, until you can mix all ingredients around. Take it out of the oven and place it back in the fridge until the fudge will stay in shape.
Expectations Vs. Reality
While the detailed step-by-step guide from above has a very high success rate, your recipe may differ from the one I have used, and so could your freezer. For example, automatically defrosting freezers tend to dry out food.
If you have such a freezer, I recommend consuming your frozen fudge within three months, as the longer, you will keep it, the dryer it may become. Also, if you plan to freeze fudge, avoid using too many different ingredients.
The more ingredients you use, the lower is the chance to find a common freezing point. As explained above, if different components freeze at other times, the consistency will change, and your fudge will lose in taste.
If you were successful, I would be delighted if you can share a comment with the other readers and me. Maybe you even have some advice that is not yet mentioned here. Good Luck!


