Can you freeze rotisserie chicken? Well, before getting to that, I’ll walk you through every necessary detail like: “Why should you do it?”, “How to do it properly?”; etc. From that, you’ll learn and have the best answer possible.
Additionally, remember that knowing how to freeze your rotisserie chicken is money-saving and practical. Why? Time to start answering each & every question of yours.
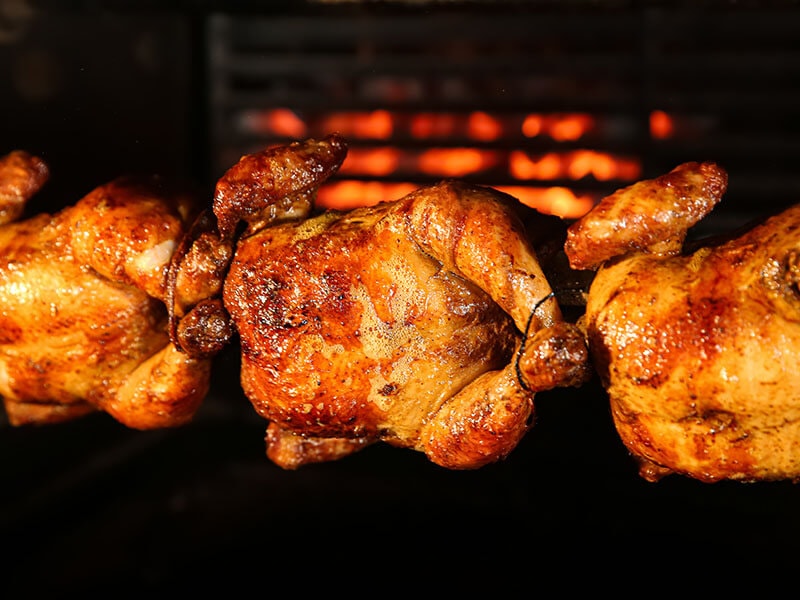
What Do You Need To Know About Rotisserie Chicken?
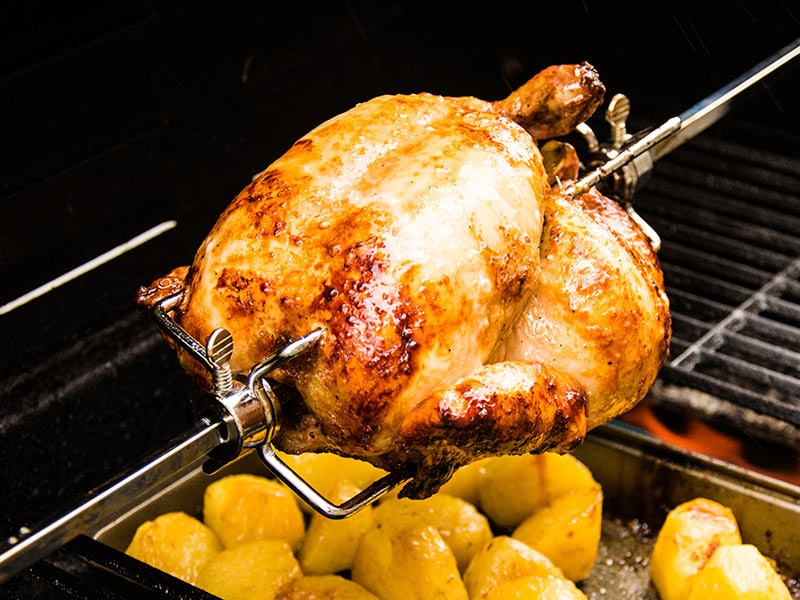
It is a chicken dish that uses a device for hanging and rotating the chicken close to the heat, the technique called “rotisserie.” It is not too hard to find a good rotisserie oven or a high-rating air fryer with a rotisserie feature in the marketplace.
Moreover, what makes the chicken a favorite is you can always buy it at any store. It might be fresh-cooked, already-seasoned, and it is also inexpensive.
Furthermore, they’re rich in protein, especially in the breast part, and provide enough Vitamin B12, phosphorus, and zinc for your body. However, the always-ready-to-use condition of this dish raises the question of how to preserve them correctly.
Why Should You Freeze Your Rotisserie Chicken?

The first thing you should do after buying a rotisserie chicken is to freeze it, or you can eat it right away. The benefit of freezing food is saving money since you’re unable to consume the whole thing, or you want to keep the chicken for another meal.
That’s why you should freeze the leftovers and use them later. There are several leftover rotisserie chicken ideas that you can prepare with ease.
Secondly, it’ll be sufficient to freeze your rotisserie chicken immediately when you get home. By doing that, you can preserve the chicken’s nutrition and initial flavor without worrying about it going bad.
How To Freeze Your Rotisserie Chicken Appropriately?
I guess you’ve been waiting the whole time for this, right? Eating your chicken is a piece of cake, but freezing it is another story. Since you want to know the instructions for freezing your rotisserie chicken, I’ll reveal the secret now!
For more information, if you do not know whether freezing fried chicken is acceptable or not, it is pretty similar to freezing rotisserie chicken.
| Condition | Storage life when frozen |
| Cooked (pulled) Rotisserie Chicken | 3 months |
| Uncooked Rotisserie Chicken | 4 months |
| A Whole Rotisserie Chicken | around 1 year |
Cooked Rotisserie Chicken

For cooked rotisserie chicken, you only need to understand how to cool it down properly without burning your hands, how you should divide it, what tools are necessary, and that’s enough.
The reason is the rotisserie chickens you buy at supermarkets, street vendors, or grocery stores are super hot. You can even see the visible steam blow from your chicken, so be careful while freezing those.
Step 1: Cool Down Process
You should leave your chicken to rest until it cools off, be patient and naturally let it cool down to room temperature. Once you touch it and it’s warm enough, get your hand on the next step – removing the meat or deboning.
Step 2: Cutting & Dividing
You should chop a whole chicken into small portions or just simply twist off its thighs and wings. Actually, that’s enough for the dividing steps. However, I suggest you remove the meat while it’s still warm because that’s just effortless work.
And with the meat falling off like that, you can gather them more easily. Moreover, you can divide those meats into suitable portions for your future meals. Since film-wrapping those portions is optional, you can do that to control meats sticking together in the freeze
I’ve got a great trick to divide your chicken appropriately. Try out now!
Step 3: Put In Air-Tight Container Or Ziplock Bag
So air-tight and high-quality freezer containers or ziplock bags are just for one final purpose – preventing your chicken from freezer burn. And just a heads-up, if you see your chicken turn out to be tough-textured, discolored, and have ice on the surface, it’s got a terrible freezer burn. (1)
Freezer burn is when your chicken has no moisture inside, and don’t bother thawing them cause they will be tasteless, and the texture is just messed-up.
Step 4: Put In A Cool Compartment
The cool compartment has the perfect temperature to help your chicken adapt to the later coldness of the freezer. And the fact that it can keep the congealed marinated sauce in the freezer bag from affecting the taste and fragrance of your chicken.
So remember to leave your rotisserie chicken in the cool compartment overnight to avoid that situation happening.
Step 5: Store Your Rotisserie Chicken In The Freezer
Well, last but not least, the freezer compartment. Arrange those bags of chicken nicely and flatly on the freezer’s tray because you don’t want to see them being adhered together.
Keep in mind that you can freeze it for up to 3 months from purchasing day, but after that time, no quality or safety is guaranteed.
Uncooked Rotisserie Chicken
Obviously, there’s no “uncooked” rotisserie chicken; I’m talking about how to freeze a raw chicken that you tend to use for your rotisserie dish. With raw chicken, things are the same but less complicated.
You do the same steps as the cooked version but wash your chicken first for hygiene and food safety. And skip the cooling process since they’re raw, right?
Furthermore, the deboning step could be really tricky, which requires tools like knives and scissors. This step is optional because you can leave the bone like that. Either way is okay.
In short, you’ll have to do these four steps:
Step 1: Cleaning
Wash them with salt and water to get rid of those bacteria.
Step 2: Cutting & Dividing
Cut and divide the same way you did with cooked chicken.
Step 3: Ziplock bags
Put them into ziplock bags to prevent freezer burn.
Step 4: Freezing
Throw them in the freezer compartment since they’re fresh and raw. Also, they could last up to one year. (2)
A Whole Rotisserie Chicken
Well, a whole rotisserie chicken requires a huge zip-lock bag, but every ọther step remains the same. Buy a large enough ziplock bag for a chicken, and put it together with all of the marinated sauce in the bag. After you zip it tight, simply place the bag in the freezer.
Don’t worry about anything. The nutrition inside will remain throughout the freezing process, and the taste will maintain as delicious as you bought it. Here are the instructions for freezing a whole rotisserie chicken.
Step 1: Cooling down
Leave your cooked rotisserie chicken in the fridge overnight to cool it down and help it adapt to the cold temperature better
Step 2: Ziplock bags
Find a large enough ziplock bag for a whole chicken, leave no air inside to prevent your chicken from freezer burning.
Step 3: Freezing
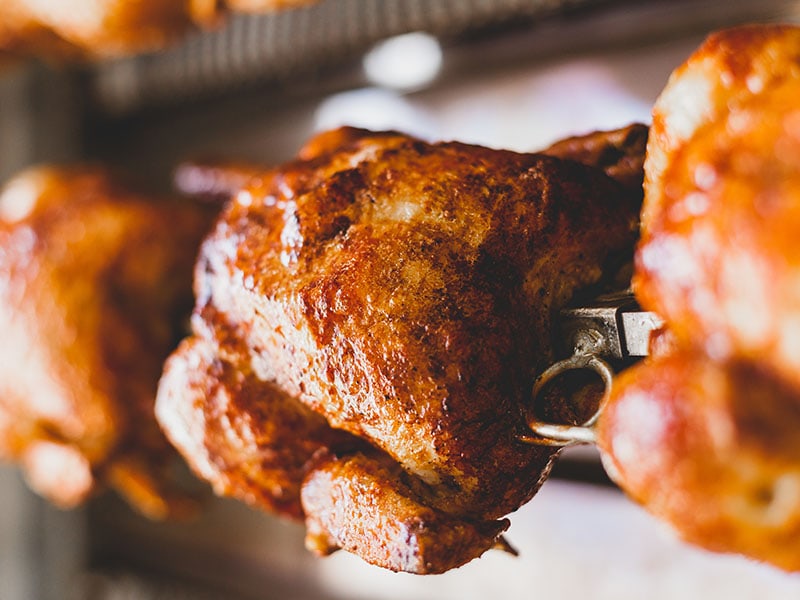
Place the whole thing in the freezer, and remember that it could last up to 4 months or even more.
How Long Can You Keep Your Rotisserie Chicken In The Freezer?

It seems relatively long for a frozen chicken to still taste good, doesn’t it? It turns out that your frozen chicken still stays at their best quality, and I emphasize “best quality.’’
Surprisingly, your chicken will be safe in the freezer for a really long time insofar as you can eat it despite the package expiration. I think this logic works perfectly for your rotisserie chicken of any kind.
What You Should Know About Thawing Frozen Rotisserie Chicken
Thawing is a necessary skill that you should know since it will help you recover the initial state of your chicken without ruining it. Thawing is just as significant as freezing when it comes to financial math. Once you fail in thawing a frozen chicken, you lose your money.
Microwave Thaw
It’s fast and convenient; using the microwave for thawing your chicken can’t get any simpler since you just need to push a button and wait for the result.
Step 1: Remove Package
This step only arises when you buy a frozen rotisserie chicken from the supermarket. If you don’t, just transfer your chicken into the microwave.
Step 2: Flip Or Turn It Evenly
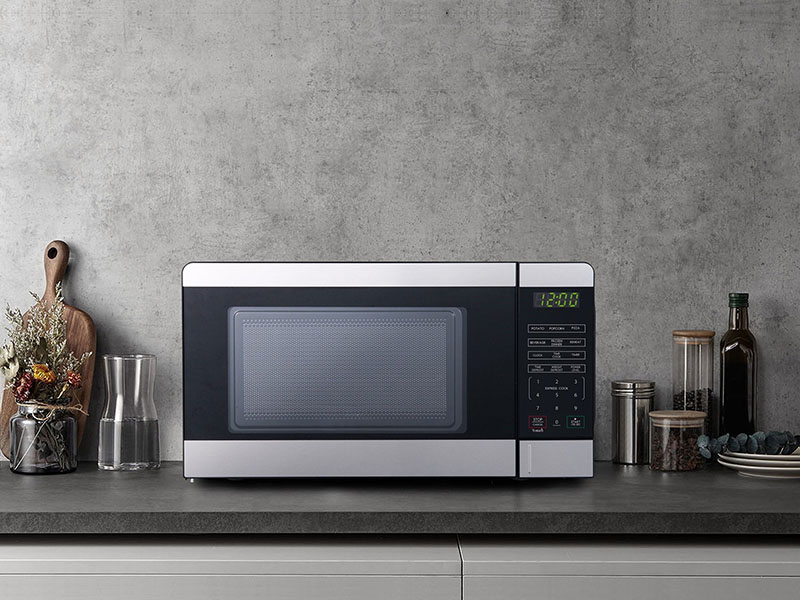
After choosing the defrosting setting, leave them for 6-8 minutes in the microwave. Remember to check on it regularly to see if the skin is softened with no ice on the surface.
Refrigerator Thaw
If you’re not in a hurry, the refrigerator is a better way to thaw your frozen chicken. This method will slowly return your chicken to its original state without overcooking them from the outside like a microwave.
Step 1: Have A Plan
Refrigerator thaw requires you to have a plan since it takes longer to thaw your chicken, maybe a day or two. So if you misplan your schedule, you could accidentally ruin your rotisserie chicken meals.
Step 2: Leave Your Frozen Chicken In The Cool Compartment
A few hours for your small portions of chicken, but if you have a whole bird waiting for you to be defrosted, leave it overnight or around 24 hours in the fridge.
Water Thaw
This method is the most reliable way if you have time in your hand. Water thawing could take up to 3 hours to fully soften 4 pounds of chicken. Besides, you have to keep changing the water to quicken the process.
Step 1: Prepare Cold Water
Throw a whole bag of chicken into cool tap water and try to keep your chicken submerged for the best result.
Step 2: Change Your Water Periodically

After every 30 minutes, check your chicken and change the water. Anyway, the process should be long and require your patience. It depends on the amount of your chicken; 500 grams would take one hour, and the larger, the longer.
How To Reheat Thawed Rotisserie Chicken?
Well, reheating is a less-difficult work, so if you have an oven or a microwave at your home, that’s all you need for this step. It’s quick and easy to reheat with a microwave, and an oven restores the quality that you expected.
In The Oven
The oven is the ideal device to reheat your frozen rotisserie chicken, especially when it comes in large size. Using this device is also a good way to keep your rotisserie chicken warm.
Step 1: Preheat The Oven
Having your oven warmed up for a better-reheating process is necessary. However, you must thaw your frozen chicken first to raise its temperature slowly. Set the temperature to 350°F (177°C) and wait until your oven is evenly hot.
Step 2: Use Oil Spray Or Butter-Rubbed To Avoid Burning
Once the process has finished, open the oven and spray your chicken with a little oil to prevent it from burning. Then wrap the whole thing with foil to increase the moisture inside so your chicken will be ready sooner.
You should roast your chicken inside the foil for 25 minutes at 350°F and add 5 minutes after removing the foil. Why 5 more minutes? Well, that’s for the skin’s crispiness since we’ve already got the moist, tender meat.
Check out one of the ultimate ways to reheat your chicken.
In The Microwave
Don’t expect crispy skin from the chicken since this method is not the best for reheating chicken. However, if you insist on using the microwave, here are a few steps you could follow for a better result.
Step 1: Set Your Microwave
Of course, you must set the microwave to a medium setting first. If your microwave is a percentage-based system, the medium level should be around 70%.
Step 2: Moisturizing With Water Spray And Covering
Like when you use the oven, water helps your chicken keep its necessary moisture, and an entire chicken will be cooked thoroughly without burning. Typically, you should place a damp towel over the chicken to keep the meat moisturized.
Step 3: Turning Evenly
If you’re careful, check on your chicken and turn them upside down once to see if you miss any part. Turning is not obligated; however, I think you should once in a while turn your chicken for the best result.
Anyhow, remember to check if the inside temperature reaches 165°F (74°C). I suggest setting your microwave’s timer around 1-5 minutes depending on the size of the chicken. If you try to microwave a whole chicken, you should go within 5 minutes.
There are 6 ways to reheat a rotisserie chicken, so pick one method for yourself.
Sautéing
Sauteeing is a simple method to apply when you have scraps of rotisserie chicken lying around. It’s quick, and you can have more control over the outcome.
Step 1: Cutting
You should cut your rotisserie chicken into bite-sized pieces from 2.5 to 5cm for the best result.
Step 2: Heat up your pan
I recommend you use less oil for a smaller amount of chicken and vice versa to heat up your pan. Leave the pan’s temperature around “medium” to “high” to prevent burning.
Step 3: Stir your chicken
You should stir your chicken around for 4-5 minutes, and don’t mind the burnt, crispy skin. Crispy skin is an indicator of a well-reheated chicken.
How To Know If Your Rotisserie Chicken Goes Bad?

Here I have some signs to recognize whether your rotisserie chicken is rotten or not. From the color outside to the texture inside, it seems different. Once you spot these signs, get rid of your inadequate chicken immediately.
Color
Color changes are the first thing you can notice from your rotten chicken. It’s not the brownish color like a roasted potato; instead, you will see some grayish, greenish spots that look like mold spreading all over your chicken.
Smell
They should have a sour smell lingering in the air. That’s the most noticeable hint, yet only happens at the end of the decaying process, to know if your chicken is edible or not. When you smell that sour, funky scent, throw the stinky chicken in the trash ASAP!
Taste
If, by any chance, you accidentally have a bite of the decaying rotisserie chicken, I’m afraid you might never want to eat chicken again; It’s the stinkiness that I can’t describe in words. And because your chicken is in the decaying process, it’s contaminated with bacteria.
Texture
They would look flimsy but not paper-flimsy; it’s slimier since the chicken’s texture is not as firm as in the beginning. Prepare for some horror graphics because the meats possibly decomposed. Besides, it could be icky on the skin.
FAQs:
Well, I’ve just shared everything with you about freezing rotisserie chicken. If you have any other related questions, read this below section to find if it can answer any of your concerns.
Now You Must Be A Master Of Freezing Your Rotisserie Chicken
That’s all I want to share with you about how to freeze your rotisserie chicken properly. So the next time you buy a raw or cooked rotisserie chicken, don’t hesitate to freeze it for future usage.
Freezing is saving your budget. Be a master of freezing chicken and pass down the knowledge to those who don’t know anything about freezing by sharing this article. Finally, leave a comment below if you find this article interesting and informative.

References
- WebMD. 2022. What to Know About Freezer Burn and Meat.
- Ask.usda.gov. 2022. AskUSDA


