Have you ever looked curiously at your spoiled salsa and wondered “Can you freeze salsa?” Will freezing salsa save it from going to the trash? Or is there a better way to store this delicious sauce?
Well, if you’re looking for the perfect answer to those questions, you won’t regret reading this post. In this article, I’ll go through all that you need to know about salsa, the best ways to store them, and, of course, answer the big question of whether to freeze them or not.
Let’s start learning a thing or two about salsa!
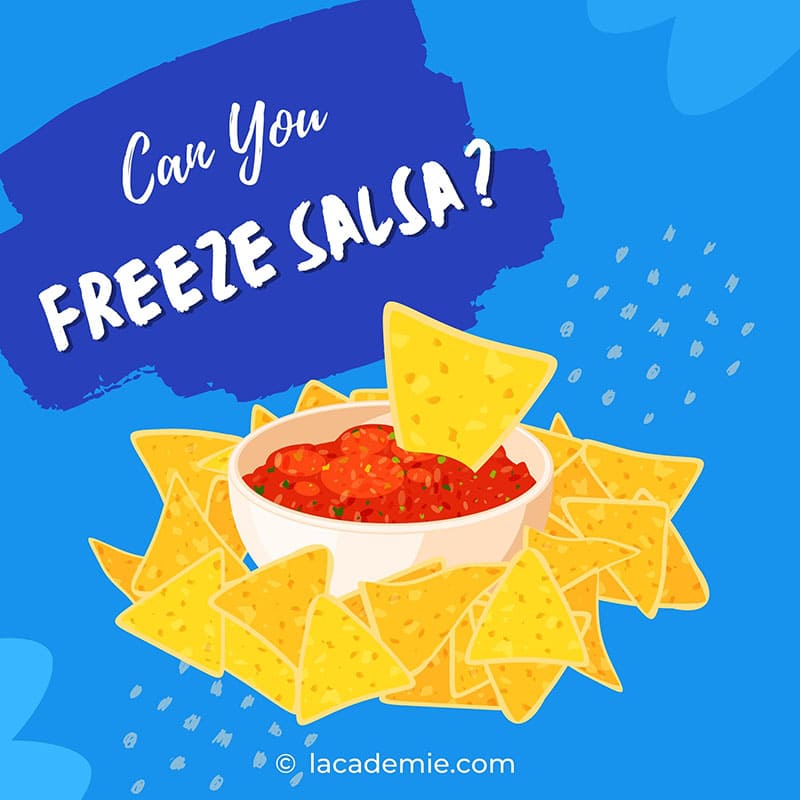
The Fascinating World Of Salsa
To start off, I’ll give you a quick summary of what salsa actually is and the different types of salsa. Don’t skip this, as it will have an impact on how you should store them!
What Exactly Is Salsa?
As you can guess from its name, salsa is a traditional Hispanic food that has gained its well-deserved popularity in the U.S for quite some time. It is a famous appetizer in Mexican style that you can find in most Mexican restaurants.
Also, salsa literally means “sauce” when translated, so it’s no surprise that the variety of this tasty condiment is practically endless.
For many people, tomatoes, onions, and chiles are the must-haves when it comes to salsa, and they are not wrong. While there are other types of green salsa that include avocado or tomatillos, the most common salsa – salsa fresca, is indeed a mixture of those 3 ingredients.
Salsa can be served cooked or uncooked, depending on the variation (more on that later). You can also find many delicious ready-made salsas in the supermarkets for your more convenient options.
Plus, regardless of what type of salsas you use, it pairs exceptionally well with tacos, tortillas, quesadillas, antojitos and can be poured on roast chicken, grilled beef, or seafood stews (just to name a few!) to elevate the flavor.
Fun fact: Salsa history might go back further than you think, as there have been indications that salsa was once used by the people of the Incan, Aztec, and Maya civilization (1).
Popular Types Of Salsa
As mentioned above, there’s a great number of salsa varieties. Let’s take a look at the most well-known ones.
Fresh, Uncooked Salsa
First is the fresh, uncooked kind. This type of salsa can be served as either a condiment or a salad dish.
Salsa Fresca (Fresh Sauce)
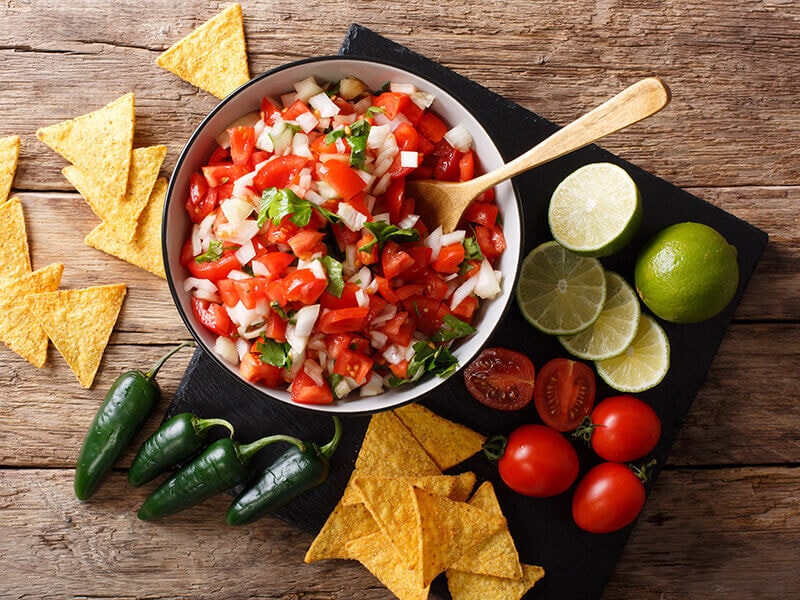
Salsa fresca or pico de gallo, salsa bandera, salsa cruda is probably the first thing that springs to mind when people think about salsa. Since its literal translation is “fresh sauce”, this version of the salsa is made entirely with fresh, uncooked ingredients.
Traditionally, salsa fresca is made from chopped tomato, onion, serrano peppers mixed with lime juice, salt, and cilantro. However, based on regions, you might find some variations that contain mango, cucumber, oranges, watermelon, or jicama.
Compared to other salsa types, pico de gallo has less liquid; thus typically considered a kind of topping for tacos, quesadillas, a perfect side food of enchiladas, or sometimes a salad dish rather than a dip.
Fun fact: The name salsa bandera (flag salsa) comes from its color resemblance to the red, white, and green colors on the Mexican flag.
Salsa Criolla (Peruvian Red Onion Relish)
Just from looking at it, you can definitely tell that salsa criolla is not a kind of sauce and more of a salad/relish dish. Salsa criolla is often served as an accompaniment to pair with fish, chicken, grilled steak, and sandwiches.
Traditionally, this Latin American relish is made from feather-like sliced onions mixed with aji amarillo – yellow Peruvian peppers, lime juice, cilantro, and a sprinkle of salt to top it all up. However, some people use orange bell pepper instead of aji amarillo to lighten the taste.
Cooked, Pureed, Or Blended Salsa
The second group of salsa is the cooked, pureed, or blended group. Because of its sauce-like texture, this type is more suited to be a condiment rather than a side dish.
Salsa Roja (Red Sauce)
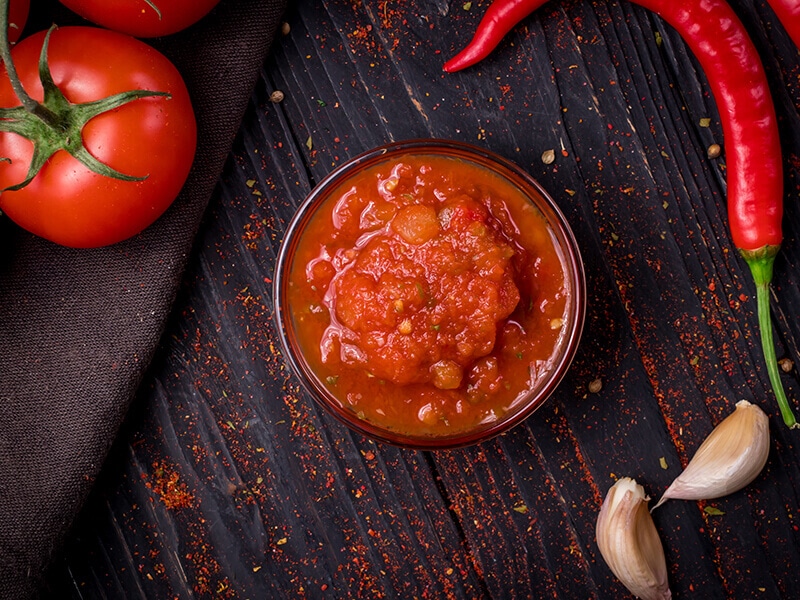
Salsa roja (red sauce) is among the most popular kinds of salsa in Mexico. It’s often made by pureeing or blending a combination of tomato, cilantro, onion, garlic with some salt, lime juice, and serrano or jalapeno peppers for an extra spicy kick.
In terms of consistency, blended salsa roja leans more on the thick, chunky side while the pureed version is smoother. This red sauce can be served with pretty much anything, from tortilla chips to the classic Mexican breakfast Huevos Rancheros.
Salsa roja and enchilada sauce can be quite similar to each other. If you want to know which is which, pay attention to the texture as enchilada sauce is thin and smooth while salsa roja is thick and bulky. Additionally, hot enchilada sauce plays a vital role in the enchilada dish.
Salsa Verde (Green Sauce)
Salsa verde is a smooth, blended, or pureed variation of salsa that is made from tomatillos – a kind of green tomato native to Mexico instead of tomatoes. And for that, it was given the name “green sauce”.
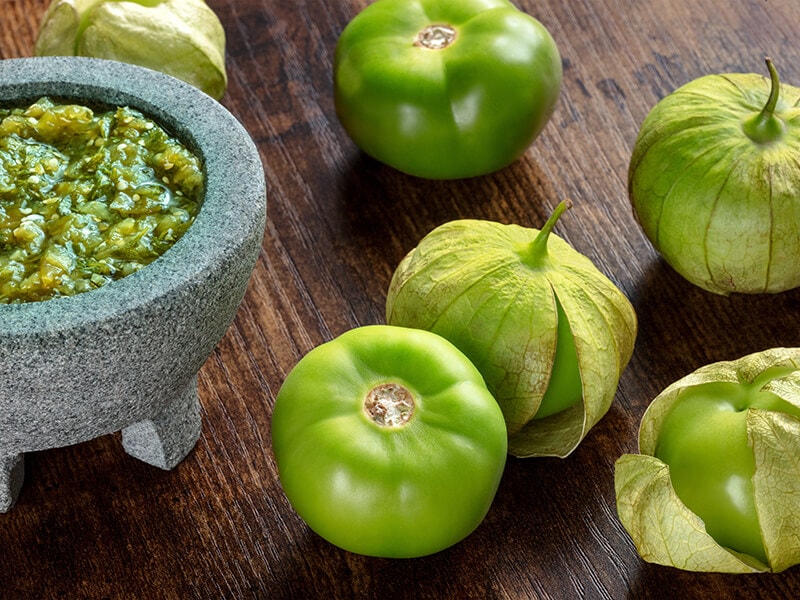
Tomatillos’ flavor is brighter, more herbal, although not as sweet, and more acidic than its red cousin. Due to its acidic nature, it’s not necessary to add lime juice when making salsa verde.
Salsa verde can be made with either raw tomatillos or roasted ones. However, raw salsa verde can taste a bit sour and may not be to everyone’s liking.
Salsa de Aguacate (Avocado Sauce)
Also known as avocado salsa, salsa de aguacate is made by pureeing avocados with the main ingredients of salsa verde. Its texture is creamy with a mild flavor and is perfect for pairing with bold dishes like tacos or grilled meats.
It is easy to confuse salsa de aguacate with guacamole since they are both green sauces made from avocados. To differentiate between the two, remember that guacamole doesn’t have tomatillos in its ingredients and is more chunky and thicker than avocado salsa.
Salsa Taquera (Taco Sauce)
Salsa taquera is traditionally served with tacos, and it’s a spicy, smooth sauce with a sheen to it. The spicy kick of salsa taquera comes from dried árbol peppers or chile de árbol – a small Mexican chili that packs a lot of heat.
To make salsa taquera, all the ingredients, including tomatoes, árbol peppers, onion, garlic, salt, and lime juice (or tomatillos), will have to be cooked first by boiling, sauteing, or roasting. After that, the mixture will be blended until its texture becomes fine and smooth.
Freeze Your Salsa – Yes Or No?
Now that you have become more well-versed in salsa types, let’s address the elephant in the room: can you freeze your salsa? Simply speaking, yes, you can definitely freeze your salsa so that it will last longer. However, there’s a catch.
Because tomatoes, tomatillos, and other veggie ingredients all have high water content, freezing salsa without proper preparation will risk changing its texture and consistency. To be exact, your salsa will become more watery, milder in taste, and the vegetables will be softer.
That said, there are ways to avoid those undesirable side effects, and I’ll show you just that in the next section.
How To Freeze Your Salsa Like A Pro?
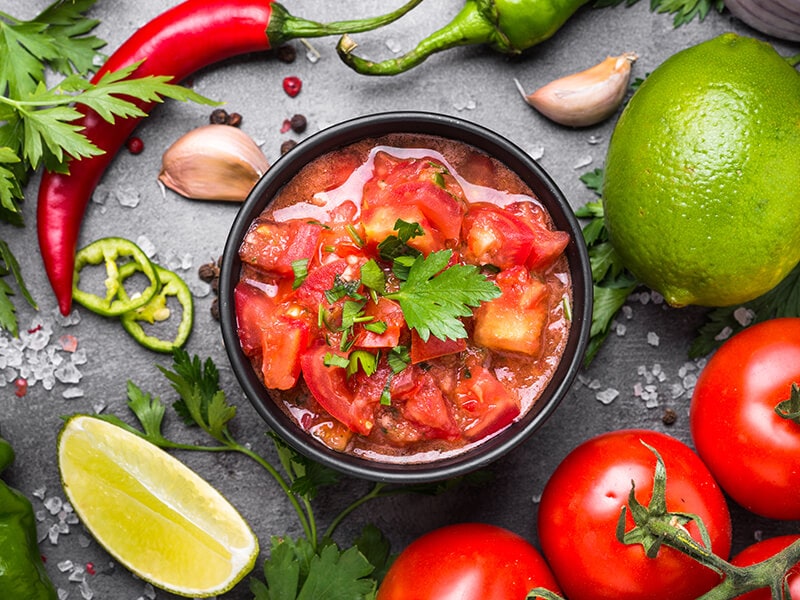
As you know, there are many kinds of salsa, ranging from mild, vegetal tasting to hot, spicy ones. However, to make things easy, I’ll split those variations into 2 main categories, fresh, uncooked salsa, and cooked salsa.
For each type, there is a most efficient way to freeze them. So make sure to identify your preferred salsa’s type and follow the instructions below.
Freezing Fresh, Uncooked Salsa
The goal of this method is to be able to freeze your fresh, unblended salsa (such as salsa fresca or salsa criolla) without having to simmer or cook them through first. If you insist on keeping your salsa uncooked, then this will be the method for you.
Step 1: Drain Out As Much Liquid As Possible
The first step to any salsa freezing method is to remove as much water content as possible to reduce its side effect on the vegetable ingredients.
Using a fine-mesh strainer and a cheesecloth, slowly drain out all the water in your salsa as best as you can. The more water you’re able to remove, the better the texture of your vegetables will be after thawing.
You can choose to keep the drained-out liquid in a separated freezer bag and freeze it, too, if you want to add it to the salsa afterward.
Step 2: Put The Salsa In A Container And Freeze
After draining out the water, move your salsa to a freezer bag, Ziploc bag, or a good-quality freezable container. Splitting your salsa into eating portions will also help reduce the time it needs to become frozen, thus allowing it to thaw easier and better retain its freshness.
If you use a freezer bag to store salsa, try to even out the salsa and make your bag flat. This can also help with the freezing process. However, a proper container can protect your salsa from being squished and damaged. So the choice is really up to you.
Step 3: Thaw And Enjoy
Before enjoying your frozen salsa, you’ll need to prepare a little beforehand since you can’t just leave it to defrost at room temperature. Instead, transfer the salsa from the freezer to the fridge and leave it there to thaw overnight.
The same goes for the water that you removed from it before freezing. Simply move them from the freezer to the fridge for 1 night.
If you find your salsa to be more watery than you’d like after thawing, you can drain some of the excess water out.
Freezing Cooked Salsa
For other types of more sauce-like salsa, simmering them first before freezing might be a better choice. Of course, you can freeze your fresh salsa this way, too, if you don’t mind changing its original state or the flavor blending together a bit more.
Step 1: Simmer To Reduce Liquid
First, you will need to boil your salsa in a pan or pot. However, your goal here is to simmer your salsa at low heat, not scorching it. So as soon as you see some boiling bubbles, reduce the heat to low and let it simmer for about 45 minutes.
In the meantime, don’t forget to give the salsa pot some occasional stir or add a little bit of tomato paste to help shorten the time.
Step 2: Cut The Heat And Let Cool
When your salsa has reached a thick consistency, cut the heat entirely and allow it to cool before transferring to a freezer bag or container. It’s never a good idea to freeze any food when it’s still hot as the food will be more prone to freezer burn.
Step 3: Transfer To Bag / Plastic Container And Pre Freeze
When your salsa has cooled completely, transfer them to a freezer bag or plastic container and pre-freeze the salsa for 1-2 hours.
Try to keep the salsa as air-sealed as possible to better retain its freshness when storing. If you use a bag for storage, you can do this by gently pressing the salsa down so that it is evenly distributed in every part of the bag while slowly sealing the bag’s mouth.
When freezing for the first time, be careful not to squish the salsa by keeping it on a baking tray or a flat surface in your freezer. After your salsa has completely frozen, you can store them as you like in the freezer.
Step 4: Thaw And Enjoy
The thawing step of frozen cooked salsa is quite similar to the uncooked variation. Simply move it from the freezer to the fridge to thaw overnight. After that, give it a good mix or simmer it for about 5-10 minutes while stirring to blend all the contents together.
If you’re going to use your frozen salsa to make a soup, you can just skip the defrosting step and add it directly to the pot.
How Long Will Salsa Last For When Frozen
So you have frozen your salsa, but you don’t know how long they will stay good for? After all, no one wants to be food poisoned over some spoiled salsa, right? In theory, a correctly frozen and stored bag of salsa remains edible for about 4-6 months. So, quite a long time.
However, for either raw or cooked salsa, its overall quality will degrade over time. For that reason, I recommend eating your salsa in under 2 months, when the ingredients are still fresh and tasty.
Be Careful With Glass Jars And Containers
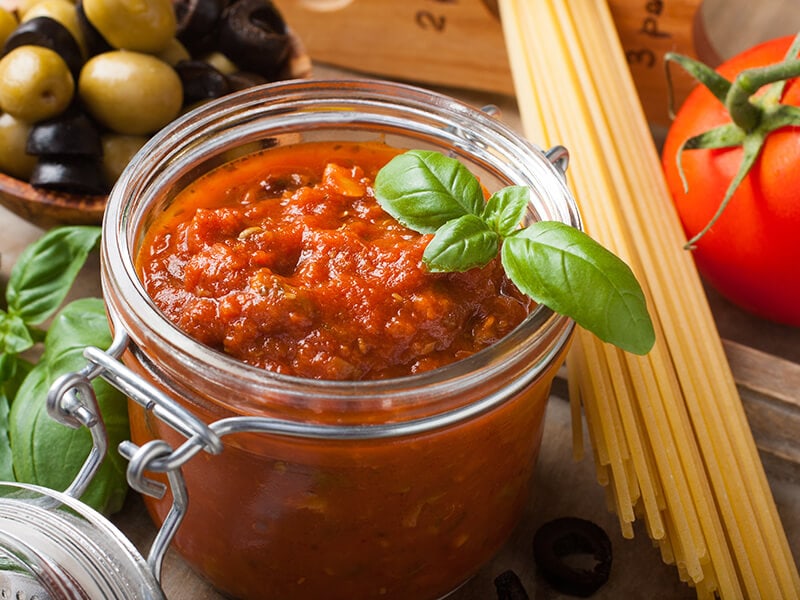
Mason jars or glass jars, in general, are useful tools when it comes to storing food. Convenient as they are, you will need to be careful with these jars if you plan to use them as storage for frozen salsa.
Because salsa is rich in liquid content, it will expand as the temperature reaches sub-zero. This means your glass jars can crack or explode in some extreme cases. Not only is this a pain in the neck to deal with, but it is also very dangerous.
To prevent this, leave about 1 inch of headroom in your jars. This will allow your salsa to “breath” and keep the jar safe from any unexpected cracks.
Moreover, you can consider buying a handy and decent jar opener for easier removal of the jar’s lid, especially if you live with your parents or older people.
Slow Down With Store-Bought Salsa
Salsa sold in stores often comes in 3 forms: glass jars, plastic containers, or cans. The similarity between these 3 is that they have been air-suppressed and are full of pressure, which means they can crack or explode if the content inside expands.
As mentioned before, salsa will expand when frozen, so it is your best bet to avoid freezing brand new store-bought salsa right away. Instead, open the cap first to let the pressure out, then reseal securely before putting them in the freezer.
For canned salsa, as you can’t reseal it once opened, it’s better that you transfer the salsa from the can to another jar, container, or Ziploc bag. Provided that you have followed all the instructions above about keeping frozen salsa, you will be just fine.
Try Thickening Your Salsa With Cornstarch
So, what to do to thicken salsa? One way to thicken your salsa, thus reducing the amount of water inside before freezing, is by using cornstarch paste. You can give this method a try by following these simple steps.
Step 1: Make The Cornstarch Paste
Make the cornstarch paste by mixing cornstarch with water in a 1:1 ratio until it becomes pasty. 1 tablespoon of cornstarch should be enough for 1 cup of salsa.
Step 2: Simmer The Salsa And Add Cornstarch Paste
Put your pot of salsa on the stove over medium heat until it simmers. After that, add the cornstarch paste and continue to stir for about 30-60 seconds.
Step 3: Boil For 1 Minute Then Cut The Heat
Boil your salsa for no more than 1 minute, as this can reduce the thickness and make your salsa a little starchy, then cut the heat and remove the pot from the stove entirely.
And there you have it, a quick way to thicken your salsa that can be used both before freezing and after thawing.
Other Ways To Store Salsa Based On Its Packaging
Apart from freezing, there are also other ways to store salsa. That said, because salsa is made with easily spoiled ingredients, it won’t last as long as other condiments like ketchup, mustard, or chili sauce.
Depending on how it was packaged and categorized, different types of salsa require different storing methods. Here are some other ways to store salsa based on its packaging.
Unrefrigerated, Store-Bought Salsa
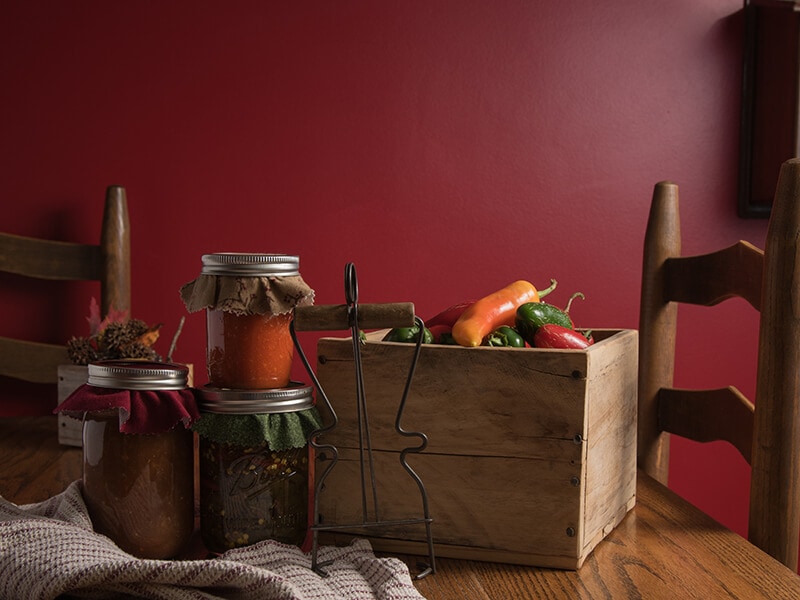
For unrefrigerated, store-bought salsa, you can either choose to keep them in the kitchen or put them in the fridge. That said, the only time that you should store this kind of salsa at room temperature is when it remains fully sealed.
This type of salsa will always come with a best-by date that suggests the estimated time that you can store them safely in the kitchen when unopened. In fact, it can even last longer than that, and you can actually keep them for up to 6 months past the best-by date.
However, as soon as you open it, the lifespan will be shortened to 1 month, at its best, and should only be kept in the fridge.
Refrigerated, Store-Bought Salsa
As they are sold refrigerated, they should stay refrigerated whether opened or fully sealed. Typically, this type of salsa will have a use-by date printed on its packaging, so if the jar has been opened, you should always follow the suggested date of the manufacturer.
However, if it stays unopened, generally, you can still consume it for 5-7 days past the use-by date.
Homemade Salsa
The best way to enjoy homemade salsa it’s to eat them fresh, right after cooking. However, if you need to save some salsa for a rainy day, I suggest keeping it strictly in the fridge, air-sealed for 5 days at most.
You Can Also Try Canning Salsa For A Change
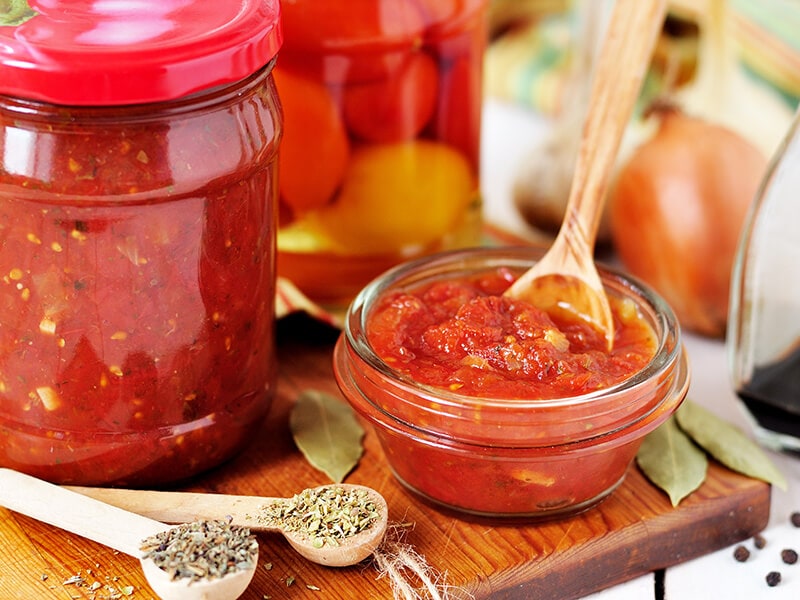
Apart from freezing, canning is also a good way to store salsa, or food in general, for a good amount of time. When done right, canning can retain the freshness of your salsa for 12-18 months.
However, the biggest downside to canning is that if not done properly, home-canned food can be infected by clostridium botulinum bacteria – the main cause for botulism.
Botulism is a rare but deadly illness that can cause difficulty in breathing, muscle paralysis, and even death (2). So, in order to safely practice home canning, I highly recommend that you refer to the guide to home canning by the USDA.
Learn How To Safely Can Your Salsa In Under 7 Minutes with this video below:
Signs That Your Salsa Is Spoiled
Although salsa is easier to go bad than other condiments, it is also easier to spot spoiled salsa. The most obvious signs are color and odor. Spoiled salsa will have a darker color with a rotten, foul smell. In addition, the salsa will become mushy and have a sour taste.
If you find any types of blue and green mold or any weird organic forms growing on your salsa, it’s also a clear sign that it will have to be thrown away.
Frequently Asked Questions About Salsa
There is much to learn about salsa, so it’s understandable that you have more questions about this versatile dish. How about taking a quick look through this section to see if you can find the answer you need.
Expectation Vs. Reality
With all this information, I’m sure you will be able to freeze your salsa confidently. However, no matter how perfectly you freeze it, nothing can beat the taste of freshly made and served salsa, so make sure to keep your expectation in check.
If you have more knowledge to share, don’t hesitate to do that in the comment section. Remember to also like and share this post if it has proved helpful to you.
References
1. Salsa | Encyclopedia.com [online]. Encyclopedia.com | Free Online Encyclopedia.
2. Home Canning and Botulism [online]. Centers for Disease Control and Prevention.

