Can you freeze scones? You may ask yourself this question from time to time. Luckily, this post is all you need to put your doubts to rest for good.
Scones are a perfect dish for every morning breakfast and brunch. And I am pretty sure that you always want to see your morning scones available to serve and enjoy at any time. Yet, it will be a pity if these little scones end up dry and stale in your pantry in just a couple of days.
Today, I am going to share with you some of my tips for keeping your scones stay fresh beyond the time that you can imagine. Stay tuned and ready to roll up your sleeves!

An Overview Of Spectacular Scones

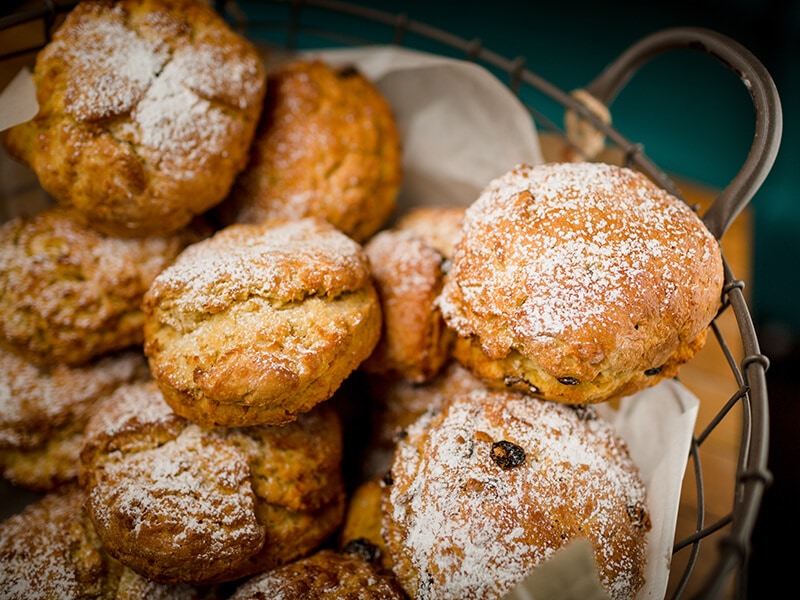
A scone is a small, light British baked good that is often served with jam and clotted cream. Visually, this little treat is nothing different from biscuits or cookies. However, it would be dead wrong if you put these two sweets on the same scale.
Generally, scones are crumbly on the outside but more soft and moist on the inside. To enjoy this delicacy, people will cut it horizontally into halves, then spread a thick layer of strawberry or cranberry jam and a full spoon of silky clotted cream.
Talk a little about history: Scones probably came from Scotland where people often used either oats or wheat flour with baking soda to make scone dough.
The name ”scone” itself is still uncertain, but many people think that it came from the Dutch word “schoonbrot” (fine and beautiful bread)(1). Scones, in general, can be classified into three types:
- Classic scones: They are simply plain scones that are served with jam and clotted cream.
- Fruit scones: They are traditional scones added with dried fruits like raisins, cranberries, apricots, etc. Lemonade scones are a very well-known variety.
- Savory scones: Less popular than the other two, they are scones that are made of cheese and/ or ham, along with spices and herbs.
Let’s learn how to make classic scones with the renowned chef Jamie Oliver.
Can You Freeze Scone?
The answer is yes. Scones are a kind of sweet treat that holds up very well in the freezer. Both baked and unbaked versions can have their shelf life extended greatly with this storage method.
Nothing can beat a freshly baked scone with a warm cup of tea with your family and friends. Sadly, making scones is never a quick task for those who are too busy with tons of workload.
Therefore, it’s way better if you make a big batch of dough and keep them in the freezer for later use. With proper storage, frozen scones will always taste the same as the day they were made.

How Long Do Scones Last?
Scones are sweet and delicious, but they are fairly picky in terms of storage and preservation. Scones, like most pastries, are made of eggs and butter, which are easily spoiled if stored at room temperature for too long.
In addition, without a proper way of storage, your baked scones will get hard and stale, and you have no choice but to throw them away or turn them up into crumbles for other desserts.
So, to rescue you from a nightmare of dry scones, I am going to share with you some information about some proper ways to store scones in different conditions as well as how to extend their expiration day.

Unbaked Scones
Scone dough cannot stay at room temperature as heat is unkind to butter and egg. Therefore, If you do prefer to get ahead, refrigerate your unbaked scones for 24 hours, then take them out and start baking.
It is important to note that unbaked scones cannot stay in the fridge for over 48 hours as they can become a bit dry and may appear with some mold spots.
On the other hand, to save time, feel free to make a big batch of dough whenever you want, then freeze them unbaked. They can last for a month in the freezer.
Baked Scones
Can you store scones in the pantry? Definitely, yes. You can put them in an airtight container and store them in your pantry for 2 days. Make sure the actual room temperature in your kitchen is between 68°F (20°C) and 72°F (22°C), which is ideal for most cookies, muffins, and any other pastries.
In case you make scones on summer days, the increase in humidity is detrimental to these little treats. So, it’s advisable to store them in the fridge.
Overall, storing these pastries in the freezer is always the optimal idea. Their overall texture is not greatly altered in a freezing process since they have already been cooked. But you should finish your scones within 3 months. After this time mark, scones will start to lose their flavor.
Discover The Proper Ways To Freeze Scones
As mentioned above, scones are easy to get stale and even spoil without a proper way of storage. That’s why you should turn to the freezing method. It takes you less time to prepare while still resulting in fluffy and crunchy scones to enjoy at any time.
A Guide For Freezing Baked Scones
Sometimes, I am just in the mood for baking. That usually leads to too many freshly baked scones that I can’t finish at once. And here is what I do to store these pastries effectively.
Step 1: Cool Your Scones First
After being taken out from the oven, your scones are still warm and not ready to sit in a fridge. It is necessary to let them cool down to room temperature for 20 to 30 minutes.
Step 2: Quick-Freeze Your Scones For An Hour
This is an important step to keep your scones safe when freezing without altering their texture. When your pastries have reached room temperature, then put them in a freezer for 1 hour to get rid of the moisture so that it doesn’t get trapped inside the container. After that, take the scones out.
Step 3: Transfer The Baked Scones To An Airtight Container
Prepare some parchment paper, wax paper, or plastic wrap to store your scones properly this time. The paper prevents them from sticking to each other during the freezing process.
The problem is if there are just a few scones, you can stack them on top of one another with paper between each layer. If not, prepare a second container and place the rest of the scones into it.
Make sure you cover the top layer of your scones with one more layer of parchment paper to ensure their texture is in the best condition.
NOTE: Avoid pressing your scones because this action will destroy their shapes and turn your scones into crumbles.
Step 4: Label And Freeze
Note down some key information indicating the date and time you store your scones (plus their estimated expiration date). This kind of reminder will help you finish all your scones before the time they are no longer to be consumed.

Freezing Tips For Unbaked Scones
In my experience, I prefer freezing scone dough over frozen baked scones. In that way, you still get nice crumble and freshly baked pastries when taking them out of the oven.
To ensure the quality of this pastry, frozen scones should not be left out of the freezer for over 1 hour before they start to bake. Now, let’s get started!
Step 1: Prepare The Dough
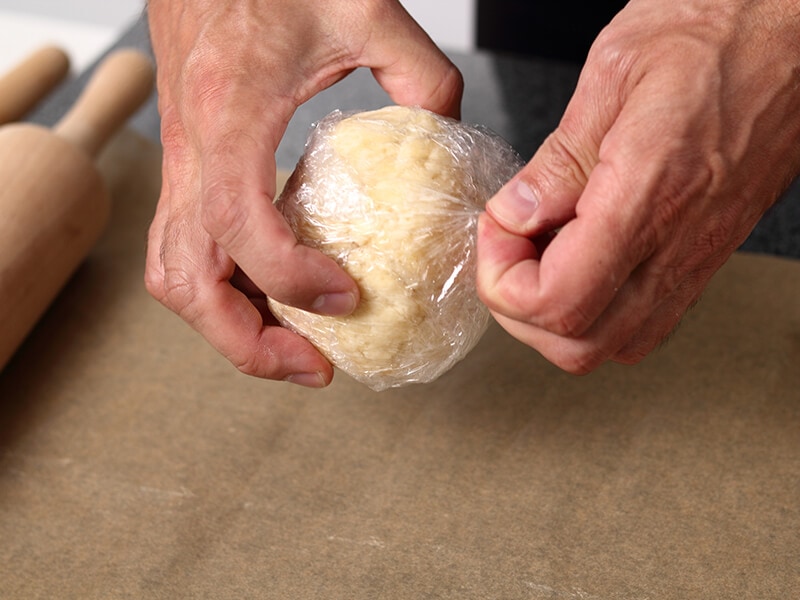
When you have finished kneading your dough, split them into smaller equal portions for later use. Use plastic wrap or a pre-sealed bag to cover each scone tightly so that they won’t stick together.
Step 2: Quick-Freeze Unbaked Scones
Now, you will put your wrapped scones into the freezer for 1 to 2 hours or up until the scones are hard enough.
Step 3: Place Scones Into The Container
When finished, remove them from the freezer, and transfer them into the freezer bags. Zip-lock bags and containers are fine as long as they are airproof and have a lid on.
Step 4: Label And Freeze
Write the date on the front of whatever container you have chosen to store your scones to make sure you will not consume expired scones. Finally, place your scones in the freezer.
Is It Safe To Refreeze The Scones?
Yes, but I do not recommend you do so. Even though you can refreeze food safely without any adverse effects, its flavor is not as tasty as it should be.
The same explanation is for scones. These little treats should not be in the freezer twice since they get stale and dried out due to moisture loss as a result of multiple changes in the environment.(2)
In addition, you should avoid freezing and thawing food more than once, especially if they have been left out of the freezer for over 2 hours.
How Can You Tell If Your Scones Are Spoiled?
When speaking about pastries, the signs of spoilage are detectable, and you are likely to notice them at first glance. Here are several visible features of a spoiled scone:

Colored Spot
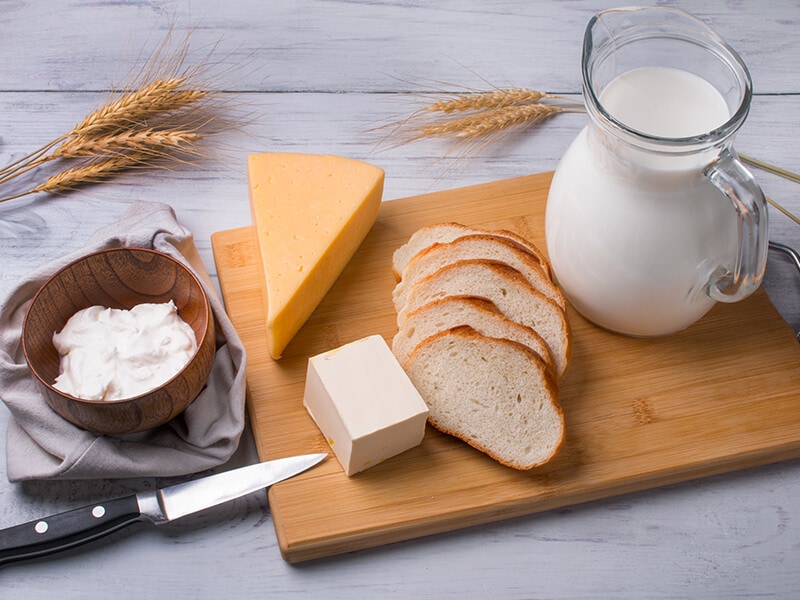
Be cautious if you see some white, black, or fuzzy green spots on your scones. This is because your scones are already affected by mold. Mold prefers a warm, humid environment, but it can also grow in the refrigerator where you store these pastries.
You must not eat moldy scones since the bacteria in them can produce mycotoxins – poisonous substances which may pose risks to human health.(3)
Unpleasant Odor
If you smell your scone dough sour and rotten like spoiled milk, do not hesitate to toss them away for your safety’s sake as they are no longer suitable to be consumed. This happens when your scones have already passed their expiration date.
How To Defrost The Scones
There are many concerns about whether frozen scones need to be thawed before baking. And to address your concern, please refer to my detailed explanation below.

Baked Scones
For the scones that have already been cooked before freezing, you should defrost them by letting them cool down to room temperature for at least 1 hour. Here are how you defrost your scones:
- Step 1: Place your scones on the wire baking rack to ensure there is no thawing condensation leaking into your pastry.
- Step 2: Cover them with parchment paper or a tea towel to get rid of extra moisture and prevent them from getting mushy.
- Step 3: Let the scones sit at room temperature for at least 1 hour.
You can also transfer your scones to the refrigerator one night before the day you are going to eat.
Unbaked Scones
Should you thaw your dough to room temperature before baking? The answer is no. Here are two reasons why you shouldn’t defrost your scone dough.
Firstly, scones start with cold ingredients: cold butter, cold eggs, and cold cream. These are key weapons that give your scone a super flaky crust. Once the butter melts before baking, it makes the dough dense and tough.
Secondly, thawing may cause the butter to melt and soak into the parchment paper. As a result, the butter-drenched paper may burn the bottom of your scones during baking.
Tips To Reheat The Scones
To enjoy easy, quick, and tasty pastries, here are some tips to freshen up your frozen baked scones:
In The Oven
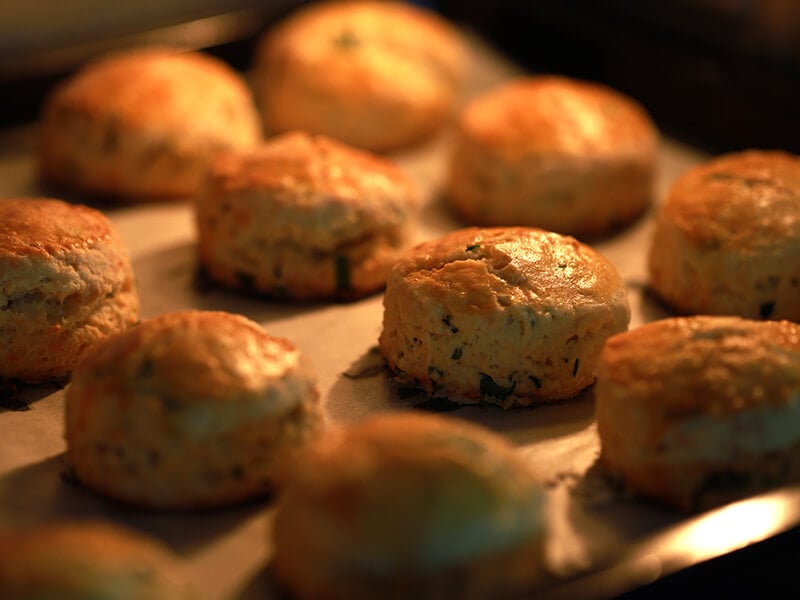
The oven is always the best choice when it comes to reheating scones. And here are detailed steps to warm up your scones in the oven:
- Step 1: Allow your scone to cool down to room temperature
- Step 2: Set your oven to 350°F (150°C)
- Step 3: Arrange your scones on the baking tray with parchment paper underneath
- Step 4: Heat them in the oven for around 5-7 minutes
- Step 5: Serve them warm with jam and clotted cream
In The Microwave
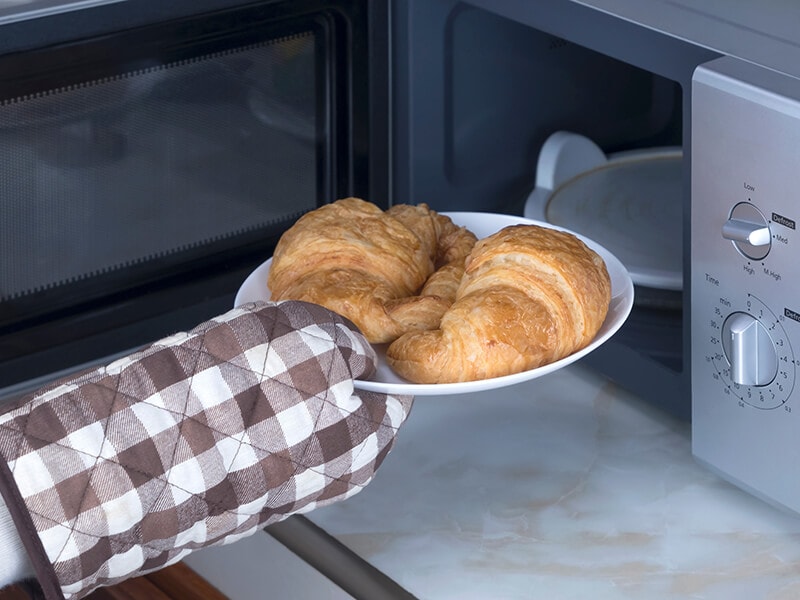
If you do not have an oven at home, reheat your scones in the microwave. Although the crust on the outside can be soft and chewy, the overall texture is greatly affected.
- Step 1: Allow your scone to cool down to room temperature
- Step 2 Place your scone into a microwaveable glass or ceramic plate
- Step 3: Heat them in the oven at medium-high heat for 20-30 seconds
In The Air Fryer
Have you ever tried to freshen up your scones in the air fryer? At first, I doubted the result. But my jaw just dropped when seeing the nice golden scones with a crunchy crust on the outside. Would you like to know my little secret? Let’s dig into it.
- Step 1: Make sure your scone cools down to room temperature
- Step 2: Place the scones into the air fryer’s basket
- Step 3: Set the temperature at 320°F (160°C) for around 3 minutes

In The Skillet
Warming up your scones in the skillet is also a good option when you do not have too many cooking gadgets at home. Here is how it is done in just a few minutes.
- Step 1: Make sure your scone cools down to room temperature
- Step 2: Heat the pan at medium-low heat
- Step 3: Place your scone on the skillet and put a lid on
- Step 4: Heat it for up to 4 minutes until it is warm enough

How To Bake Frozen Dough
Before heading into detailed steps of how to bake the scone dough, there is one point that I would like to remind you: Always keep your dough cool. Scones contain a lot of butter, so it will be a nightmare if you let the butter melt down before baking time. And now, it’s baking time!
Step 1: Preheat The Oven
Set the oven to 425°F (220°C). If the oven is too hot, you can turn down the temperature.
Step 2: Prepare Your Scones
Remove your unbaked scones from the oven and arrange them on the baking tray with parchment paper underneath. Use cooking spray or foil if you don’t have parchment paper.
Step 3: Time For Decoration
Now, you can sprinkle a little bit of sugar, cinnamon powder, or nuts to give your scones extra flavor.
Step 4: Baking Time
Place your baking tray on the middle shelf of the oven. Set the baking time to 15-20 minutes.
As you cook frozen unbaked scones, it is recommended to add extra time when baking the dough. Ideally, check the oven after 15 minutes, then add 5 more minutes if needed to achieve the flaky and golden crust.
Step 5: Serve And Enjoy
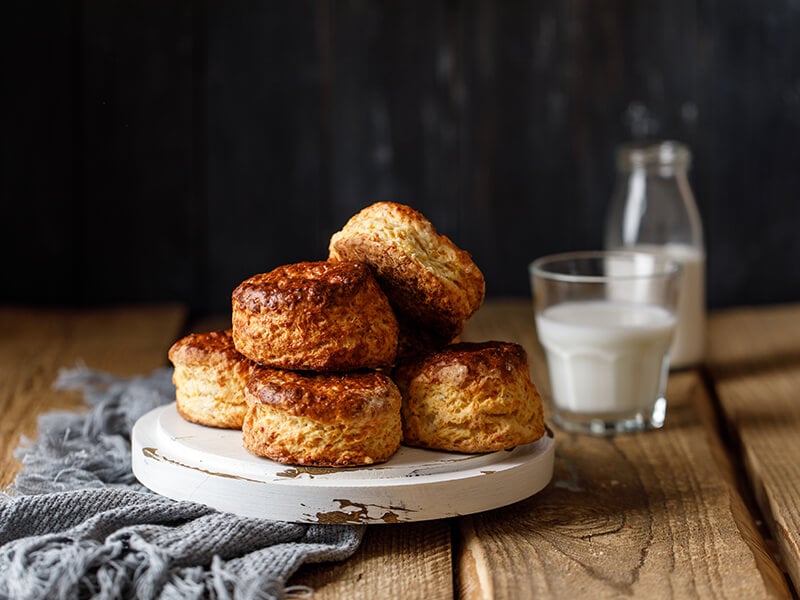
When you see your scones are fluffy and have a nice golden color, take them out with an oven mitt, then let them cool down for a few minutes. Serve them warm with jam and clotted cream.
Let’s learn an interesting way to bake frozen scone dough.
Spice Up Your Sunday With These Creative Scone Recipes
Have you ever thought of making a fresh batch of scones to enjoy with your family on the weekend? If so, I have already prepared a recipe list for you to have a look at. Let’s make your Sunday brunch fun again with these amazing ideas!
Scones And Clotted Cream Trifle Pots
No one loves to eat hard and stale scones. Instead of throwing them away, let me help you to freshen them up.
In this recipe, you will combine stale scones with clotted cream and other ingredients into a full cup. This helps to hide the dry and hard texture of the stale scones while giving your whole palate a brand-new level.
Rosemary, Parmesan, and Ham Scones
With a combination of flavorful herbs, savory Parmesan cheese, and slices of ham, these scones are a perfect dish to start your Sunday morning. If you are a huge fan of Parmesan, just add a little bit more cheese to spice your scones up.
Beef Cobbler With Cheese Scones
I have already shared with you a recipe to make savory cheese scones, so let’s learn how to turn them into a main dish to enjoy with your family members. Scoop a piece of cheese scones, then dip it into a thick and savory beef soup. It tastes so lovely and flavorful.
Let’s learn how to make beef cobbler with cheese scones from scratch.
Healthy Apple Scones
Are you looking for a healthy version of scones? If yes, I will tell you my little secret. Cauliflower will be a game-changer in this dish. It will be cooked, then mixed with flour to make the dough. Though this dish takes more time to finish in comparison to normal scones, it’s worth experiencing!
FAQs
There is always so much to learn, especially when it comes to the world of pastries. This section preserves the most common questions related to today’s topic, “Can you freeze scones”. Let’s check them out now!
Freezing Scones Is No Big Deal!
Now, I think that you have already had your answer on how to preserve your scones. Once again, one thing to remember is that freezing scones is not quite a difficult task for everyone; you just need some extra care and be gentle with these little treats.
Sometimes, you may go wrong when making these scones, yet, it’s still a great experience, isn’t it? Learn from your mistakes, and don’t be afraid to accept failure.
If you find this article informative and helpful, please do not hesitate to like and share it. Comment on any hacks and tips to make it better!
Reference
- Wikimedia Foundation. (2022, November 15)
- WebMD. (n.d.). Leftover food dangers and how to avoid them. WebMD.
- Food Safety and Inspection Service. Molds on Food: Are They Dangerous? | Food Safety and Inspection Service. (n.d.).


