Cooked chicken left out overnight causes you too much trouble over what to do about it? For this reason, it’s truly a hard task to come up with the right decision. Thankfully, you have come to the right place for the best answer.
In this article, you will find the appropriate treatment for your cooked chicken. Furthermore, there are a bunch of tips to identify spoiled chicken and its harm. Most importantly, I guarantee that you will know what to do with your cooked chicken in the future.
Can Cooked Chicken Left Out Overnight Be Safely Consumed?
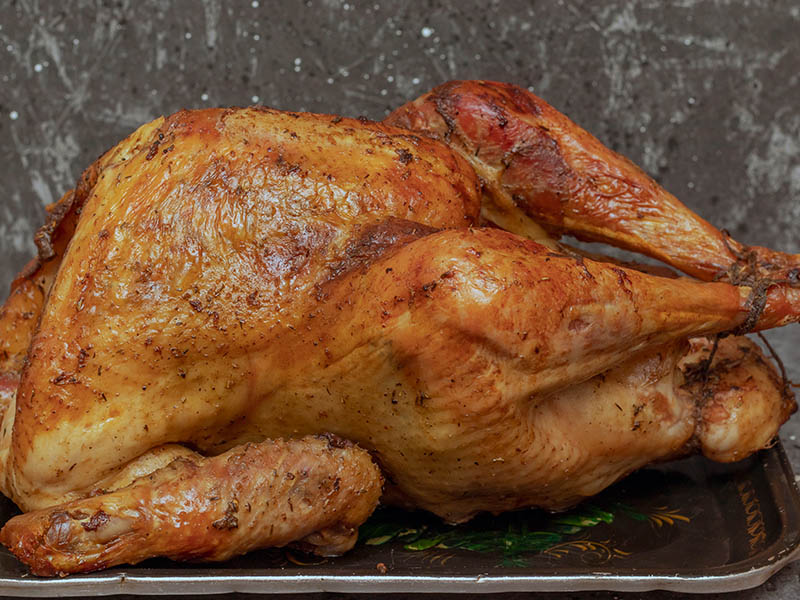
Unfortunately, cooked chicken can only be consumed within 2 hours after cooking. And this is the case if you leave it at room temperature. In hot weather (above 90° F), the time that chicken can safely stay outside reduces to just 1 hour.
This limit seems to be really short. Generally, it takes you 30 minutes to prepare the chicken for dinner. This means 1 hour and 30 minutes is the extra time you have to finish it.
The matter gets even more complicated if you buy the meal at the supermarket. In this instance, the time it takes to get the chicken home shouldn’t be ignored.
As frustrating as it seems, you hate to throw the poultry away. Trust me, the risks of eating spoiled chicken far outweigh the money and efforts you spend on it.
The Reasons Behind The Perishment Of Your Cooked Chicken
The “danger zone” is the main culprit here. The temperatures ranging between 40° F and 140° F are ideal for the growth of bacteria (1). In this environment, the bacteria multiply at an uncontrollable rate, doubling every 20 minutes.
Normally, the temperature in your house stands from 68° F to 78° F. So, the appearance of a bacteria community is just a matter of time.
Take a closer look at the germs in your kitchen through this video.
How To Know If Your Chicken Is Inedible
Sometimes, the chicken wings baked for a perfect duration at 425 degrees can smell or look really tasty even after being left out for hours. Don’t take a bite yet: these signs can be deceitful. Your chicken needs to pass every check below before joining another meal.
This video gives a detailed guide on how to know whether your chicken has gone bad or not.
The Smell Of The Chicken
The seasoning may overwhelm the evidence you want to check here. Nevertheless, if the cooked chicken has an unpleasant odor, which is similar to ‘’rotten eggs’’, throw it away. But keep in mind that unsafe chicken doesn’t smell terrible all the time.
By the way, if you ever notice your uncooked chicken smelling somewhat egg-like, don’t be too hasty to throw it out. There are plenty of reasons for this to happen, and it does not always mean that your chicken is bad.
Its Color May Be An Indicator
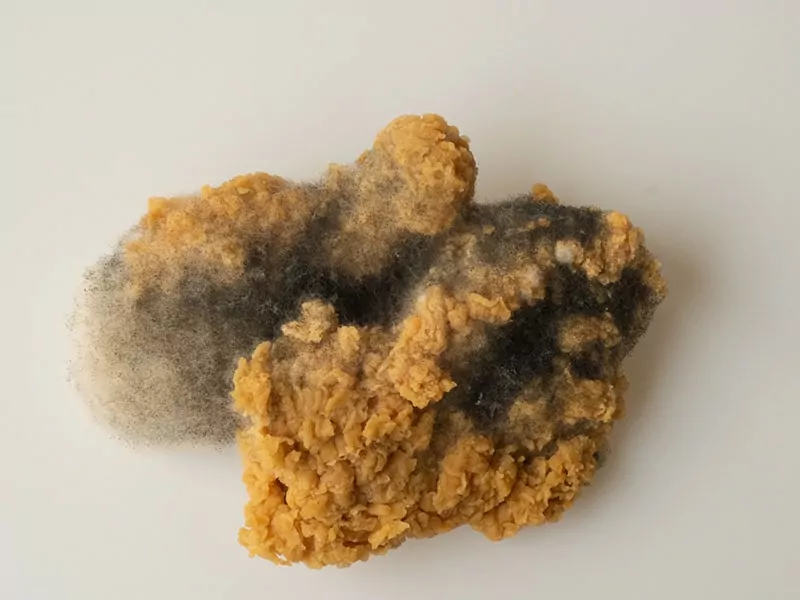
Your normal cooked chicken has white-brown flesh. As time goes by, the outside becomes darker and turns gray when spoiled. Moreover, there can also be blue or green patches and even molds on the severely ruined meat.
Unfortunately, you can not reach a conclusion by looking at the skin all the time. It may be covered in breadcrumbs or hasn’t gone bad in color. As a result, the inside can play an important role here. If it has any of the above signs, get rid of it.
A Little Taste Will Tell You The Truth
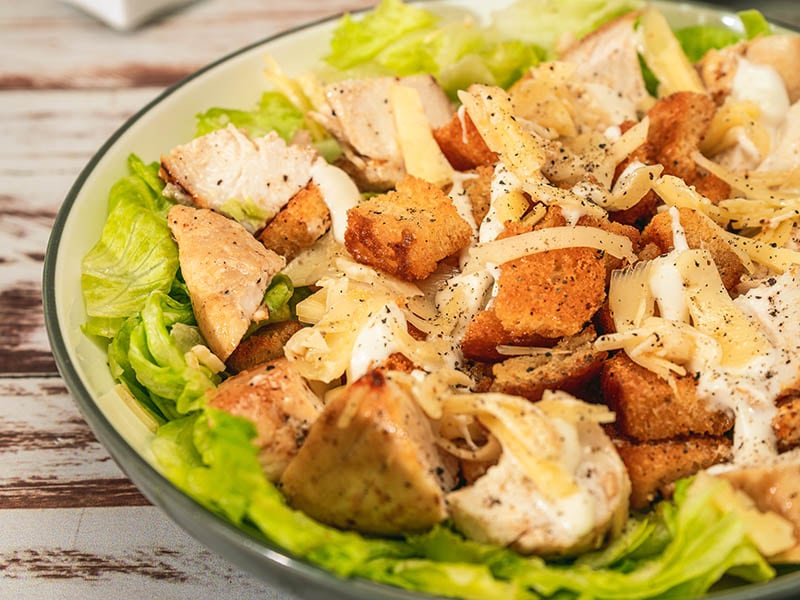
Unreasonable as this method may seem, it may close the case in just seconds. Cut a small piece and chew it. Now, let’s inspect the flavor. If it tastes sour or offensive, spit it out immediately. You know what to do with the rest of the chicken when this happens.
How A Touch Can Tell Anything You Need
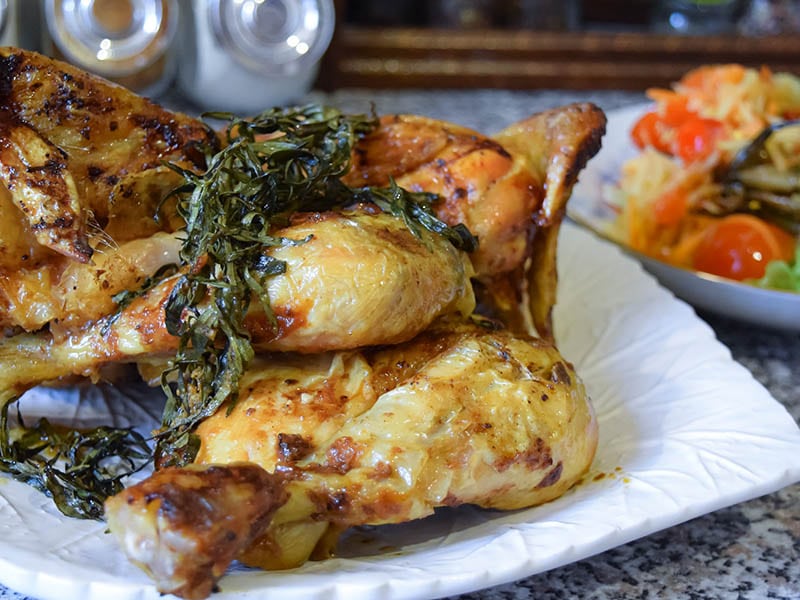
Using a finger to check what the meat feels like is not a bad idea. While edible chicken is firm and glossy, chicken that has gone bad has opposite characteristics. Supposing that a slight touch gives you a feeling of stickiness or mushiness, you know the answer.
What You Should Do In Case You Eat Spoiled Chicken
Unfortunately, not everyone has the privilege to obtain the answer in time. In case you know that the chicken is bad, don’t eat it for the sake of your health. Here is what will follow if you eat spoiled chicken.
Food Poisoning
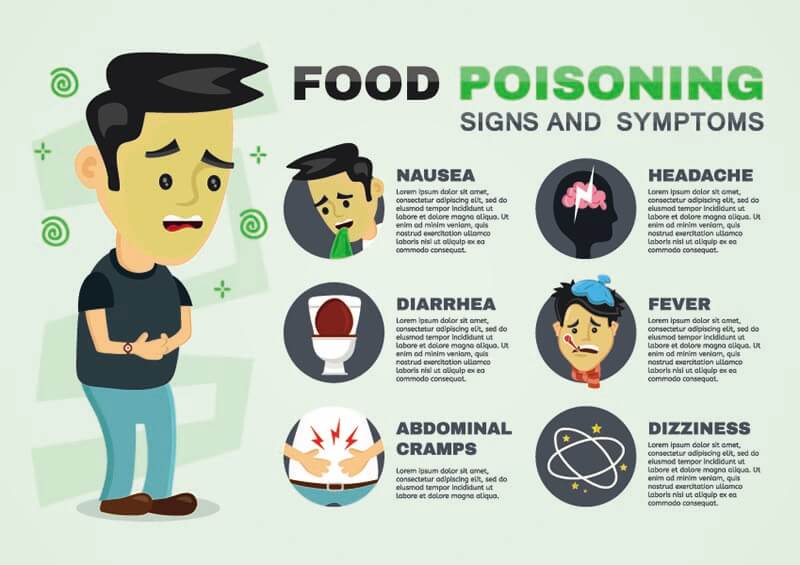
Consuming perished chicken leads to foodborne illness, commonly known as food poisoning (2). The symptoms will take place within 24 hours, but mostly 3 or 4 hours after eating. Vomiting, diarrhea, fever, and stomach pain are the most common symptoms.
Here is some good news. Usually, the effects are mild and will disappear within 3 to 4 days. You will need no special medical treatment; just remember to get hydrated all the time. So, water will be your best friend to help you go through this period.
Treatment
If you get food poisoning, remember to take a rest and lay in bed until you feel better. Don’t eat or drink anything in the next several hours, until your stomach feels better. When you eat again, start with bland foods like rice or toast and avoid dairy products or fatty foods.
Furthermore, you may want to consume probiotics, which is contained in yogurt or other fermented foods. These bacteria can strengthen your gut, help you recover faster.
Taking medicines is another way to treat food poisoning, depending on your symptoms. Regarding drinks, ginger can help you feel better.
In rare cases, self-treatment will not be enough. When the symptoms appear to be too severe, go to the doctor or the hospital immediately.
Remember to also take a rest after coming home from the hospital. You can follow the methods recommended above for the best recovery.
Know what to do if you have a case of food poisoning through this video.
How To Preserve Cooked Chicken Properly?
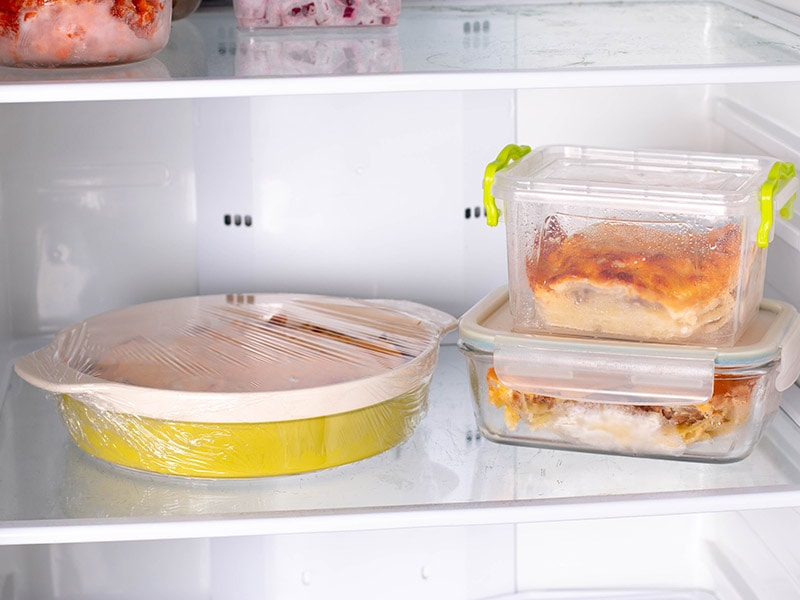
Let’s learn how to save the cooked chicken for future meals. You can find the steps rather simple and not time-consuming.
Chicken should not be left at 40° F to 140° F for more than 2 hours. However, keeping the poultry at temperatures higher than 140° F for a long time is not viable. Therefore, you should choose the below 40° F option, so freezing is the answer.
“Is it possible to freeze rotisserie chicken?” you might wonder. In short, the answer is yes, you can, though you’ll need to learn the proper method in order not to dry the chicken out completely.
Remember to cut it into pieces if you want to preserve the whole chicken. This not only helps store it more efficiently but also accelerates the freezing and defrosting processes.
Step 1: Wait For Cooling
Assuming that you do not intend to touch your freshly cooked chicken even a little bit, you have to wait for it to cool down. The best method is to put the chicken in a bowl and then submerge it in cold water. This should be fast; you can check the chicken during the process.
Step 2: Store The Chicken
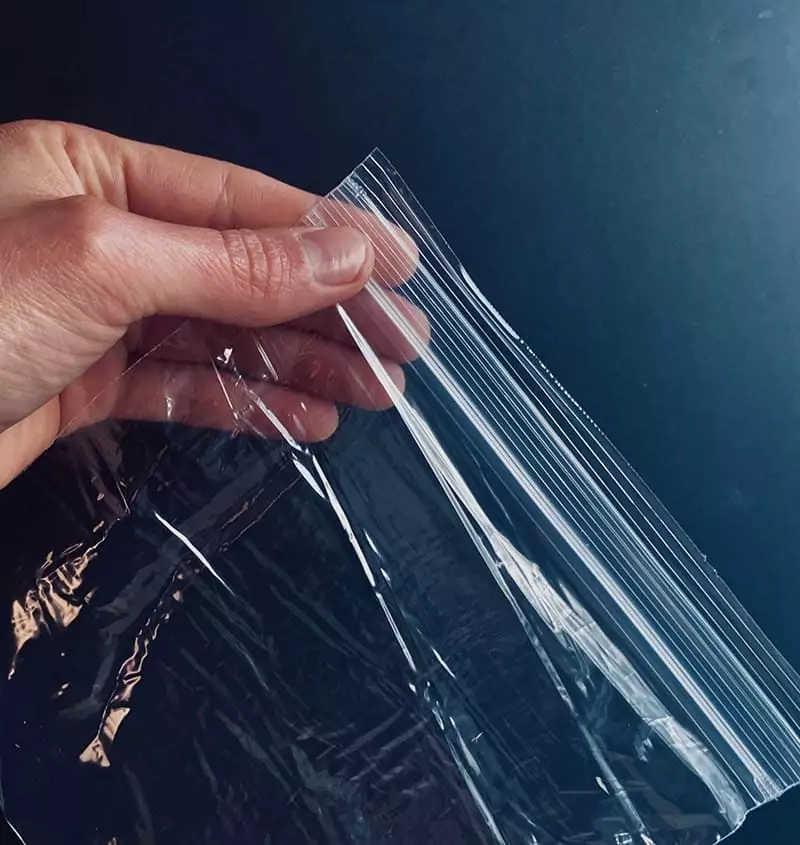
The chicken should be kept in an airtight Ziploc bag or a container with coverage. Afterward, label the bag or container, write the date it starts being preserved, and other information.
Step 3: Freeze
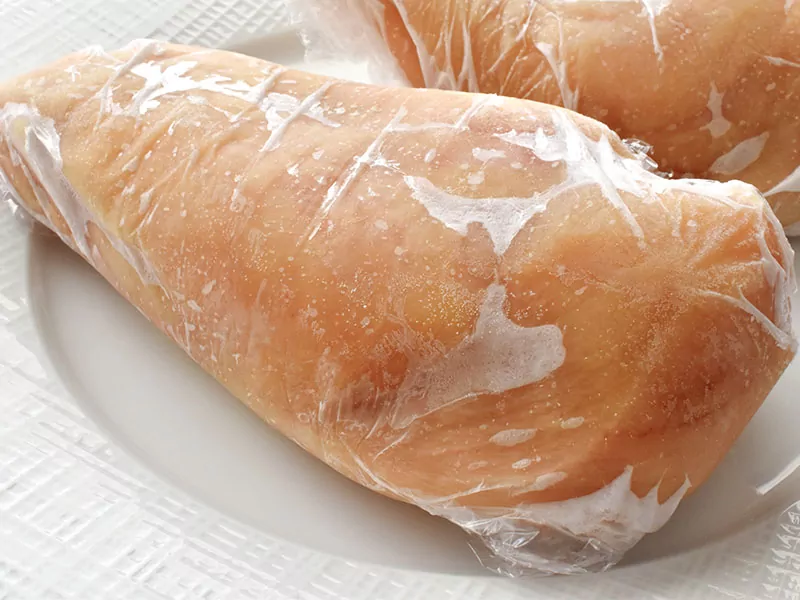
Place the chicken in the freezer. Your frozen cooked chicken will still be edible within 2 or 3 months. However, you may want to finish it as fast as possible for the best quality.
How To Defrost Cooked Chicken
Inevitably, you have to thaw the frozen cooked chicken in the future to eat it. Don’t worry, defrosting the meat is just a piece of cake.
Using Refrigerator
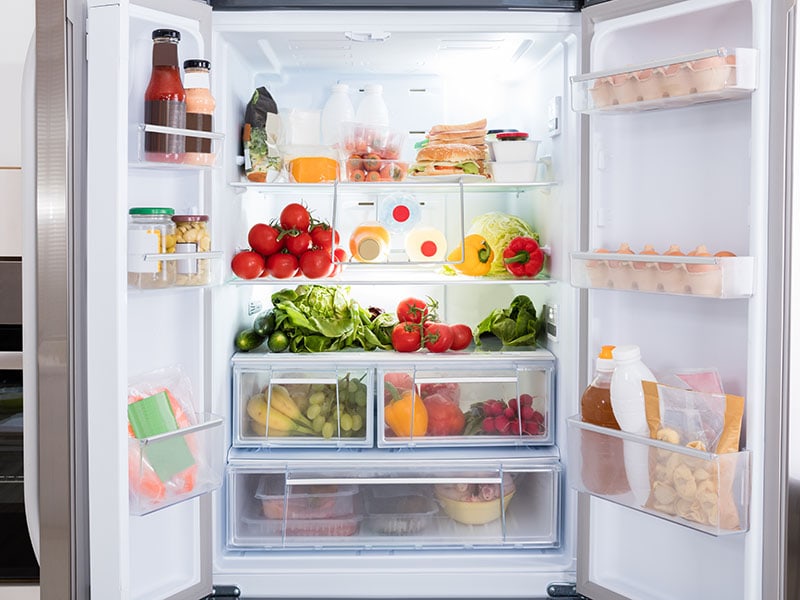
This is the handiest option you can have. Choose this method if you are not in a rush to cook since it will take you some time. After defrosting, you can choose to eat the chicken cold if you want.
Firstly, you need to take the chicken out and place it on a surface, be it a dish or a tray. Remember to also take the chicken out of the bag or container. It is advisable that the surface is large enough to also carry juice or water from the meat.
Subsequently, just lay it on a lower shelf in the fridge and wait for around 24 hours. After that, you can eat the chicken. Do note that it can only stay safe in the refrigerator within the next 24 hours after being defrosted.
Using Cold Water
Using this way, you don’t have to get the chicken out of the Ziploc bag. In case it is in a container, transfer it to a watertight plastic bag instead.
The chicken shouldn’t be in contact with the water at all costs. Water not only lowers the meat quality but also allows bacteria to contaminate the food.
Following this, prepare a large bowl that can hold the chicken comfortably. Fill the bowl with cold water, then lay the bag in it. It should be pointed out that all of the meat needs to be in the water.
The water needs to be replaced every 30 minutes until the whole process is done. For your reference, 1 pound of chicken takes around 1 hour to thaw. Your chicken is mostly ready if it is free of any frost.
Using Microwave
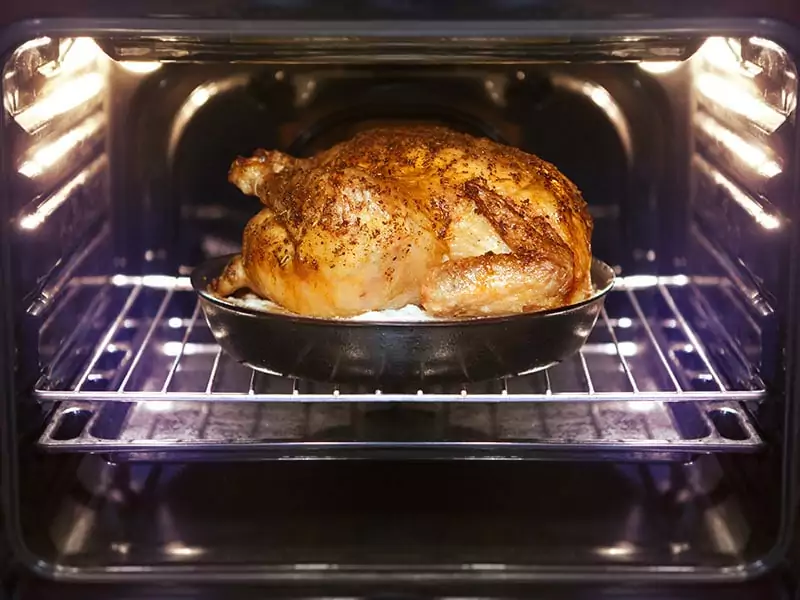
Here you got the quickest method; consider it in the event that your meal is just several hours away. However, it is quite risky since an unsuitable temperature can reduce the deliciousness of your chicken.
You have to remove the kitchen from the bag or container in the first place. Please be informed that the mean will enter the ‘’danger zone’’ quickly after being removed. For this reason, thaw it as soon as possible.
Now, place the poultry in a big container that can withstand the heat of the microwave. Put it in the microwave afterward and heat it at a low temperature. 1 pound of chicken will take around 7 minutes to defrost.
Despite being fast and convenient, using a microwave can have unwanted effects on your chicken. It may cook some spots that are already thawed, which leads to overcooking.
How To Reheat Frozen Cooked Chicken
Many prefer to reheat the cooked chicken instead of eating it right away after defrosting. This is reasonable as hot chicken may be tastier. Also, there are plenty of scrumptious recipes with leftover chicken that require warm meat for the best taste.
Please keep in mind that you should only reheat it once for safety reasons. In case you don’t want to defrost the chicken, you can reheat it right away. However, it will take more time: The extra time is around ½ of the baking time for thawed chicken.
A meat thermometer will be a great tool in this process. When you are not sure, stick it in the middle of the chicken to check the internal temperature. It is only cooked when the temperature displays 165° F or above.
Using An Oven
This is considered the best way to reheat the chicken. As time-consuming as it may get, it brings back the flavors lying under the frost.
Step 1: Preheat
Depending on your oven, this should take around 15 minutes or a little longer. A preheated oven accelerates the reheating process.
Step 2: Add Water To The Chicken
Add several spoons of water to the meat, then wrap it in foil. This way, the chicken will keep the juicy taste. Don’t forget to place it on an oven-resist container.
Step 3: Reheat
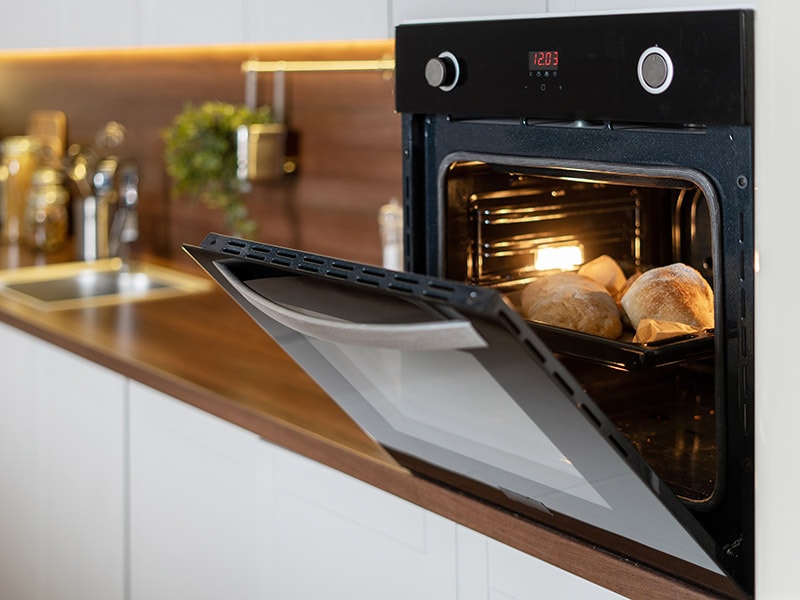
Put the chicken in the oven and let it cook at 400°F. After about 15 minutes, remove the foil then bake for another 5 minutes.
Using A Microwave
Using a microwave is suitable when you have little time on your hand. The drawback is that this method won’t make your chicken crunchy again.
Step 1: Place The Chicken
Lay the chicken on a plate that can withstand microwave heat. To be cooked evenly, the small chicken pieces should be in the middle while the larger ones are at the border.
Step 2: Add moisture
To prevent the chicken from drying out, sprinkle a teaspoon of water or chicken broth on the meat. Add a little oil to enhance the flavor if you want.
Step 3: Cover And Reheat
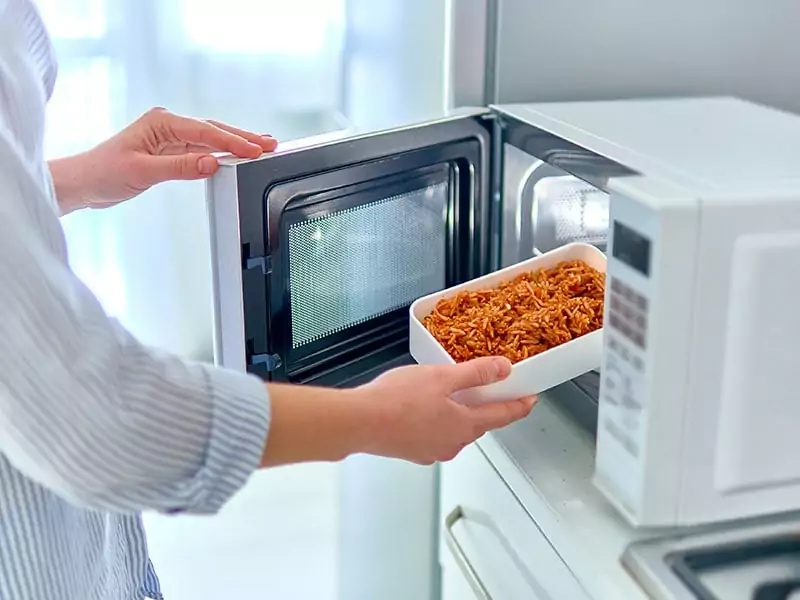
Next, wrap the chicken in microwave-friendly plastic wrap or a damp paper towel and start heating. After 2 minutes, take it out to check the doneness (in the same way you check if turkey is fully cooked. You can rewrap and put it back into the microwave in the event it is not cooked.
Using A Stovetop
Here you have another tool that can reheat chicken in a short amount of time. It’s quite easy to do, just follow the steps carefully.
Step 1: Prepare A Skillet
Place your skillset on the stove and heat it moderately. Too much heat will make the chicken dry, decreasing the meat quality.
Step 2: Add moisture
Add 1 spoon of olive oil or water to the skillet. The liquid is a tool that helps the chicken keep its moisture.
Step 3: Heat The Skillset
Lay the chicken on the skillset and lower the heat slightly. Keep stirring the chicken until it is hot, which will take you around 6 minutes.
Using An Air Fryer
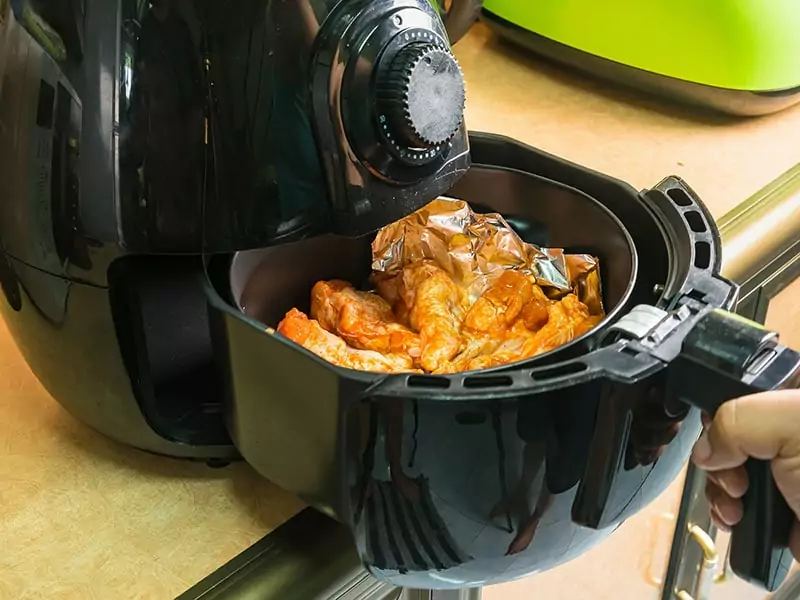
An air fryer is a great appliance that allows your chicken to retrieve their crispy taste. It’s also not very time-consuming – an excellent choice for many people.
Step 1: Preheat
You should preheat the air fryer so that it can cook the meat better. It will take around 5 minutes to reach 375° F.
Step 2: Place The Chicken
Leave your chicken in a single layer that lies inside the basket of the device.
Step 3: Reheat
Cook the chicken for 2 minutes, then shake the basket and wait for another 2 minutes. The meat should be ready to serve after this time.
Check out these easy ways to reheat rotisserie chicken!
FAQS
It is not easy to follow all the necessary steps mentioned in this post. From preserving the chicken to taking it out for future consumption, they all involve various matters. This section was created for the purpose of answering questions that come into your mind.
A Better Future For Your Cooked Chicken
After this post, I guess you know what to do with your chicken now. You may still have to throw away the meat from your dinner last night. However, your future cooked chicken will never suffer from such an ill fate.
Your friends or relatives may have similar problems with cooked chicken. So, tell them about this post so that it can put an end to their headache! In case you have extra tips regarding cooked chicken, don’t be shy, the comment section below will welcome them!
References
- https://www.cdc.gov/. 2021. Chicken and Food Poisoning.
- Ask.usda.gov. 2021. AskUSDA.

