How long does cooked shrimp last is a question that more and more people are asking every day. Now that shrimp has become one of the most consumed kinds of seafood in the U.S(1), there has never been a better time to learn the answer.
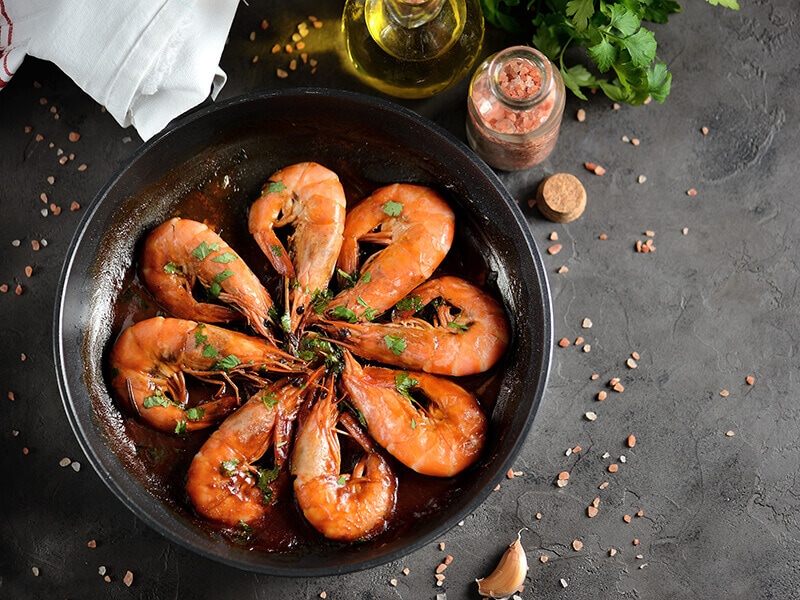
Food poisoning, especially from eating bad, spoiled seafood, can have severe consequences and sometimes can even turn lethal. To avoid that, it’s best that you prepare all the necessary knowledge about your food, and in this case, your cooked shrimp.
In this article, I’ll give you everything about the expected shelf life of cooked shrimp and useful information about how you should store them. Additionally, you will also learn how to spot spoiled shrimp!
The 101 About Shrimp
Before getting to the main course, let’s go through some of the basic knowledge about shrimps. After all, the better you understand this yummy seafood, the more you will be able to appreciate and enjoy it.
Popular Types Of Shrimp
Shrimp, along with lobster, crab, oyster, and many more sea species that have an exoskeleton, is considered a kind of shellfish. Although there are (at the very least) about 300 types of shrimp, only a few of them are commonly sold and consumed.
Here are some of the most commercially available types of shrimp.
Pink Shrimp
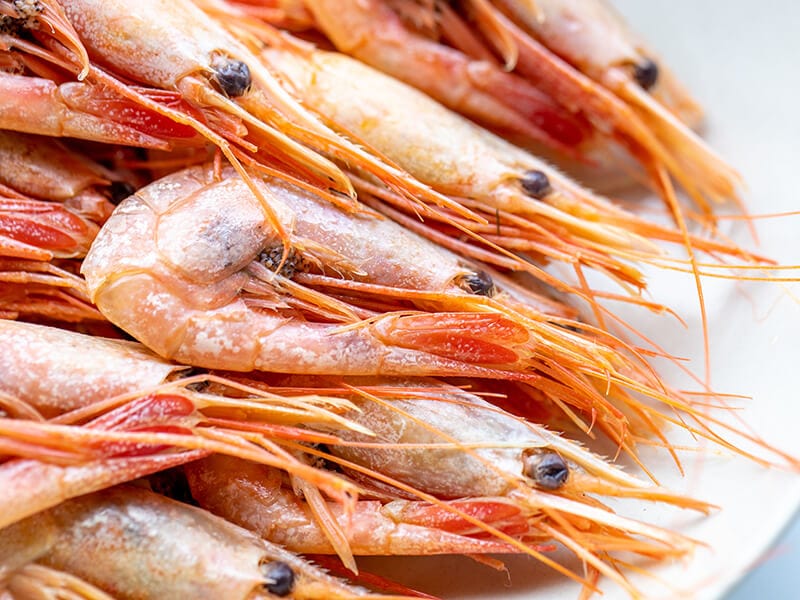
Pink shrimp is among the easiest types of shrimp to spot in everyday cooking. They are commonly used in salad dishes, so it’s likely that you have tasted pink shrimps before.
As its name implies, these Florida coast shrimps are typically pink when uncooked, although some of them can be white or gray too. In addition to salad-making, you can also boil, fry, grill, or steam them to enhance their sweet but relatively mild taste.
White Shrimp
White shrimp leans more on the sweet side when it comes to taste, has a firm texture, and is a very versatile type of shrimp. They can be cooked by steaming, grilling, boiling, baking, and that’s just naming a few ways to turn white shrimps into mouth-watering dishes.
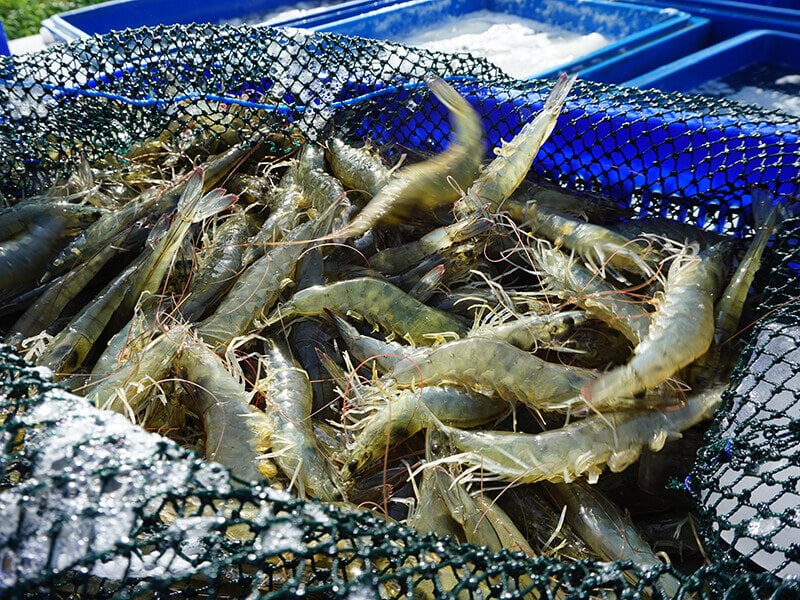
Generally, there are 3 main variations of white shrimps: Chinese, Pacific, and Gulf white shrimps. However, the Chinese and Mexican ones are often grown in shrimp farms instead of caught wild.
Brown Shrimp
If you are looking for a type of shrimp with higher nutritional value, brown shrimp is the one to choose. These hard-shelled, brownish shrimps are not only unique in flavor but also contain higher iodine content than the white and pink ones.
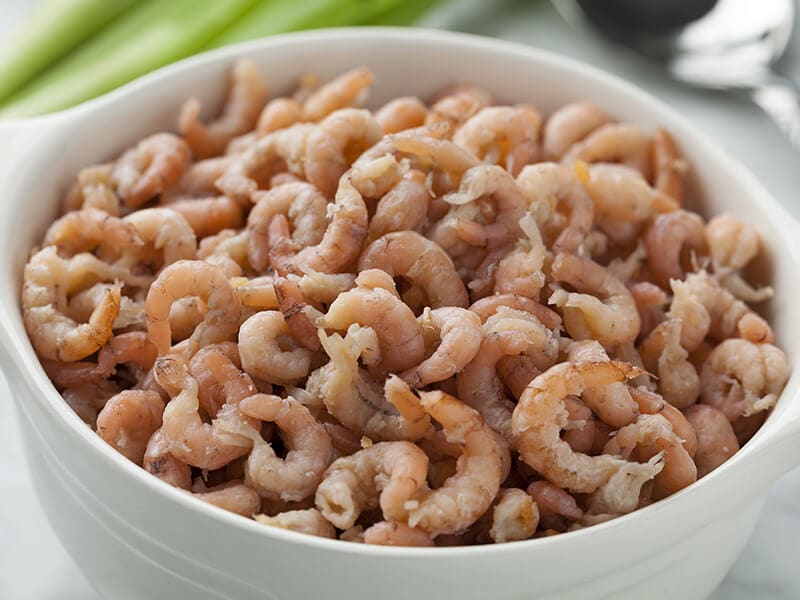
However, because of how iodine-packed they are, brown shrimps can taste a little iodine-ish (which is earthy, salty, and metallic). Some people really enjoy this flavor, though, so many choose to simply boil or steam brown shrimps so as to preserve its natural taste.
Tiger Shrimp
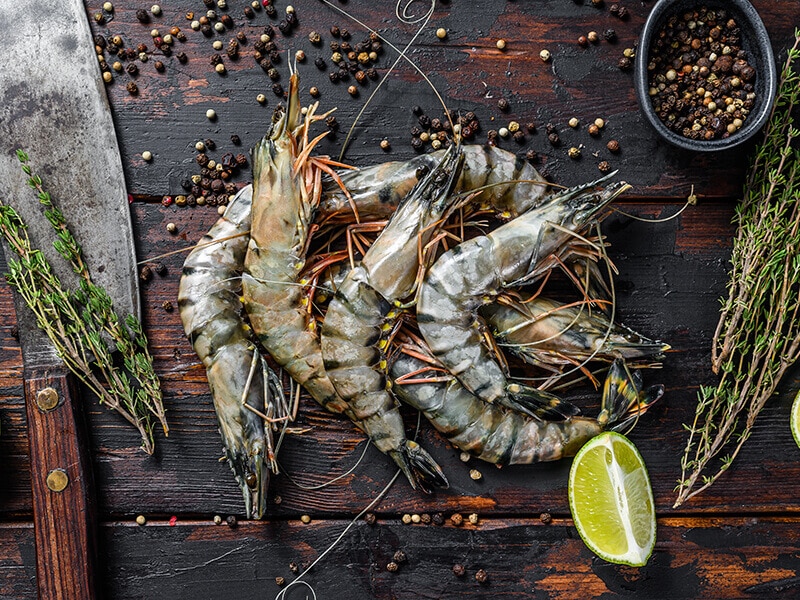
This Asian and African native shrimp is well-known for its distinctive yellow (sometimes red) and black stripes, hence the name “tiger shrimp”. It has a firm texture with a light flavor that is easy to cook and tastes good whether grilled or steamed.
Tiger shrimps are widely farmed in Southeast Asian countries such as Vietnam, Thailand, and the Philippines. They can also be caught in the wild and will have a more salty, seafood-like taste than the farm-raised ones.
Rock Shrimp
Thanks to their sweet taste, meaty texture, and high protein content, rock shrimps can be considered a more affordable alternative for lobsters. These shrimps are also famous for their hard shells, which can be quite a chore to remove.
Fortunately, rock shrimps are often sold pre-peeled. However, if you ever come across some unpeeled rock shrimps, try grilling them. Trust me; you won’t regret doing so!
Fun fact: Rock shrimps weren’t consumed commercially until the late 1960s when a machine dedicated to removing their rock-hard shells was introduced!
Spot Shrimp
If rock shrimps resemble lobsters in terms of taste and texture, then spot shrimps are their “cousins” when it comes to shape and color. Also called the “Lobsters of Alaska”, the spot shrimp boasts a superb sweet flavor with tender, juicy meat.
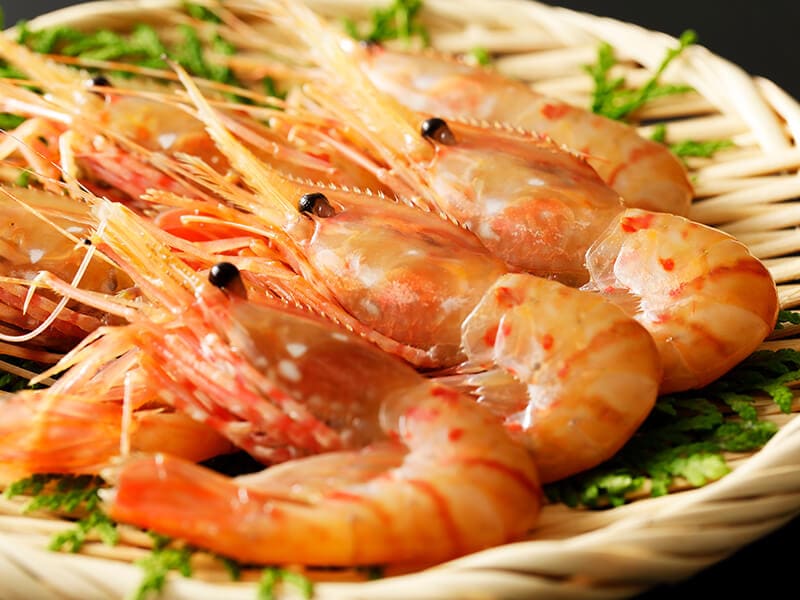
To make a tasty meal out of spot shrimps, you can grill, broil, steam, or saute them. All in all, spot shrimps can easily become the star-of-the-show dish and are loved by many.
Learn some tips for identifying and buying shrimps in just 8 minutes! Watch this video:
The Nutritional Benefits Of Shrimps
Not only are shrimp delicious, but they are also remarkably nutritious. 3 oz (85g) of shrimp contains only 84 calories, of which 90% comes from protein and 10% comes from fat.
More importantly, shrimps are a rich source of iodine – an essential mineral that can only be absorbed through food. In addition, they’re also full of vitamin B12, selenium, iron, phosphorus, omega-6, omega-3 fatty acids, antioxidants, and other vital minerals.
Shrimps can be pretty high in cholesterol (189 mg of cholesterol for 100g of cooked shrimp) (2). However, there hasn’t been any scientific proof that eating shrimp can negatively affect your heart health.
That’s about it for all the quintessential information about shrimp. Now, let’s get to the biggest question of this article: “How long does cooked shrimp last?”
The Expected Shelf Life Of Cooked Shrimps
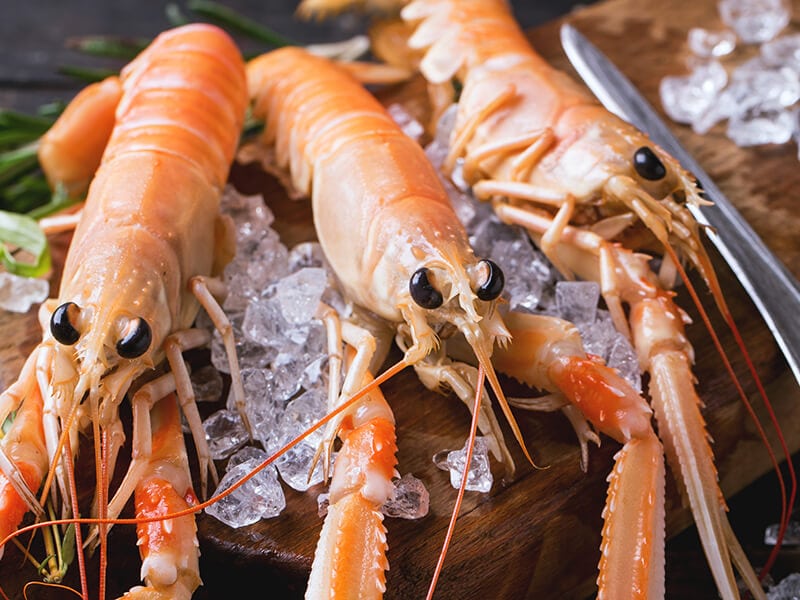
Shrimps, like other seafood, are prone to bacteria and easily spoiled if not stored correctly. Uncooked shrimp will typically only last for 1-2 days in the fridge and 3-6 months if frozen. Fortunately, when already cooked, shrimp will last longer than that.
When Left At Room Temperature
Generally, room temperature doesn’t bond well with cooked shrimp.
At 40 degrees Fahrenheit, your tasty seafood dish will only last 2-3 hours before going bad or getting infected with bacterias. If left at 90 degrees Fahrenheit, cooked shrimps might get ruined even faster in just about 60 minutes.
Due to its heat-sensitive nature, it’s best that you enjoy your shrimp meal while it’s still warm. In cases where you can’t eat all of your shrimps in a short time, consider putting them in the fridge or the freezer.
When Stored In A Fridge
When stored in a refrigerator, cooked shrimps will typically last for 3-4 days. However, make sure that you have placed them properly in an air-proof container, a Ziploc bag, or wrapped them carefully with aluminum foil.
In addition, you should also take into consideration the condition of your shrimps before refrigerating them. If there have already been indications of bacterial growth or other spoilage signs, no amount of effort can save them from going to the trash can.
I suggest putting shrimps in the fridge right after cooling, or under 2 hours since completely cooked if your room temperature is at about 40 degrees Fahrenheit. If the room is at 90 Fahrenheit or higher, refrigerate shrimps in under 1 hour after cooking.
When Stored In A Freezer
Food will always last longer when frozen, and shrimps are no exception. When stored correctly in the freezer, cooked shrimp will last for 6-9 months.
However, the freezer is notorious for giving food freezer burn. To counter this, remember to use a Ziploc bag or other air-sealed containers to store your shrimps.
Additionally, the overall quality and freshness of frozen cooked shrimps will degrade noticeably over time. Left untouched for too long, and your shrimps might lose all their flavor and turn overly soft. So try to eat them in under 3 months to fully enjoy the flavor.
To summarize, here is a chart for the shelf life of uncooked and cooked shrimps under different storage methods.
Step-By-Step Guide To Storing Cooked Shrimps
The best ways to store cooked shrimps are undoubtedly by using either the fridge or the freezer. However, if not appropriately prepared, shrimps can be damaged by the cold air, thus ruining their flavor and consistency.
In this section, I’ll give you a detailed guide on how to properly prepare and store cooked shrimps.
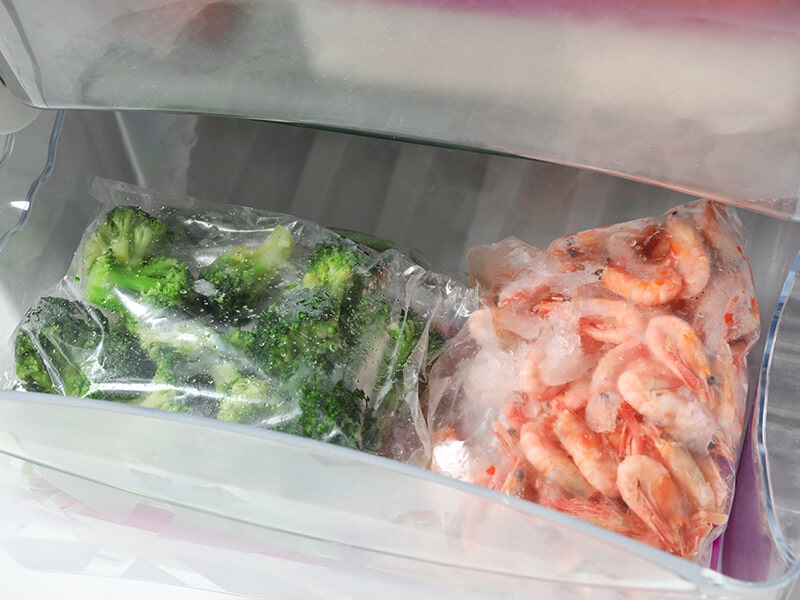
How To Store Using The Refrigerator
Although the air in the fridge is not as harsh on food like that of the freezer, you will still need to do a little preparation before refrigerating shrimps.
Step 1: Let Freshly Cooked Shrimp Cool
If your shrimps are freshly made and are still smoking hot, let them rest until they become cool before putting them in the fridge. However, don’t leave them at room temperature for over 2 hours, as this will welcome bacteria and spoil your seafood.
Step 2: Airproof And Refrigerate
After your shrimps have cooled, put them securely in either a Ziploc bag, a vacuum seal bag, or an airtight container. If you can’t find those in your house, a layer of aluminum foil wrap will suffice. When you have airproof them, simply put them in your fridge.
Step 3: Reheat And Enjoy
When it comes time to eat your refrigerated shrimps, you will have to reheat them first. There’s a variety of good choices when it comes to doing this task. I’d recommend using a stovetop, oven, microwave, or steamer.
There will be more details about reheating cooked shrimps in the next section, so keep reading.
How To Store Using The Freezer
Using the freezer as storage for cooked shrimp requires a bit more effort. However, it’s not overly complicated, so don’t be hesitant to try.
Step 1: Wait For Your Shrimp To Cool
There’s nothing much to say about this first step as it is exactly similar to the above method. Remember, it’s never a good idea to freeze warm food.
Step 2: Keep Your Shrimps Air Protected
A freezer can be a devastating place for food, so you’ll need to take extra care with this step.
An ideal container for this step would be a dedicated freezer bag. However, you can also use an air-sealed container as an alternative, provided that you have wrapped the shrimps carefully in aluminum foil.
After that, freeze your shrimps in order to keep them for up to 9 months!
Step 3: Thaw The Shrimps
Bad news, you can’t just leave cooked shrimps at room temperature and wait for them to thaw slowly.
To correctly defrost them, either transfer your shrimp to the fridge for a night or use cold tap water and a colander to thaw them. It should take about 30 minutes for 1 pound of shrimp to thaw under running cold water.
Now that your shrimps have thawed, you can use them as ingredients to make other dishes or reheat them by one of the methods below.
Throw Your Shrimps Away If You See These Signs!
As mentioned earlier, spoiled seafood can cause more than just a night or two of diarrhea. In extreme cases, people might die over a bad case of seafood poisoning. Luckily, you can tell whether your cooked shrimp has gone bad or not quite easily.
Check How Your Shrimps Smell First
If the shrimps smell weird, it’s a clear sign that they have gone bad. Spoiled cooked shrimps will reek of an unpleasant, sour, and ammonia-like smell. In addition, their odor will be quite a lot stronger and more pervasive than usual.
Color Is Next On The List
Color is another factor to decide whether the shrimp is good to eat or should be thrown away. Perfectly cooked shrimp should be pink, white with a hint of red in color. If the shrimp has turned into a yellow-ish color with dark spots on them, it’s not safe to eat.
Don’t Forget To Check The Texture
Lastly, try touching the shrimp to feel its texture. Spoiled shrimp won’t be able to retain its firmness. Instead, it will turn overly soft, slimy, and stickier to touch than usual.
If your shrimp hasn’t been deshelled yet, check to see whether the shell still sticks to its body or has been dislocated. Mushy, broken shells are clear signs of bad shrimp, so don’t hesitate to throw it away.
If you spot one of these signs above, discard the shrimps right away. Don’t try tasting them, it’s just not worth the risk.
The Risk Of Eating Spoiled Shrimp
Food poisoning from spoiled shrimp can lead to severe consequences. If you are lucky, you might just get off with some mild symptoms, such as feeling nauseous, stomach cramps, vomiting, diarrhea, or fever.
However, there’s a chance that things might get worse. If you have bloody diarrhea, consistent high fever (over 102°F), or frequent vomiting (3), you should consult a doctor as soon as possible.
The Best Ways To Reheat Cooked Shrimp
As promised, this section will be dedicated to the best methods to reheat your shrimp. Generally, the optimal choices for reheating shrimps are stovetop, oven, microwave, or steamer.
Using The Stovetop
A stovetop is the best method to reheat shrimp if you want to add some extra seasonings to it. The best part? This method only takes about 7 minutes!
Step 1: Prepare Your Skillet
To prepare your skillet, first heat them up by using medium heat. When your skillet is hot, add a layer of oil to moisturize it.
Step 2: Place Your Shrimp On The Pan
After the oil has heated up, place your shrimp on the skillet. Don’t stack the shrimp on top of each other. Instead, place them evenly all over the pan. This will allow the heat to reach them equally.
Step 3: Let The Heat Does Its Magic
Let your shrimp sit still for about 3 minutes, then flip and cook for another 2 minutes.
And there you have it, nicely reheated shrimps.
Using The Oven
The oven is another great way to reheat shrimp. Just be careful not to dry your shrimp out! Follow these steps to master the oven way of reheating cooked shrimps.
Step 1: Prepare Your Oven
To prepare your oven, heat it to 300°F in advance. While waiting for it to reach the right temperature, go to step 2.
Step 2: Prepare Your Shrimp
Place your shrimps on a baking tray. Make sure you are placing them in an even manner, not stacking them. After that, cover the tray using aluminum foil. Alternatively, you can use foil to wrap your shrimp individually.
Step 3: Bake Your Shrimp In The Oven
Bake your shrimp in the oven for about 15 minutes at 300°F. At the 8-9 minute mark, you can stir your shrimp a little. Remember to cover the tray after doing so, though.
After about 15 minutes, you should have a hot dish of shrimps ready to be served!
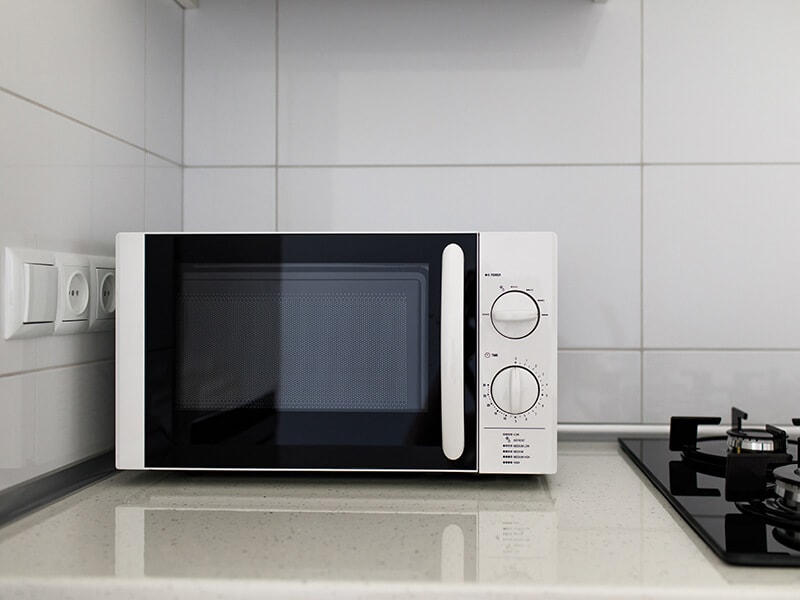
Using The Microwave
The microwave is a classic kitchen staple for reheating food. The only drawback of using the microwave is that it might cause your shrimp to become overly chewy and dry. So if you are dealing with fried or breaded shrimp, it’s better to choose another method.
Step 1: Prepare Your Shrimp
Distribute your shrimps evenly in a microwave-safe bowl/dish. Give them a small splash of water, just enough to moisturize the surface a bit, then cover up with a lid or microwave wrap.
Step 2: Microwave At High Power
In order not to dry out your shrimp, start with 1 minute at high power. After that, check to see if you need more time. If so, add an extra minute or two.
When the shrimps have warmed up to your liking, then it’s time to enjoy.
Using The Steamer Or Double Boiler
Last but not least, you can reheat shrimps with a steamer or a double boiler. With the exception of breaded shrimps, this method is perfect for almost any other type of cooked shrimp.
Step 1: Prepare The Steamer
Use water to fill your steamer tray, then place your shrimp evenly in the steamer.
Step 2: Put The Steamer On High Heat
Put the steamer on the stove at high heat and let the water boil for about 5 minutes (or until the shrimps are heated thoroughly).
After that, you can drain excess water out of the shrimps if you like or just enjoy them as they are.
Some Delicious Meal Recommendations For Your Shrimps
What if you don’t want to go through the hassle of reheating your shrimps and just use them as ingredients for other dishes. Don’t worry; I’ve got you covered with these yummy meal ideas that you can cook with your cold shrimps.
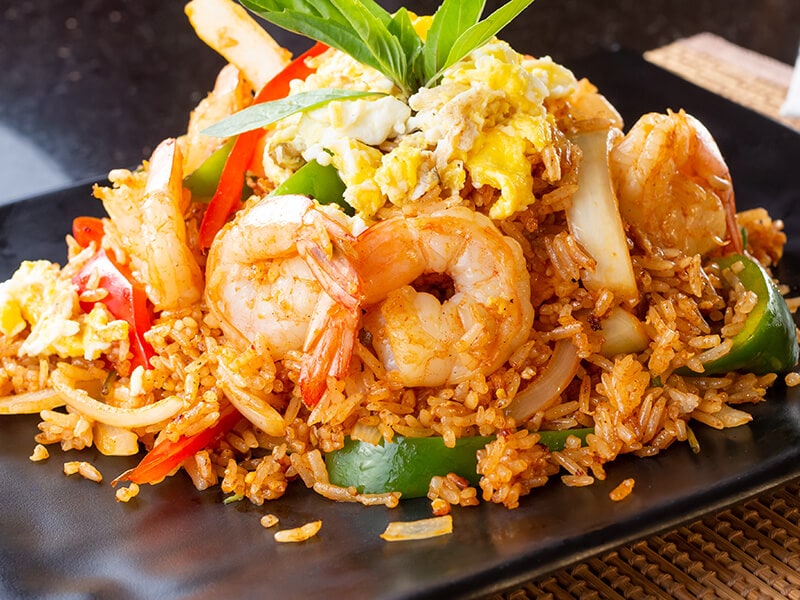
Garlic Shrimp Fried Rice
Fried rice is a super quick, easy, and versatile dish. Not only does it fill your stomach surprisingly fast, but it’s also full of flavor and an excellent way to use up leftovers since you can practically add anything you like into it.
Shrimp Quesadillas
Shrimp quesadilla is another yummy shrimp-based dish that can be made in just under 20 minutes. This dish is the perfect treat for shrimp and cheese lovers and pairs perfectly with salsa or guacamole for an extra kick in flavor.
Shrimp And Pasta Salad
Adding shrimp to your pasta salad is a great way to elevate the flavor of this classic salad dish. If you are craving a creamy, herbal bowl of salad that is still packed full of seafood flavors, give this dish a try!
Cold Shrimp Cocktail Appetizer
If you are looking for a way to turn your cold shrimp into an appetizer, then this is the recipe for you. It’s a simple recipe that takes no time at all to make; plus, you won’t have to use an ice bowl to cool the shrimps since they’re already cold!
FAQs About Cooked Shrimp
If you’ve reached this part of the article, it means that you have learned a fair bit about cooked shrimp. However, if you still have some lingering questions, look no further than this FAQs section.
Extra Tips About Shrimp
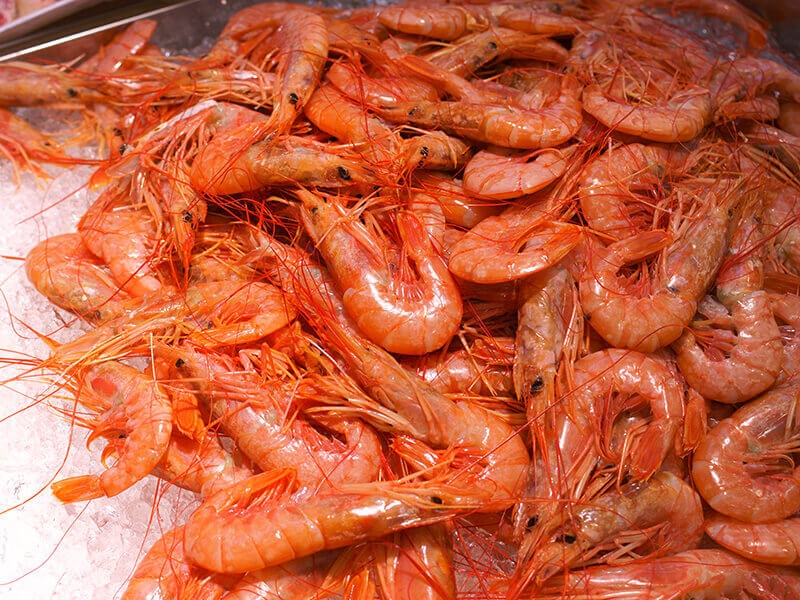
While most people will remove shrimps’ shells before cooking, you can actually make extra use of them. Keeping the shells on while cooking, especially when you are grilling shrimps, can enhance the flavor of the meat.
Shrimps are surprisingly fast to cook, and the shells can prevent them from being overcooked accidentally. They are there to protect the shrimps, after all. In addition, the removed shells can also be used to make seafood stock! Wonderful, right?
That’s all the information I have for you today. I hope that this post has answered all of your questions regarding cooked shrimp. If you’ve gained some useful knowledge, give this article a like and share it with your loved ones!
References
1. NFI releases new list detailing the top 10 seafood species Americans consume most [online]. SeafoodSource.
2. Crustaceans, shrimp, mixed species, cooked, moist heat Nutrition Facts & Calories [online]. SELF Nutrition Data | Food Facts, Information & Calorie Calculator.
3. Key Facts About Food Poisoning [online]. Centers for Disease Control and Prevention.

