How long does chili last in the fridge or freezer? Nothing is worse than making a delicious bowl of chili and carefully storing it, only to discover it has already gone bad before you get the chance to try it.
Chili, a perfect dish for cold weather, is often made in large amounts. Many people prepare it just for further use. However, if you don’t store the dish properly, it will spoil rapidly and lead to serious health problems when consumed.
This post will provide an overview of chili’s shelf life in the fridge or freezer. Moreover, I will also include details about choosing ingredients or tips for cooking and storing.
General Knowledge About Chili
Many of you may think of chili as chili pepper or a type of fruit, but do you know that it’s also the name of a very famous dish in South America? If you have no idea what I’m talking about, this section is undoubtedly for you!
Chili Is Short For Chili Con Carne
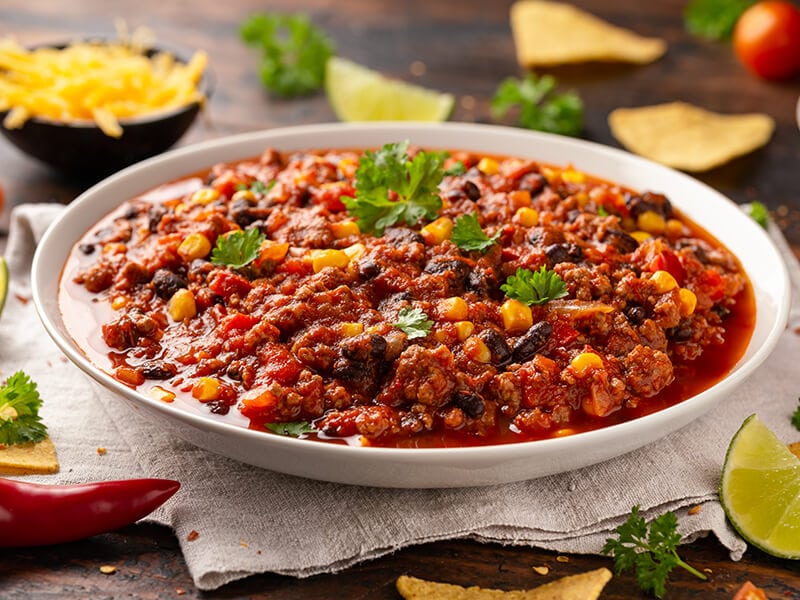
In Spanish, “chili con carne” refers to “chili with meat”. Chili is relatively easy to make. You can make chili in advance and preserve it for later use, which makes it an ideal option for busy nights.
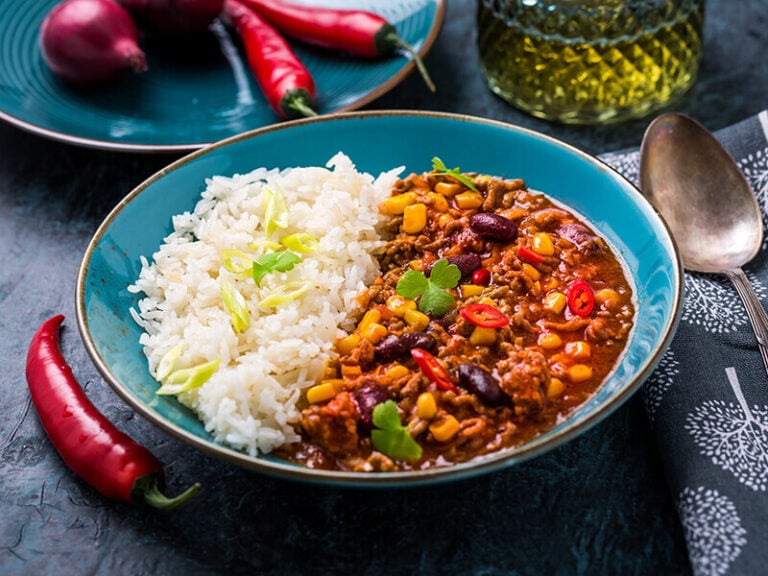
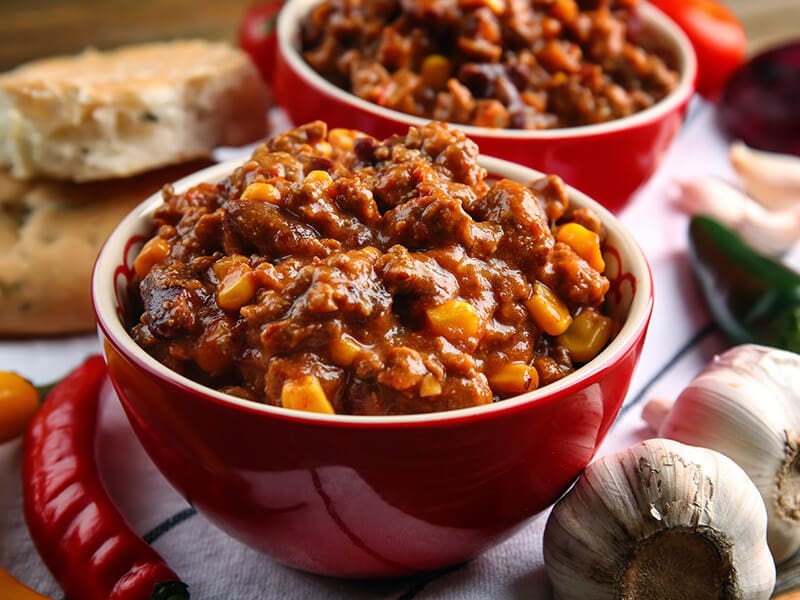
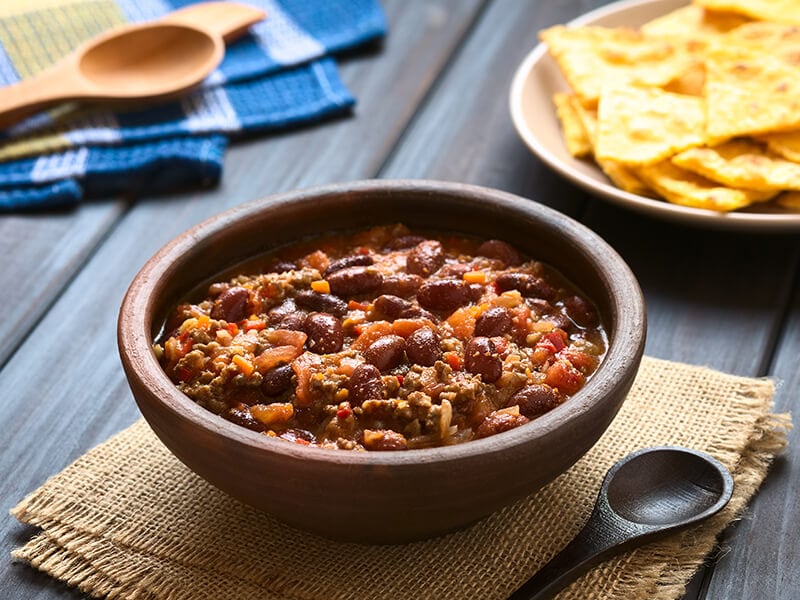
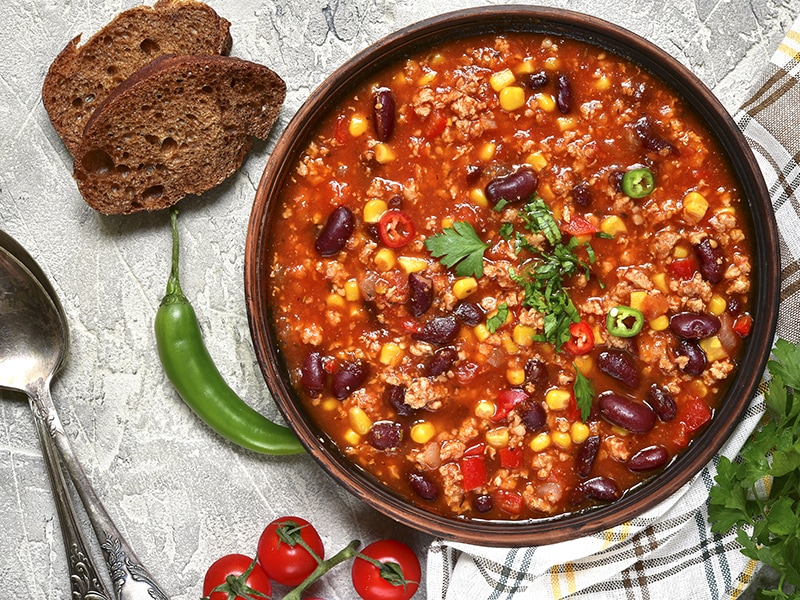
Traditionally, this dish is made from several staple ingredients, such as minced meat (usually beef), chili peppers (or chili powder), beans, and tomatoes. Today, you can find many versions of chili con carne adaptable to regions and families.
The spices used to make chili are diverse. Cumin, chile powder, and cayenne pepper are typical. Other than that, some recipes may include fenugreek, sumac, graham masala, or turmeric. These spices create layers of complex flavor for your chili.
If you want a healthy version, choose lean ground beef, as less fat content means lower risks of developing diabetes. In addition, you can try other low-fat meat like ground turkey or chicken.
Another ingredient you will not want to miss is beans. They help lower blood pressure, cholesterol, and insulin levels. One serving of beans can provide 15 grams of protein, 15 grams of fiber, and other minerals like folate and potassium (1).
Chili con carne is too easy for any home cook to make!
The Best Meat For Chili
There are not many dishes that can be as comforting as chili. Its flavor is a combination of chili pepper’s spiciness, tomato’s sourness, nutty beans, and of course, the special umami of meat.
Choosing the suitable meat type is the key to making the best chili con carne. You can use any variety, but some types give you a superior flavor.
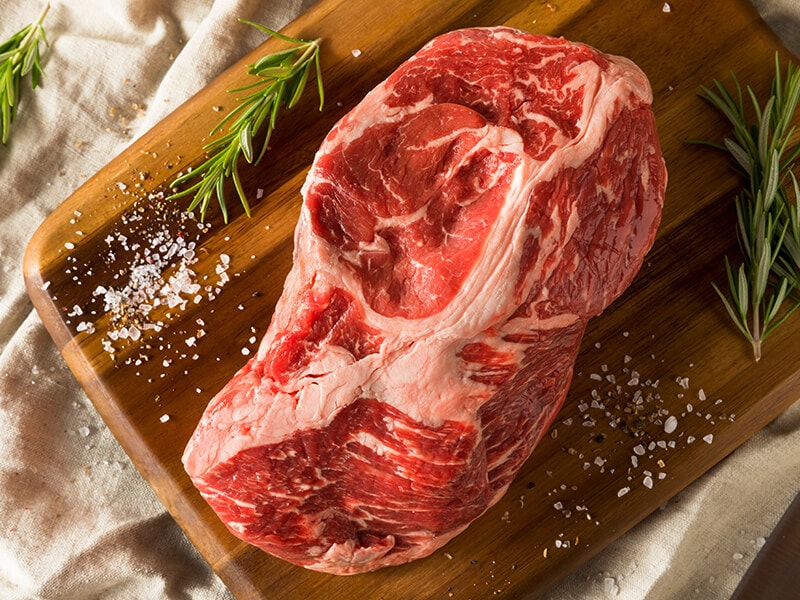
Chuck Roast
Beef is the most common meat for chili con carne because it’s tasty and easy to prepare in large amounts. However, you should consider the meat-to-fat ratio of ground beef for the best outcomes.
Chuck roast, which comes from the chuck primal near the cow’s shoulders, contains the most fat. The ratio between meat and fat is 80:20, so it’s very juicy and tender.
Brisket
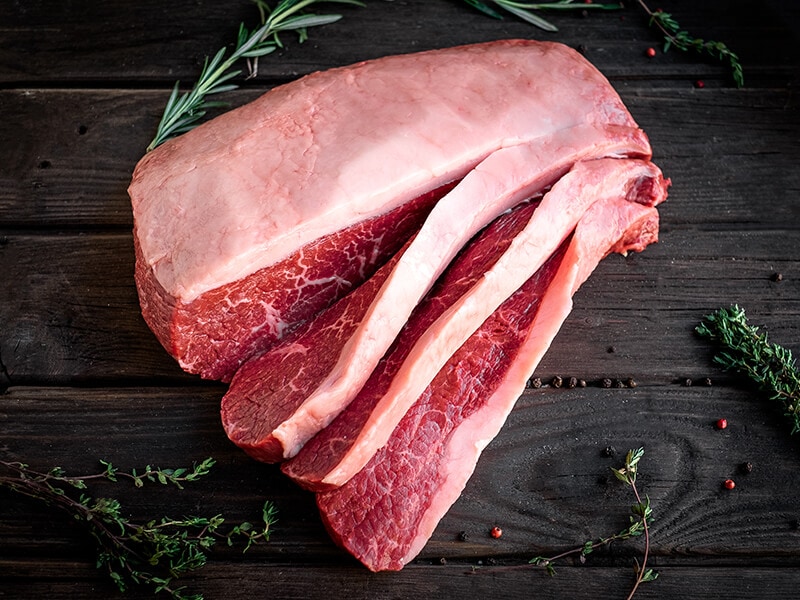
This meat type refers to a cut in the front of the lower chest of the steer. Due to having a lot of connective tissues, brisket is tough and sinewy. When slow cooking, these tissues melt and release their delicious flavor, which is perfect for a chili con carne dish.
Sirloin
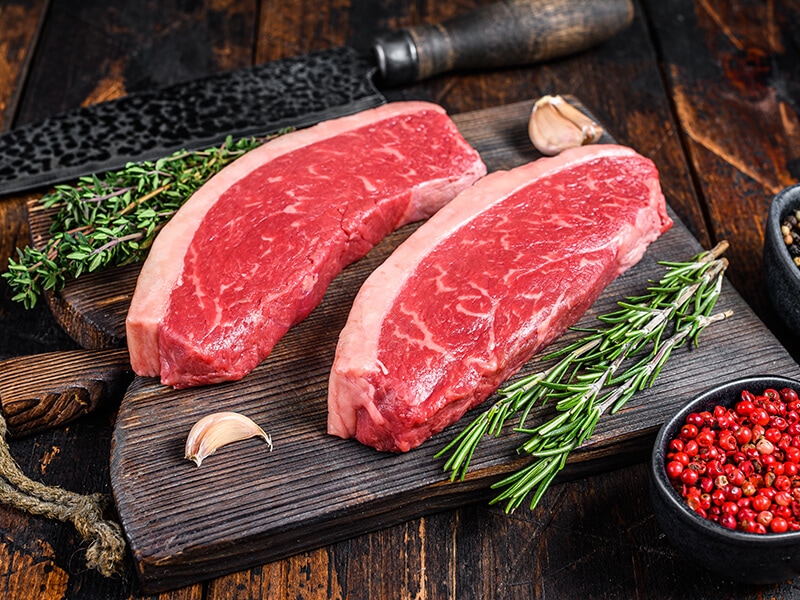
Ground sirloin is made from loin primal and is leaner than ground chuck with a ratio of 90% meat and 10% fat. It has a heartier and drier texture than ground chuck with a stronger flavor.
Short Ribs
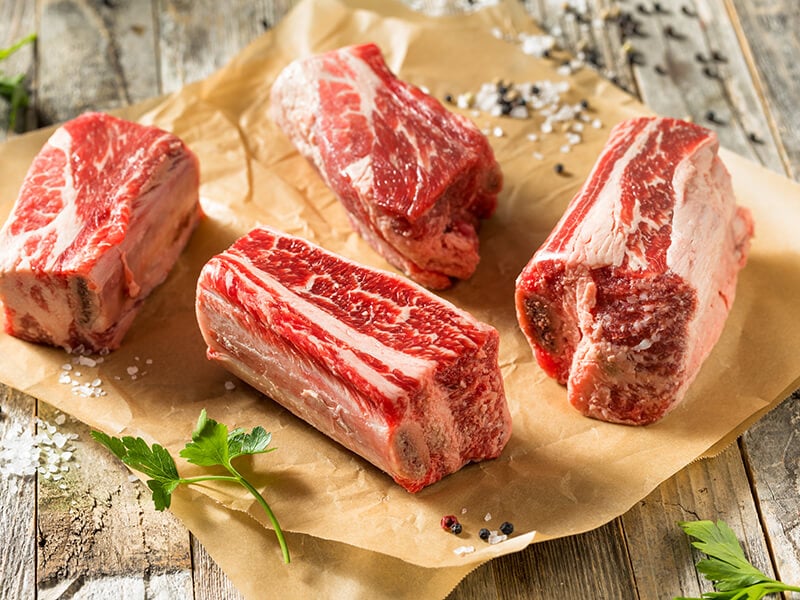
Short ribs are also an amazing ingredient to try on your chili. It comes from the beef chuck portion of the cow and gives off a deep beefy taste when cooked. You can separate the meat before adding it to your chili or keep it intact to get more flavor.
Tri-Tip Sirloin
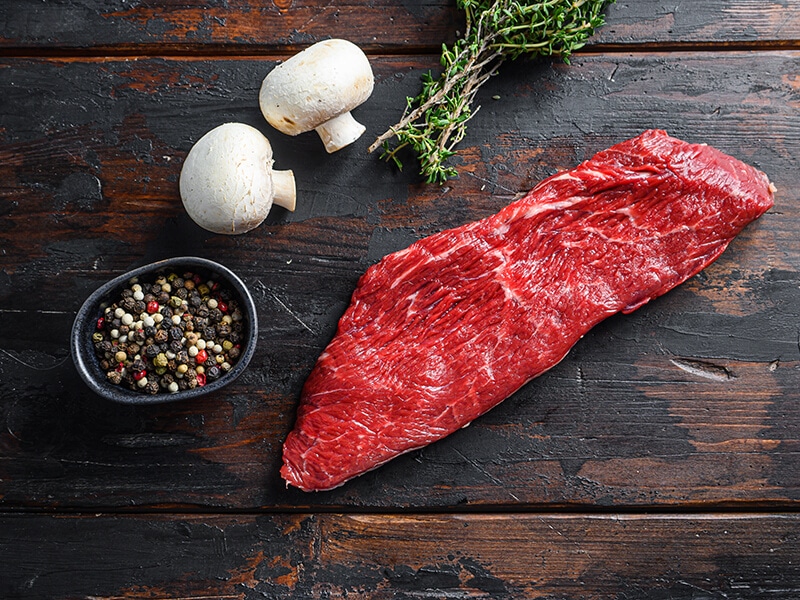
It seems more expensive, but the taste of tri-tip sirloin is incredible. It is cut from the bottom of the sirloin and has a tender texture. Adding this type of meat to your chili, you will have a flavorful dish with a bold and beefy taste.
Chili Con Carne Is Highly Perishable
Yes, it is. Due to the presence of perishable food like meat and tomatoes, along with high temperatures associated with chili pepper, this dish can spoil quickly.
Tomatoes contain 95% water. Therefore, they are a potential environment for microorganism growth(2). In addition, when cooked, the enzymatic changes inside tomatoes can boost the spoilage process.
However, it also depends on how you make it and where you store the chili. The table below will give you a better idea.
How Long Can Chili Last At Room Temperature?
At room temperature, homemade chili only lasts for 2 hours. If you keep it in a slow cooker or maintain low-medium heat, chili con carne should last 6-8 hours. After it has passed the suggested time, you should discard the dish for safety.
The bacteria in chili can multiply at 40-140 degrees F, so chili should either be stored at temperatures lower than 40 degrees F or above 140 degrees F. Both low and high temperatures can slow down the growth of bacteria.
Canned chili, after opening, is safe to eat for 4 hours at room temperature, while you can keep unopened ones for 3-5 years.
How Long Can Chili Last In The Fridge?
If you cannot finish your warm bowl of chili at once, your next step will be storing the dish in the fridge. However, you have to refrigerate your chili within 2 hours of cooking, or your chili will spoil.
Normally, a fresh homemade chili can survive in the fridge for 3-4 days if you store it in an airtight container. During this time, your dish will not undergo any change in quality.
Chili with meat is prone to spoilage faster than a meatless one. This ingredient is vulnerable to the growth of bacteria due to the components inside it.
Canned chili can last up to a week in a fridge after opening. But you should transfer it to an airtight container before storage. The metal cans may cause a metallic taste to your chili. A covered glass or plastic container is also a great option.
How Long Can Chili Last In The Freezer?
If you don’t have any plans for your chili in the next few days, opt for storing it in the freezer. Once cooked, a homemade chili can stay good in the freezer for 4-6 months.
Chili thawed at room temperature or in the microwave should be eaten immediately. It is not safe to refreeze the dish. Nevertheless, if it is thawed in the fridge, you can keep the chili for an additional 3-4 days in the refrigerator.
Frozen canned chili preserves its texture and flavor. You can free canned chili by placing it inside airtight containers or freezer bags before storing it in the freezer. If opened, it stays at its best quality for 4-6 months.
Signs That Indicate Your Chili Has Gone Bad
Like other food, chili can only last for a certain amount of time. When it passes the limitation, the dish degrades rapidly and eventually comes to the stage where you have to discard it. But how do you know it’s time?
There are some signs you can notice right away when your chili is unsafe to eat. These factors are color, mold, odor, texture, and taste.
Appearance
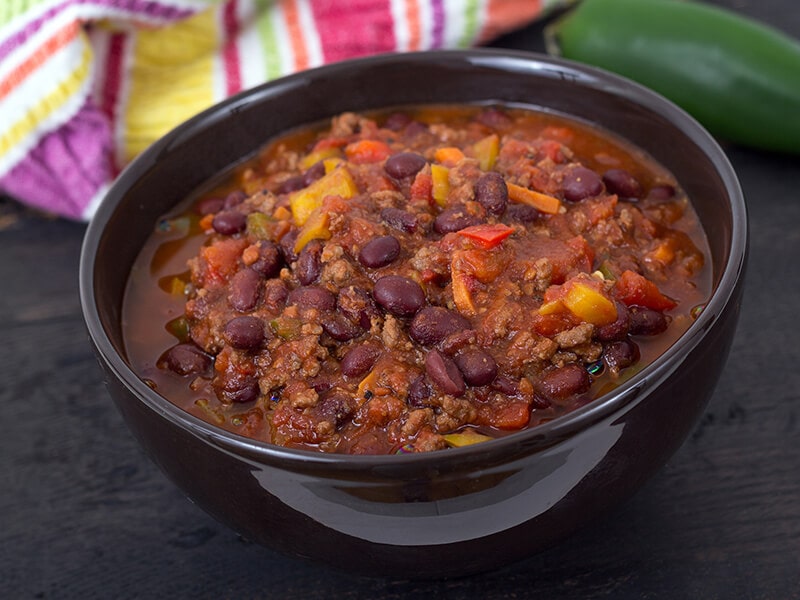
You will notice the difference in chili’s color when it changes to a shade you cannot recognize. A chili is bad once the bright red color turns pale. This means the enzymes inside have already changed.
The presence of mold is a severe problem when it comes to food. Unlike hard cheese, you must discard foods with mold as soon as possible. When mold starts to grow, there is a clear and slimy layer on the surface of your chili. It can also be white, green, gray, or black.
Mold grows rapidly on food. In addition, mold spores can lay inside your chili, and you cannot see them with the naked eye. Thus, even when you remove the mold part, the rest of your dish is not edible anymore.
Odor And Taste
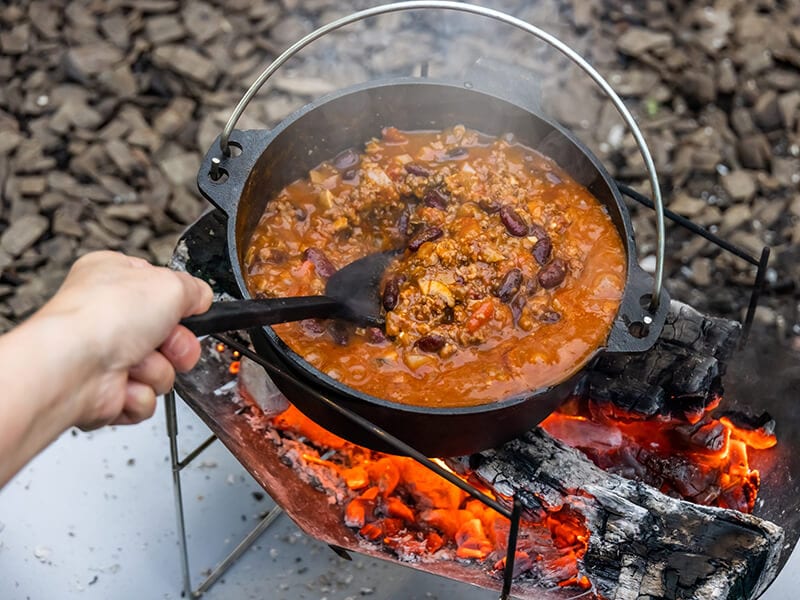
The molds in chili may be hard to spot, but the odor is quite noticeable. Bad chili has a musty or funky smell from spoiled tomatoes and ground beef. Give it a sniff if you have any doubts.
Besides, if your chili tastes sour or has any off-putting flavor, it also indicates that you should not eat the dish.
Texture
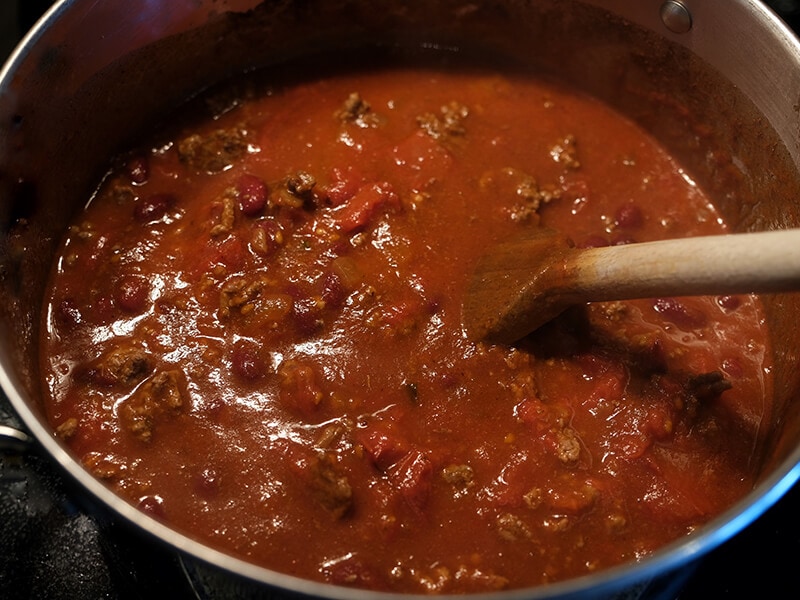
Before reheating your chili, make sure to check for its texture. The process is simple! You only have to take a small portion of chili out; if it’s slimy or sticky, stop everything you are doing and throw it away!
Health Risks When Consuming Expired Chili
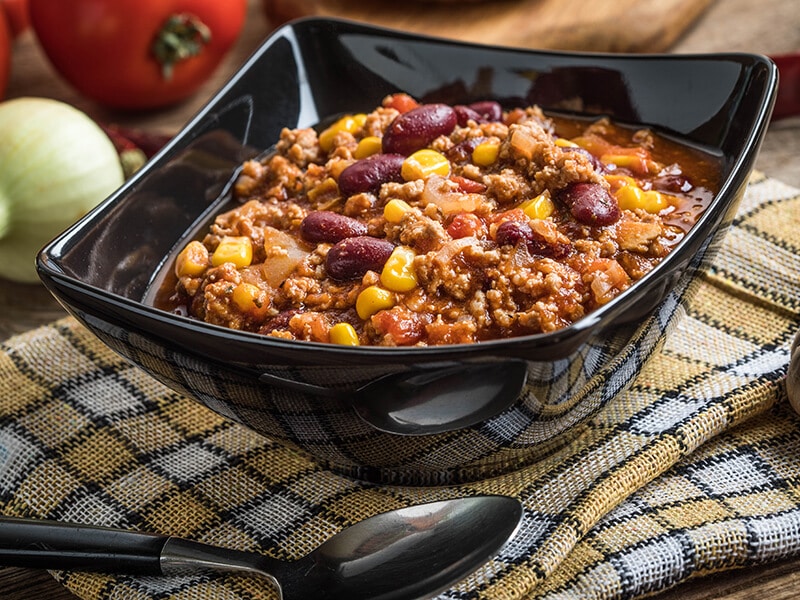
In case you ignore all the signs above and keep eating your chili, it is likely that you will suffer food poisoning.
Chili is made of meat, chili peppers, beans, and tomatoes. Each ingredient contains different types of bacteria. If not stored properly, chili may become an ideal environment for these microbes to thrive.
- Salmonella: Usually discovered in meat, it is a type of bacteria that can cause vomiting, diarrhea, fever, or stomach pains.
- Listeria: Found in contaminated vegetables or meat. Consuming them may lead to fever, joint pain, diarrhea, or vomiting.
- Campylobacter: Red meat such as beef is the potential source of this bacteria. Bloody diarrhea, nausea, or vomiting are symptoms when eating food that contains this bacteria.
- Staph: Widely distributed in food that is not cooked after handling. It can result in stomach cramps and diarrhea.
The symptoms probably do not appear immediately. Bacteria and their toxins need time to develop in the intestines. Normally, chili food poisoning shows signs after 6 hours of eating, but in some cases, it can make you sick within 2 hours.
Do you know what will happen if you eat food that contains Salmonella?
Tips To Extend Chili Shelf Life
Let’s get yourself prepared with these useful tips! These tricks are worth keeping in mind as you probably will need them later.
Tips For Making Chili At Home
The ingredients you add to your chili can also determine how long it can last. Old chili peppers or damaged tomatoes will make your chili more prone to spoilage. Therefore, make sure you choose the freshest vegetable and meats.
If you plan to make chili for further use, don’t add meat. You can do that when you start to cook it again. Meat is highly perishable, so eliminating it can extend your chili shelf life.
Another ingredient you should pay attention to is tomato. Tomatoes have a high acid content. In addition, their enzymes can change during the cooking process. These factors can fasten the spoilage of your chili.
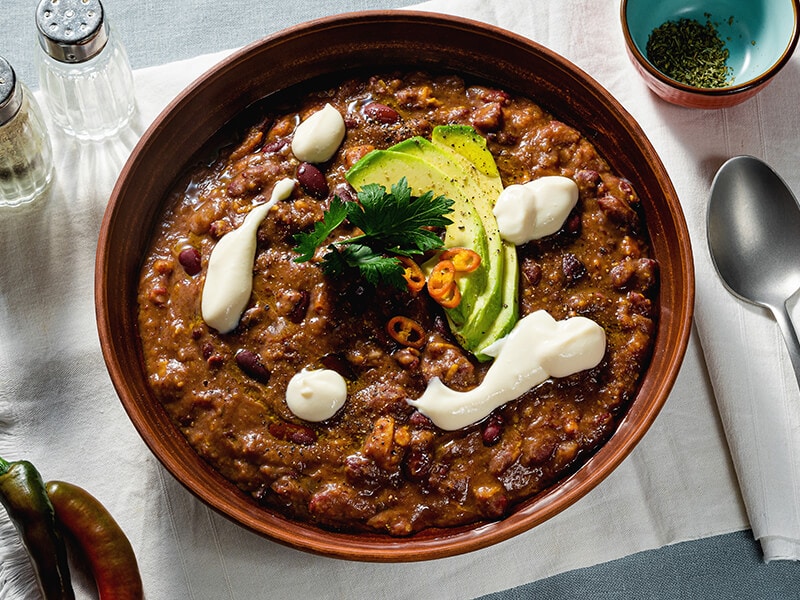
When you refrigerate chili, the ingredients inside tend to intensify in flavor. While a spicy bow of this stew is appealing, you might get a spicier chili with time. Therefore, watch for the amount of chili pepper you put in it.
Tips For Storing Chili
Since chili is easy to spoil, preserving it may be challenging for some people. Nevertheless, this situation will not happen if you know these simple tips.
Thicken Your Chili
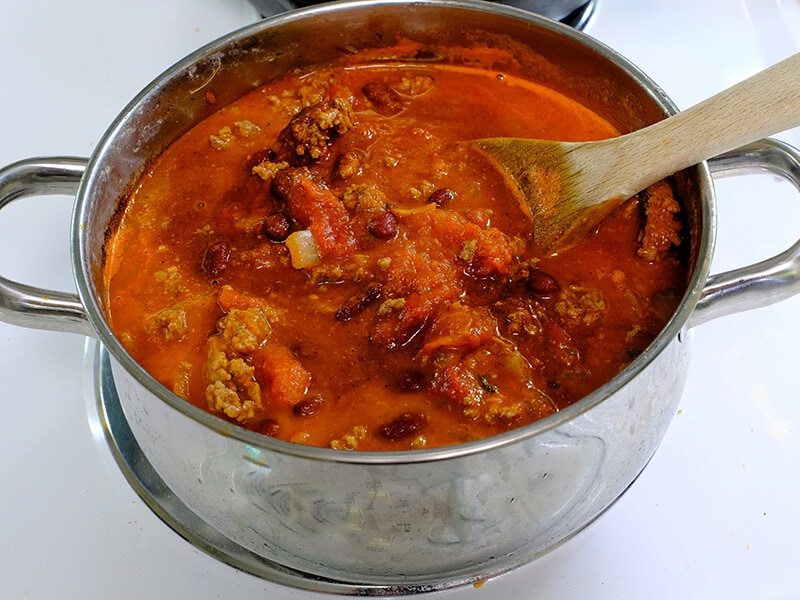
Bacteria in a moist environment can thrive quickly. More water means a higher chance of bacterial contamination. You can reduce the water content by thickening the chili before putting it in a container.
Airtight Containers
Airtight containers are essential for storing chili. They can preserve the taste and keep the dish safe from odors or contaminants from the fridge.
Plastic wraps are not ideal since they are not tight enough. You should choose big and shallow airtight containers. These things will provide larger surfaces, making it easier for the chili to cool down and hence, lessen the time for bacterial growth.
Avoid Storing In A Can
Do not choose a can to store chili unless it is sealed completely. Once opened, the metal on the rim can cause a metallic taste and ruin your dish. If you want to store canned chili, the ideal choice is to transfer the inside to an airtight container.
Divide Into Many Proportions
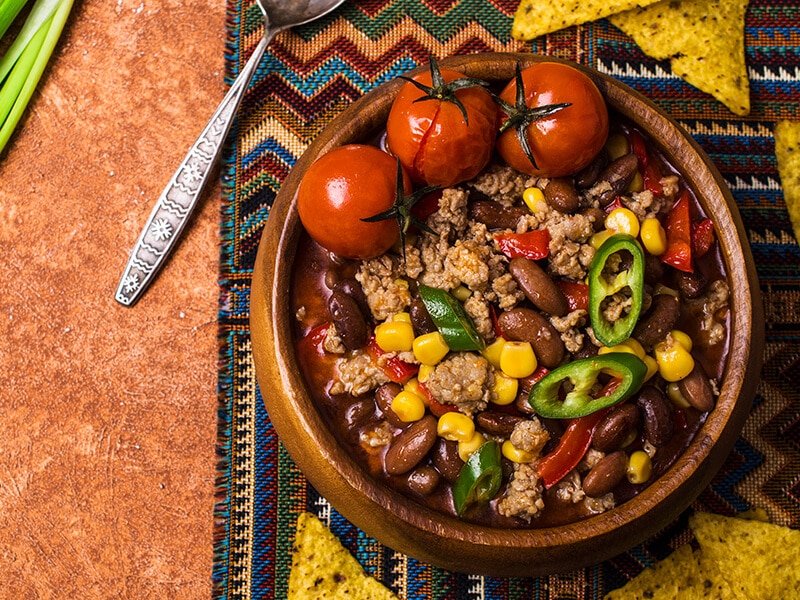
Many people make a large amount of chili and choose to store it in a single big container. However, it is not advisable at all. You will have to extract a small portion each time, affecting the rest’s temperature and condition.
Therefore, you should divide your chili into small airtight containers or zip bags. When using, simply take out the amount you need and leave the rest intact.
Simple Steps To Freeze Chili
Freezing makes your chili last up to 6 months. And the best thing is that you don’t need to do much. If you still doubt that, then why don’t you check out these simple instructions?
Step 1: Cool Down
Remember to let your chili cool off completely before starting the process. Hot food can increase the temperature inside the freezer. It may cause the surrounding items to thaw and lead to a change in their texture and flavor.
In addition, allowing the chili to cool will prevent it from getting freezer burnt. You can also protect your containers from breaking due to sudden temperature changes.
Step 2: Prepare Containers
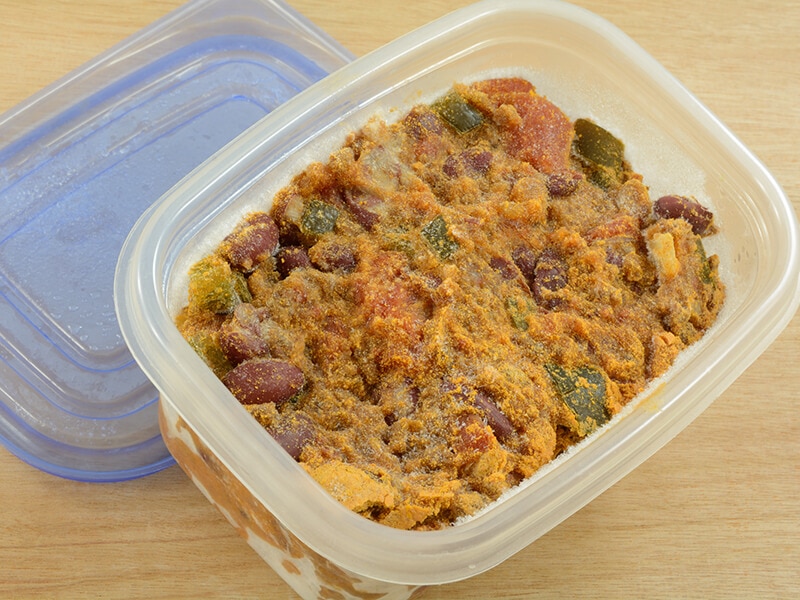
Transfer the chili to airtight containers or freezer bags when it is cool enough. It’s better to choose large and shallow airtight containers for the above reasons.
If you use freezer bags, check carefully to ensure there is no leak. Afterward, use your hands or a roller pin to flatten the bags. Flat bags will help your chili freeze and thaw faster and save space in the freezer.
Step 3: Label (If Needed)
It’s hard to recognize once your food is frozen. Therefore, you should label your containers or bags with the date and the name of the food you are storing. Or you can write on a piece of tape and stick it on.
Step 4: Freeze
If you worry about the possibility of leakages, place the filled bags on a tray or a sheet pan before putting them in the freezer. After 2 hours, take the tray out and let your food freeze like usual.
Ways To Thaw Your Chili
There are many ways to thaw your chili. Each of them requires a different time and equipment. You can choose to thaw it in the fridge, water, stovetop, or microwave.
Using A Fridge
Thawing your chili in the fridge takes longer than other ways. You will need to place your chili in the fridge overnight until it defrosts. Make sure to put it in a large bowl to prevent the water from getting all over your fridge.
Using Cold Water
Your chili will completely thaw after a few hours in cold water. The only thing you have to do is find a big bowl and pour cold water inside. You can also use a sink to do this.
Remember to change the water every 30 minutes so that it can stay cold, and flip the containers over frequently to speed up the process.
NOTE: The bowl should be big enough to let the water cover your food containers entirely.
Using The Stovetop
Run the containers under hot water for a few minutes to remove the chili easier. After that, pour the frozen chili into a suitable pot and cook it under low heat.
You may want a lid to trap the heat inside too. Once it melts into a liquid form, turn up the stove’s heat to reheat it faster.
Using Microwave
Microwaving will be your best choice if you are in a hurry. You also need to run the container under hot water to remove the ice on the surface.
Next, transfer it to a microwave-safe bowl and reheat it on high heat for 5 minutes. Make sure to stir often so that your chili can reheat evenly.
Different Methods To Reheat Chili
You can use a microwave, gas stove, or oven for this purpose. Follow these steps, and you will find reheating chili is easy as pie.
Reheat Chili With Microwave

Microwaving is the easiest way to reheat chili con carne. You should make sure your chili has enough moisture before starting the process since it could dry out.
Step 1: Prepare Chili
Transfer your chili to a microwave-safe bowl or dish. If it is too thick, add a little water and stir it well. Use parchment paper or a paper towel to tightly wrap around the container before placing it in the microwave.
Step 2: Reheat And Check The Temperature
Reheat chili at a high temperature for 3 minutes. Halfway through, take it out and stir it well. Use a thermometer to check the temperature. Your chili is ready to be served if it is at least 165 degrees F (75 degrees C).
Step 3: Serve
Stir well before enjoying!
Reheat Chili In Oven
An oven is also a great choice for reheating chili. It might be slower than the microwave but it brings the same result. Here is what you need to do.
Step 1: Preheat The Oven
Preheat your oven until it reaches 350 degrees F (180 degrees C).
Step 2: Prepare Chili
Transfer your chili to a suitably sized oven-safe dish. Add water and stir well before covering it with tin foil.
Step 3: Reheat And Check The Temperature
Reheat your chili for 20-25 minutes. Use the same method to check for the temperature, as mentioned above.
Step 4: Serve
Serve your chili and enjoy!
Reheat Chili With A Gas Stove
You can always choose another alternative if the oven and microwave are not your favorite cooking appliances. Try doing this task with a gas stove with these instructions.
Step 1: Prepare Chili
Place the chili in a pan. Add some water and stir your chili well before placing it over medium heat.
Step 2: Reheat And Check The Temperature
Reheat the food for 4-5 minutes, and stir it frequently to prevent sticking to the bottom of the pan. Remember to check the temperature to make sure it’s in the best condition before serving.
Step 3: Serve
Transfer your chili to a bow, and have a nice meal!
Believe it or not! You only need a few basic steps to freeze and reheat chili.
Making Your Chili Con Carne Right At Home With Different Recipes
There is nothing better than a bowl of hot chili on cold nights. The best thing is you can keep them fresh and tasty for the following days by using the tips above. No need to wait; let’s get started!
Texas-Style Chili Con Carne
Chuck roast is one of the best meats to make chili. With tender chunks of beef in a fragrant and flavorful sauce, this recipe will offer you one of the best experiences you could ever have with chili. It may not be the fastest or easiest to make, but it is worth your effort!
Make your own chili con carne in Texas style with this useful tutorial.
Brisket Chili
Made of tender brisket, spices, fresh tomatoes, and nutty American beans, this dish will be on your favorite chili list soon! You can either use a pressure cooker or a slow cooker to make this stew, whichever is more convenient for you.
Short Rib Chili
If you are a fan of classic chili, then don’t hesitate to try this dish! You can make a crowd-pleasing meal only with short ribs, onions, and spices. Besides slow cookers, this recipe also features stovetop directions for your convenience.
Smoked Tri-Tip Chili
If there is some leftover tri-tip in your fridge, it’s time to make the perfect and hearty chili for your dinner. Tri-tip, bell pepper, onion, tomatoes, and beans, all blend so well in this chili that you cannot forget its taste afterward.
FAQs
Are you satisfied with all that information? If not, why don’t you check out these frequently asked questions?
What Are You Waiting For? Go Check Your Chili Now!
Chili is a tasty dish with nutritious ingredients. However, it is also highly perishable. The shelf life of it varies depending on how you prepare and store it.
When your chili starts to spoil, it causes some changes in its texture, flavor, and smell. Consuming spoiled chili can lead to severe food poisoning. By knowing the maximum time to keep this dish, you can ensure its quality and keep yourself safe.
These tips might be useful, but they are not all. If you have any tips, comment below for other readers to see. And share this post with your relatives who are big fans of chili!
References
- Webmd.com (2022), Health Benefits of a Bowl of Chili
- Healthline.com (2019), Tomatoes 101: Nutrition facts and Health benefits

