“How long should a cake cool before frosting?” is a common question for cake lovers. Decorating may be the most enjoyable and uplifting part of baking. However, if you rush into the frosting and forget to chill the cake, your baking efforts may result in a sloppy mess.
So, for all bakers, it’s important to learn about the length of time and tips for chilling if you want to keep your cake in the most beautiful shape you see in bakeries. Do not go anywhere since I’ll tell you every detail in this article.
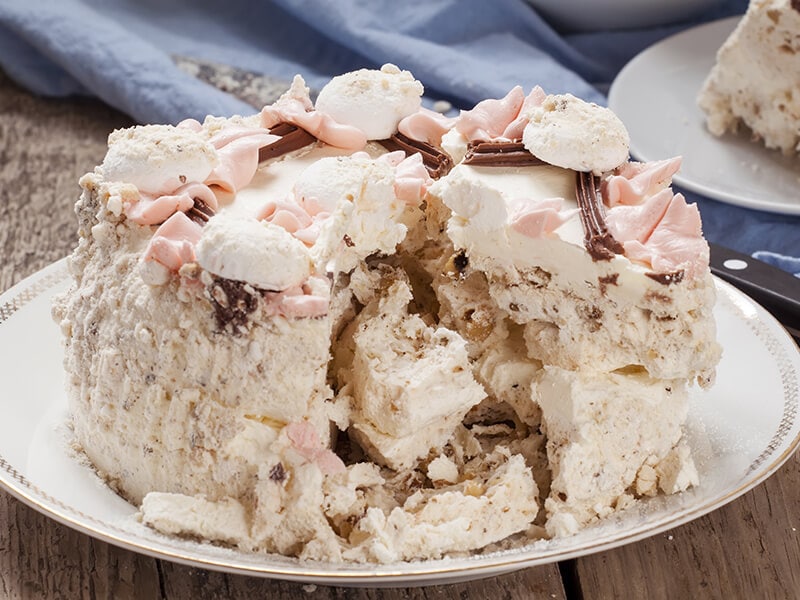
Cooling Cake – A Step Should Not Be Ignored Before Frosting
Eating a cake after taking it out of the oven may be delicious because it is soft and warm. You may want to keep that texture by jumping immediately into the frosting and decorating to enjoy this fluffy cake as quickly as possible. However, a warm cake and frosting never go together.
A cake, after baking, is hot, soft, and moist, which also means it is easily fragile as it hasn’t settled yet. So if you apply the icing on the cake immediately, this will likely create breakage and a lot of crumbs, spoiling your smooth finish.
Besides, the high temperature of a fresh cake may destroy every ingredient you plan to put on the cake. Even though there is a wide range of frosting, from a silky buttercream to a rich, bittersweet ganache, they all have the same trait: they melt quickly(1). So, a hot or just slightly warm cake can ruin the frosting, making the cake runny or even a mess.
Therefore, unless you have very little time left, you must let the cake cool before frosting it.
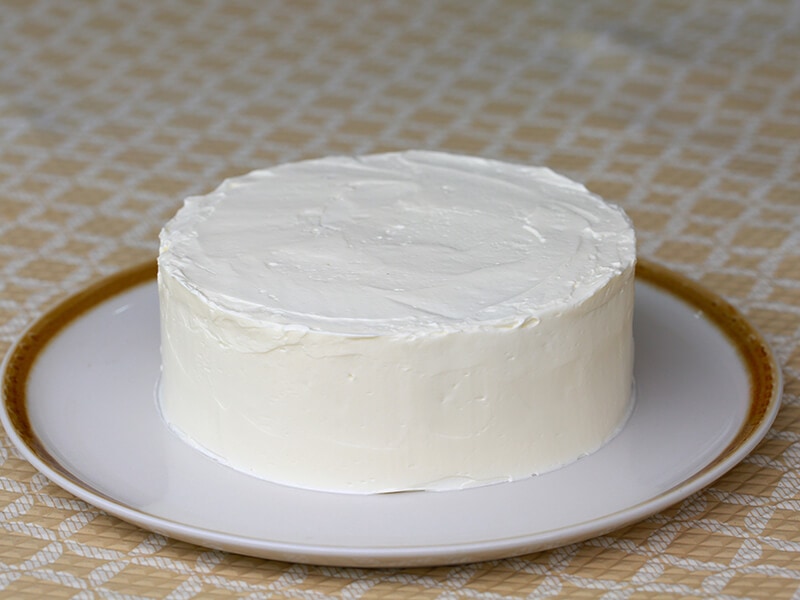
How Long Should A Cake Cool Before Frosting?
Generally, a regular cake (2 to 3-inch-thick cake) bakes between 325 to 450 degrees F in 50 minutes which may take 2-3 hours to cool down completely when left on a cooling rack on your countertop.
However, how long you have to wait for your cake to chill also depends on many other conditions, such as:
- Room temperature
- Cake’s size
- Type of cake
Room Temperature
The environment inside and outside your kitchen makes a difference. Knowing the temperature will help you control the time to prepare the cake.
It will take longer to chill cake if you live in a warm and humid area. Conversely, in colder lands, the cake will cool faster than usual.
When you live in a hot and humid place, you must pay attention to the fact that it will take your cake one more extra hour to cool down rather than usual.
In addition, the place to put your cake in the kitchen to chill is essential. Putting the cake on the counter near the oven or by the direct sunlight windows may take longer to cool than putting it on a dining table.

Cake’s Size
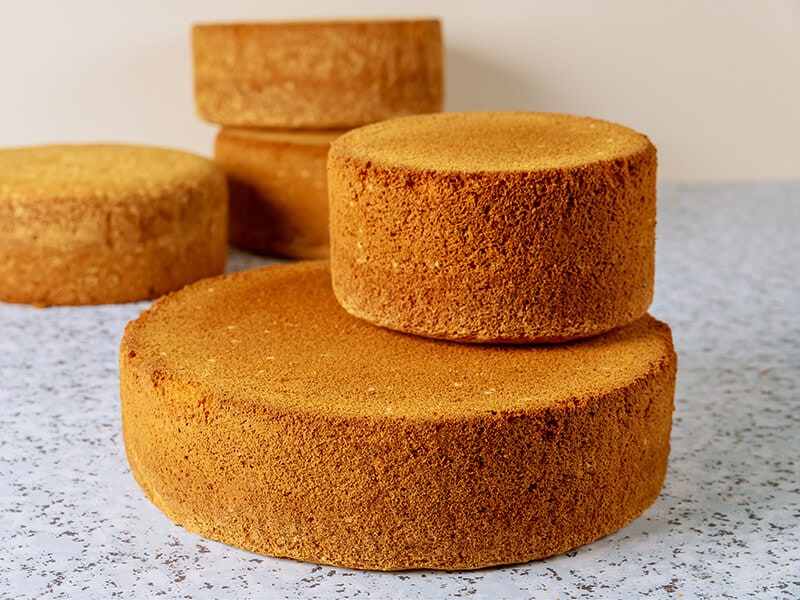
The size is also one factor affecting the cooling time. The thicker and bigger cake, the longer time to chill.
Here are some notes on cooling time for cake’s typical sizes.
- 1-inch cakes: less than 2 hours.
- 2-inch to 3-inch cakes: closer to 2 hours.
- 4-inch cake: closer to 3 hours.
- Over 4 inches cake: plan at least 4 hours.
Type Of Cake
There are various types of cakes around us, and yes, each kind of cake will let to a different cooling time due to its texture, the baking flour, and the extra ingredient used to make that cake.
For example, a fruitcake will take longer cooling time than a sponge cake since the fruitcake (10g) is always heavier compared with the sponge cake (4g) at the same size (2).
The table below will show the type of cake and the particular time for its chilling process.
| Type of cake | Cooling time |
| Sponge cake | 2 to 2 ½ hours |
| Bundt cake | 3 to 3 ½ hours |
| Angel food cake | 2 ½ to 3 hours |
| Loaf cake | 3 to 3 ½ hours |
| Chiffon cake | 2 to 2 ½ hours |
| Cake roll | 1 to 1 ½ hours |
| Pound cake | 3 to 4 hours |
| Fruitcake | 3 to 4 hours |
| Cheesecake | 3 to 3 ½ hours |
| Chocolate cake | 2 ½ to 3 hours |
| Cake for cake pops | 2 to 2 ½ hours |
Check It If Your Cake Is Ready For Frosting
You have to wait a long time for the cake to cool, and you want to ensure everything runs smoothly. Therefore a checking method is necessary to tell you whether your cake is ready. Below are two checking tips for the cooling process.
Thermometer Test
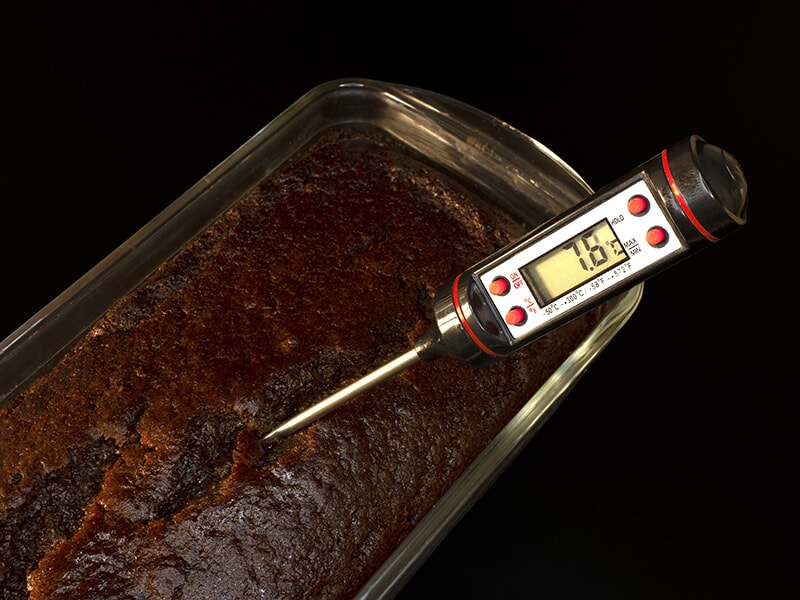
Using a food thermometer is the easiest way to know if your cake is ready to be frosted. The thermometer tells you the exact temperature inside the cake. When the thermometer says the cake is at room temperature, it’s time to start frosting.
The Toothpick Test
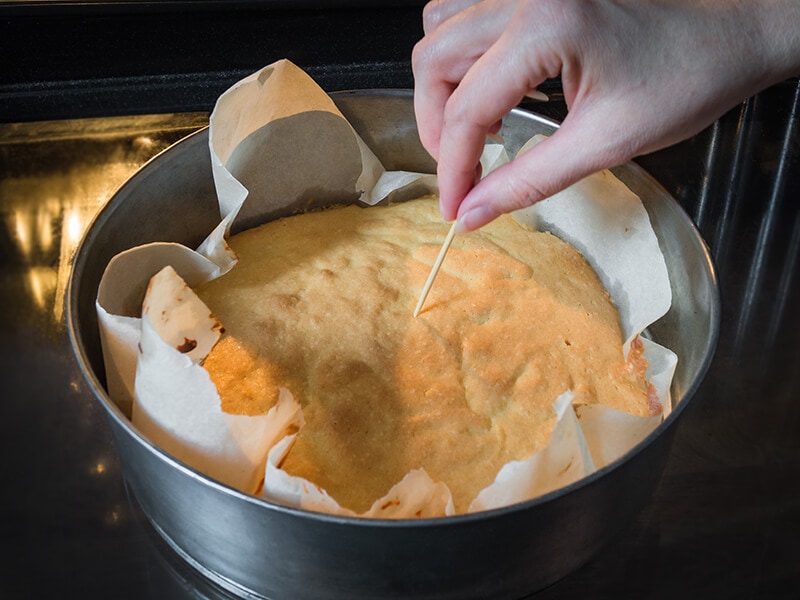
If you don’t have a thermometer, you can use the toothpick test instead. Use a small toothpick to poke a hole in the cake. Then, when you pull the toothpick out, try to feel how hot it is. It’s not time for frosting if a toothpick is warm. If you can’t find a toothpick, try using a barbecue stick or chopstick.
Cooling Methods
As mentioned above, cooling a cake is necessary to avoid your baking efforts ending in trouble. Below are some methods to help you quickly and effectively cool a cake for your next delicious cake recipe.
Cooling Rack Method
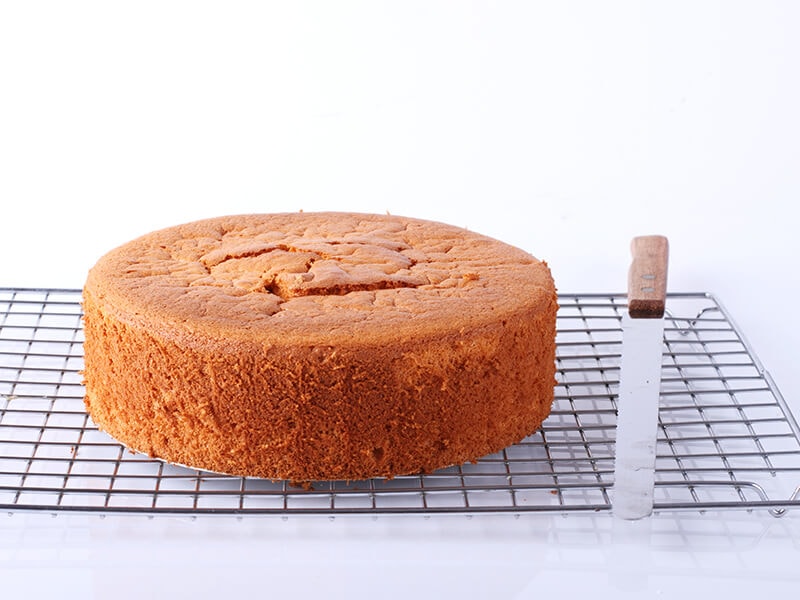
The best way to cool a cake is to put it on a cooling rack and let it cool down on its own. It is a traditional and quick method that many professional bakers apply.
Below is an instruction for the cooling rack method. Let’s check it out!
Step 1: Choosing A Cooling Rack
Ensure that you pick the right cooling rack for your cake to help the cooling process go effectively. Here are two things to consider when choosing a cooling rack:
- Type of cooling rack: There are two main types: oven-safe and those that are not. The one without oven-safe is a perfect choice for lover bakers because baked goods only need to go on a cooling rack once they’re out of the oven.
- The size and shape of the cooling rack: Round and rectangular are two typical shapes of a cooling rack with a wide range of sizes. Therefore, you must consider carefully picking the right rack for your cake.
Step 2: Take The Cake Out Of The Oven
After baking the cake perfectly, you must carefully use the oven mitts to take the cake out and put the whole pan on the cooling rack. The air moving under the rack will help the cooling process.
Step 3: Let The Cake Rest
Before taking your cake out of the pan, it is better to rest it for a while to set. Otherwise, your cake may break if you try to do it in a hurry. Generally, this step is expected to take around 10 to 20 minutes.
It is better to double-check your cooking instructions for the correct time in this step.
Step 4: Loosen The Cake From The Pan To The Rack
When your cake is all set, it is time to take it out of the pan and let it rest on the cooling rack. Follow these simple steps to take the cake out of the pan:
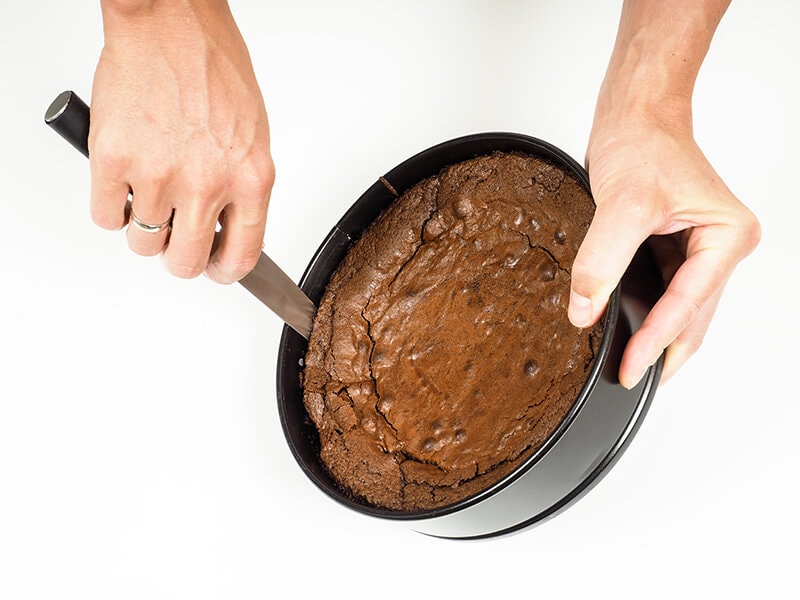
- Use a knife to make a space between the rim of the pan and the cake.
- Prepare your rack with a little cooking spray to prevent your cake from sticking on the wire rack.
- Place the cooling rack on top of the cake pan.
- Hold and lift the pan and the rack upside down slowly.
- Pull the pan off the cake.
- Put the rack with the cake on top of a flat surface like your dining table, and let the cake cool naturally to room temperature.
- After 2-3 hours of cooling, you can take the cake out of the wire rake for frosting or store it to use later.
Fridge Method
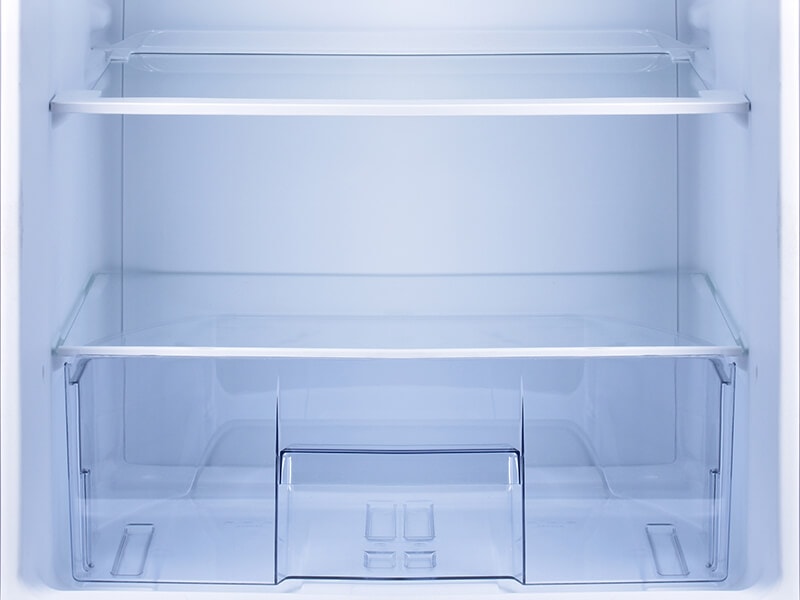
The fridge method can speed up the cooling process if you have little time left. Many bakers say you shouldn’t put your cake in the fridge because it can dry out your cake, especially when it’s fresh and unfrosted.
But since time is limited, this cooling method is worth considering. Follow the steps below to speed up the cooling process without ruining the cake.
Step 1: Considering The Cake’s Type And Time
Every kind of cake will take a different time to cool in the fridge. It would help to keep the time length in mind to prevent the cake from drying.
- Light and fluffy cakes such as pound cakes and sponge cakes take 1 to 2 hours in the fridge.
- Rich and creamy cakes take up to 4 hours.
- Traditional cakes take around 2 to 3 hours.
Besides, some cakes, such as cheesecake, can not cool by this method because a slight temperature change may harm the texture and break the cake.
Step 2: Take The Cake Out Of The Oven And Let It Chill
Do not put your cake in the fridge as soon as you take it out of the oven. When the temperature changes quickly, it will ruin the shape of the cake properly.
The same rule, you should give the hot cake 10 to 20 minutes to cool down in the pan. You should put the pan on a cooling rack or a cutting board to prevent the heat from damaging your counter.
Step 3: Place The Cake In The Fridge
After resting outside, you can place the cake pan in the fridge for 5 to 10 minutes. This step is necessary since it helps to boost the cooling time and prevent the cake from drying.
Step 4: Get The Cake Out Of The Fridge To Wrap It
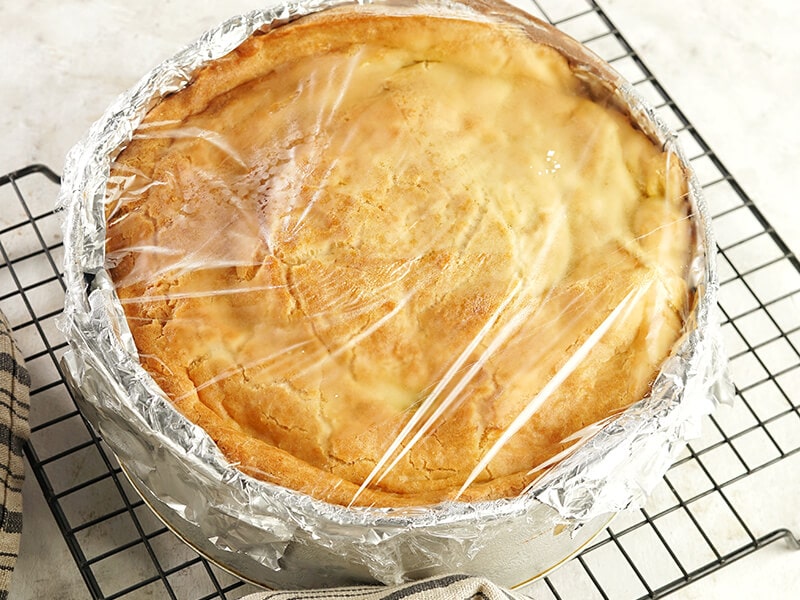
After a short time in the fridge, you must get the cake out to cover the top of the cake pan in plastic wrap. Then, put the cake pan back in the fridge.
Make sure you seal it tight to keep it moist, as the cooling will continue for 1 to 2 hours.
Step 5: Waiting For Cooling
Even though this method helps to speed up the cooling process, you need to take a couple of hours for your cake to cool down in the fridge. After 1 to 2 hours, you can loosen the pan, take the cake out, and prepare to make the frosting.
Overnight Method
Letting the cake cool overnight is the surest method to ensure the cake is ready for frosting. It seems easy to follow this method, but there are still some notes you must consider. Follow the below steps for the best practice.
Step 1: Right After Taking The Cake Out Of The Oven
As same as with the other methods, you must let your cake rest for 10 to 20 minutes in the pan before you apply anything to your cake.
Step 2: Cover The Cake With Plastic Wrap
Moisture is essential. If you can not keep the cake moist, it properly dries just after a night. Therefore, keep in mind to wrap your cake tightly with plastic for at least two layers if you would like to protect your cake.
Step 3: Place The Cake Overnight
It would help if you considered where to put your cake overnight. There are two main options: On the countertop or in the fridge. If your cake has perishables, such as dairy products, eggs, or fruits, you must put it in the refrigerator. Otherwise, you can directly let it cool on the counter.
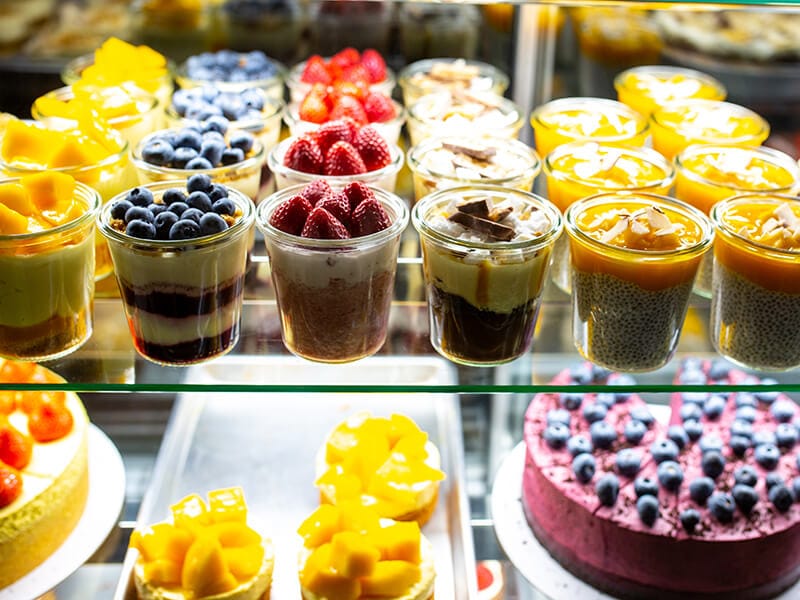
Step 4: In The Morning
After allowing the cake to cool down for a night, you can move on to the frosting. However, there may be some unexpected things. Here I will tell you how to handle them:
- If the top of the cake is too moist when you take off the wrap, you can try to apply a layer of powdered sugar.
- If your cake is still dry after you take off the plastic wrap, add a layer of sugar syrup or jam. The moisture from these ingredients will fix the cake’s texture. This also helps your cake become tastier with blooming flavors.
The right way to cool a cake overnight or in the fridge without drying.
All Details About Cooling Time For Popular Cakes
As mentioned above, the type of cakes is various because humans have a big brain for creation. The diversity and complexity of cakes drive many different notes for cake making. The more you learn, the less chance for failure. On the way to help you avoid mistakes before frosting, below are details about cooling time for the most used cakes.
Cooling Time For A Cupcake
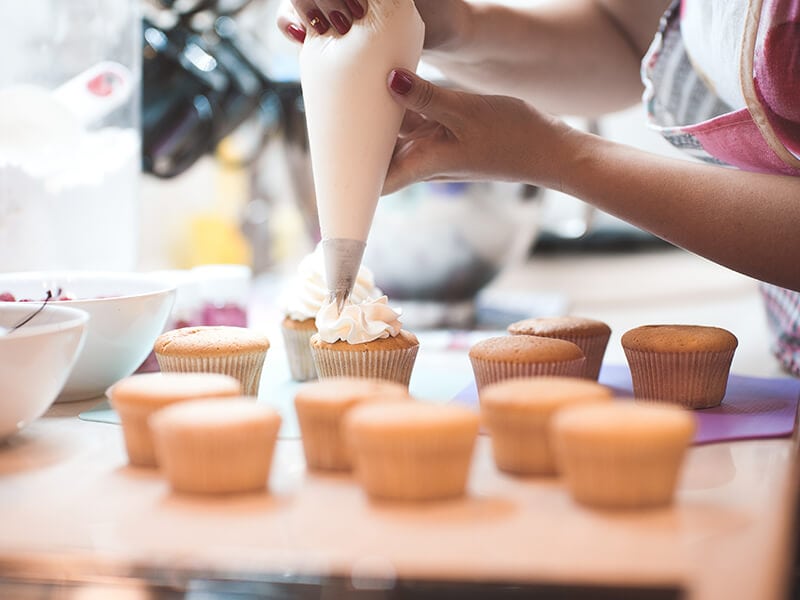
Cupcake is a small and cute cake. Even though it’s small, you can not skip the cooling process to prevent the top from cracking and crumbling.
After finishing your baking step, do not hurry to remove the cupcakes from the pan. Let your cupcakes rest for 10 minutes, then carefully remove them from the hot pan to the wire rack. Wait for around 1 hour, and you can start decorating.
Cooling Time For A Sponge Cake
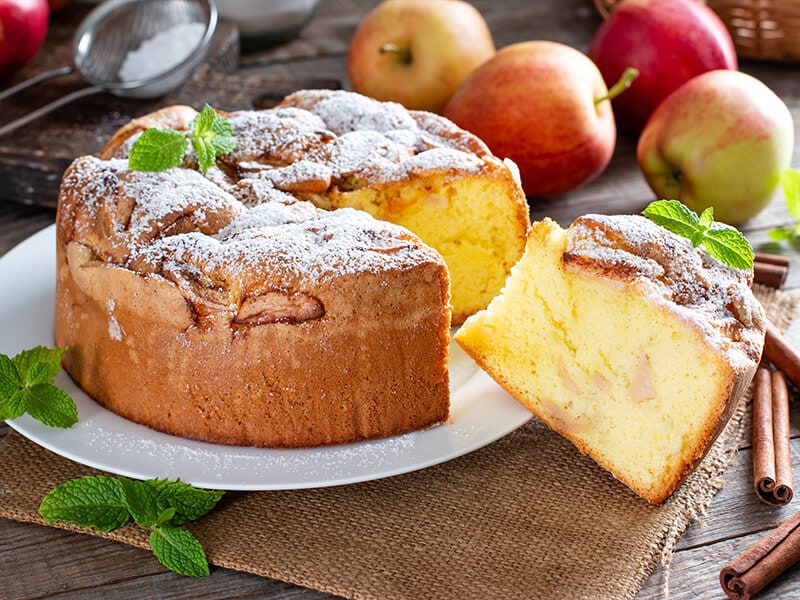
Sponge cake is the most used cake ever. The lightness of sponge cake makes it applicable to many events.
Usually, a sponge cake takes around 2 hours to cool in a traditional method, 1 hour in the fridge, and only 30 minutes if you put it in a freezer.
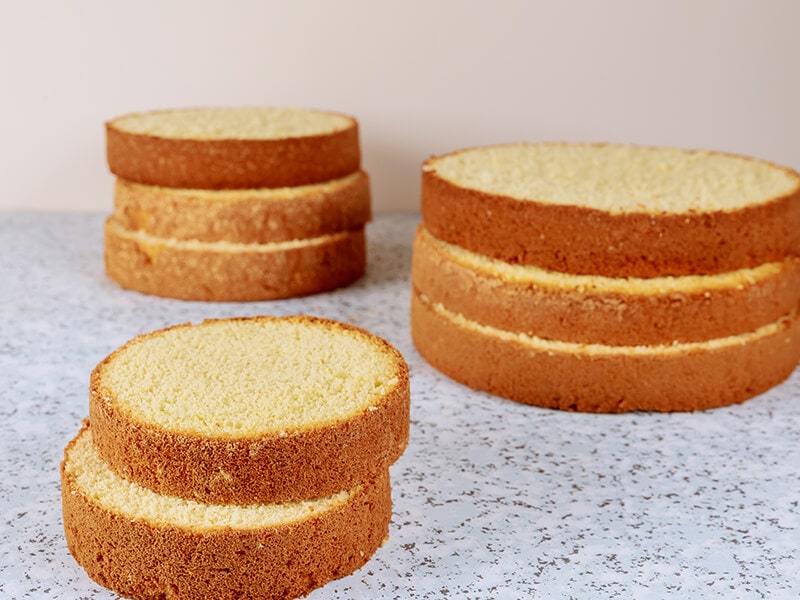
To speed up the cooling process of sponge cake, you can try to make layers. Cut 2 layers for regular size. If the cake is too thick, you can cut 3 layers.
Cooling Time For A Cake Roll
Cake roll or Swiss roll is a type of sponge cake rolled and filled with whipped cream, jam, or icing inside.
The cake roll is thicker than a traditional sponge cake. Therefore, it takes less time to cool, usually just 1 hour at room temperature.
Tips For Cooling Cake Faster
It is encouraged to let your cake cool down on its own. However, If you are in any kind of rush, there are a few ways to speed up the process.
Leave The Cake Out Of The Pan
When there is no pan cover outside, your cake will cool faster as the air can move around it.
However, taking the cake out of the pan when it is just out of the oven may break the cake immediately. Therefore, remember to rest it for around 10 minutes.
Tips for you to leave the cake out of the pan easily.
Cut Layers
Old but the gold concept, the thinner the cake, the faster the cooling process. Cutting the cake into layers makes the cake thinner, and you can save time for the whole cake to cold down.
Usually, these tips will help you save around 20 minutes.
Creative Decorating Ideas Without Frosting
A plan B is always a good idea, especially in an emergency where you fail to bake the first cake. Then, you have to bake another one, which consumes your planned time for the cooling process. So, consider using the alternative frosting methods below if you do not want to be late.
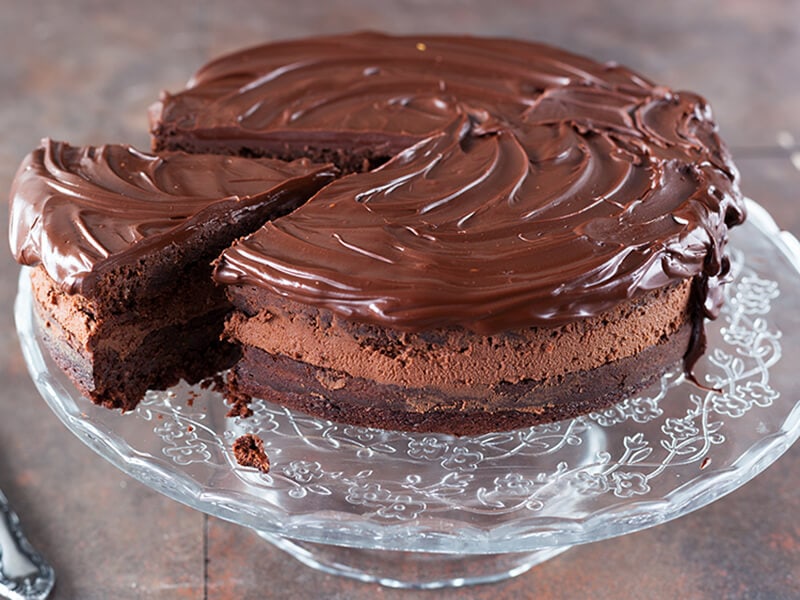
Use Chocolate
A study has shown that preferring chocolate reported feeling less lonely and depressed and happier(3). Therefore, this is a wonderful ingredient for decorating as it can please most people.
Why Not Fruit?
Decorating your sponge cake with fruit is a perfect idea as it is beautiful and delicious. Oranges, strawberries, kiwis, and melons are always good options.
Using Confectioners’ Sugar
This is the traditional and old favorite. Powdered sugar, icing sugar, or fondant sugar are the most known names of confectioners’ sugar, which is made from fine-ground white sugar, soft and powdery.
Just dust the top of the cake with a layer of confectioners’ sugar, and your cake will be ready to serve in a few minutes.
Decorating the cake with fresh fruit topping on top.
FAQs
Baking is exciting but requires meticulousness and patience because even a tiny mistake can ruin baked goods. Hence, this section is here to show information for your most asked questions.
Successful Cooling, Successful Baked Goods!
That’s all you need to know about preparing your cake for frosting. From now on, you won’t ever mind the wobble, slanted, or easily broken cake, nor waste your time baking again and again. Remember to enjoy your baking work in a stable and patient process. Then you can be proud of your final baked goods.
Finally, if you think this instruction is practical, please share it with your beloved so they can take note and avoid making mistakes.
References
- Beranbaum, R. L. (2010). Rose’s Heavenly Cakes. Houghton Mifflin Harcourt.
- Fda.gov. 2014. Product Categories and Products.
- Ncbi.nlm.nih.gov. 2011. Cocoa and Chocolate in Human Health and Disease.


