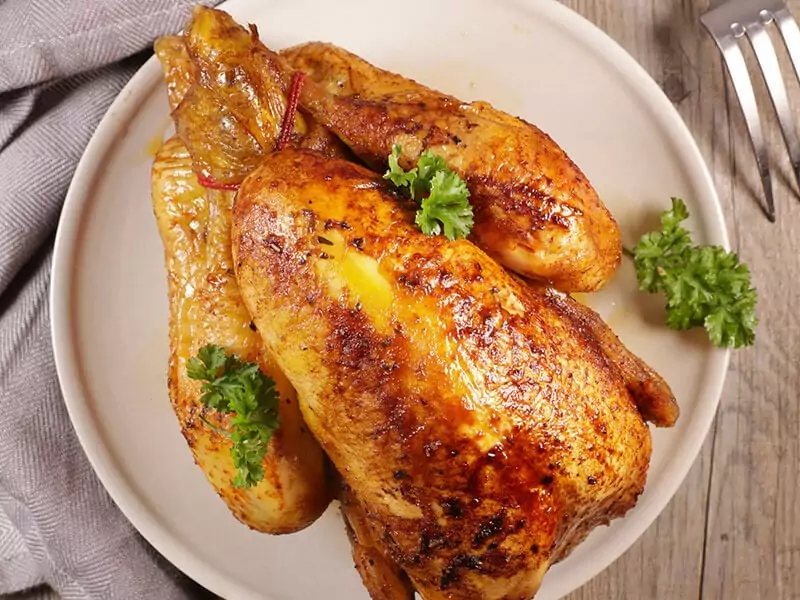
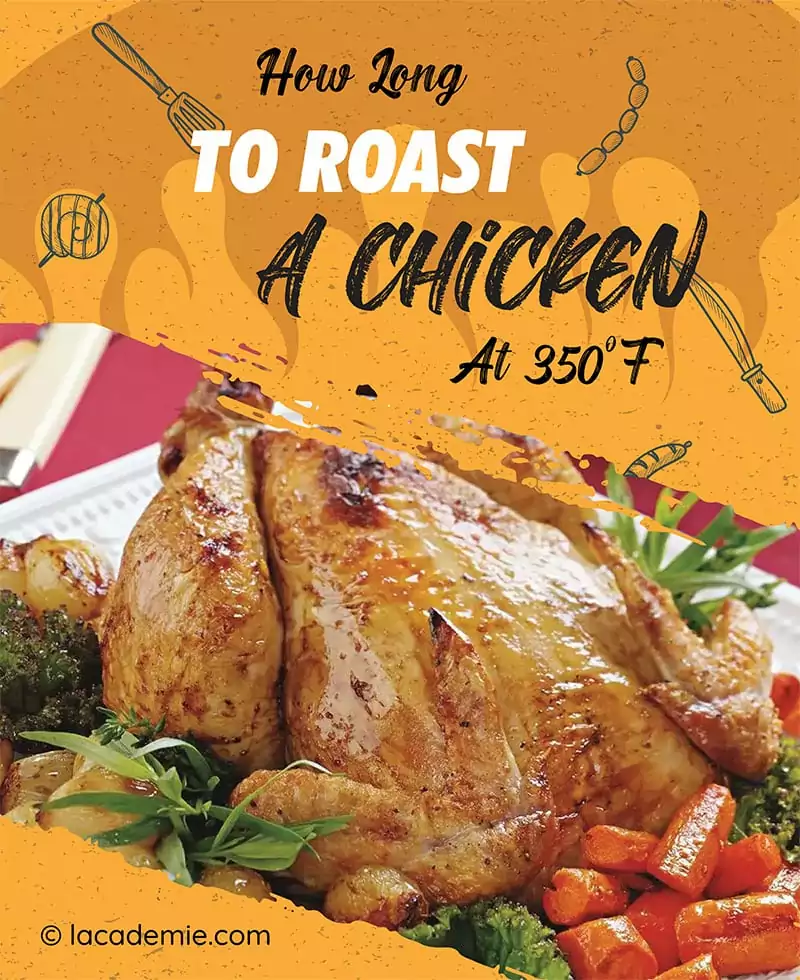
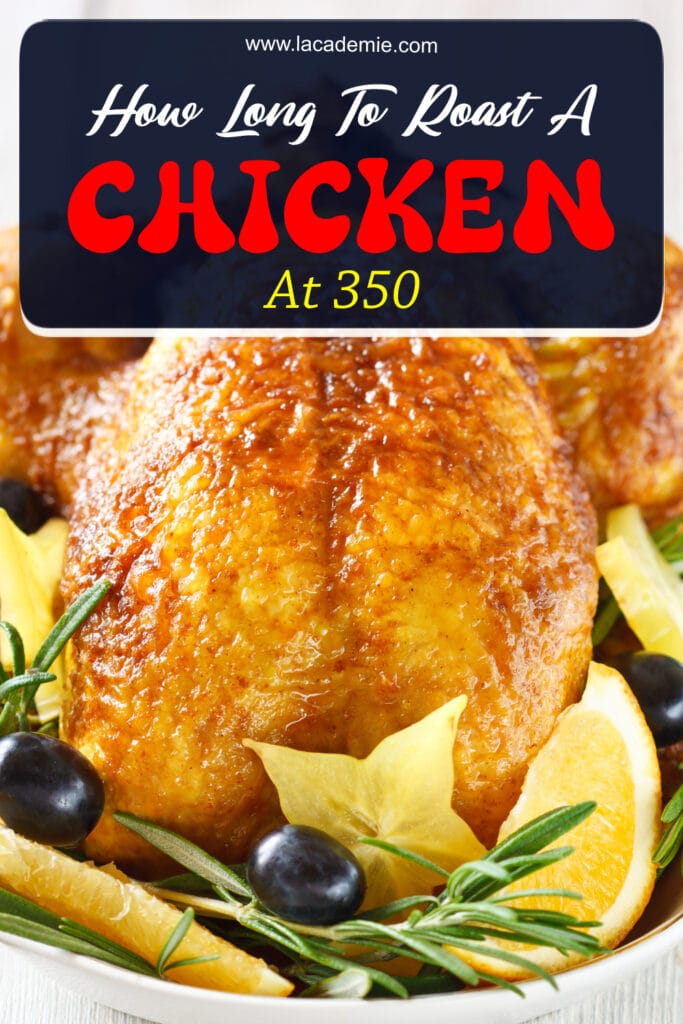
How long does it take to roast a chicken at 350°F (177°C)? Roasted chicken is always a great dish for dinners, holidays, and friend gatherings. However, to make a successful roasted chicken, you must consider many factors.
In this article, I will give detailed guides for getting a delicious roasted chicken from A to Z. Take out your notebook and write the appropriate information for your roasted chicken. Here we go!
Why You Should Roast Chicken At 350
350°F is the standard temperature for roasting chicken. If you set the temperature lower, your chicken skin is not crispy. If you set the temperature higher, the chicken might not cook properly. A sign of undercooked chicken is when the skin turns a dark color while the meat is still somewhat raw.
In addition, you can also cook perfect chicken legs at 350F in the oven with proper timing. So how to roast a crispy brown chicken with tender meat inside?
Initially, each part of the chicken needs a different temperature to roast. Breast chicken is easier to burn than other parts when exposing high temperatures. The solution is dividing two roasting times.
When beginning to roast, you should cook the chicken at 400 or 425°F. With this temperature, the whole chicken is well-cooked, but the skin and breast are easy to dry out and turn dark.
Therefore, after 15 minutes, you have to flip the chicken and roast it at 350 until the internal chicken reaches 165 – 175. You will have crispy skin and tender meat roasted chicken.
Size Of Chicken And Average Roasting Time
Determining the size of chicken is a simple first step, but it is also crucial in roasting chicken. Knowing the exact size of your chicken helps you estimate the exact corresponding time for roasting.
Let’s take a look at some of the standard sizes in chicken and how long to cook them at 350 through this table below.
| Size | Cooking Time at 350 |
| 4lb | Average time: 1.5 – 2 hours |
| 5lb | Average time: 1.5 – 2.3 hours |
| 6lb | Average time: 2 – 2.5 hours |
A rule you should apply when roasting chicken: 1 pound = 20 minutes.
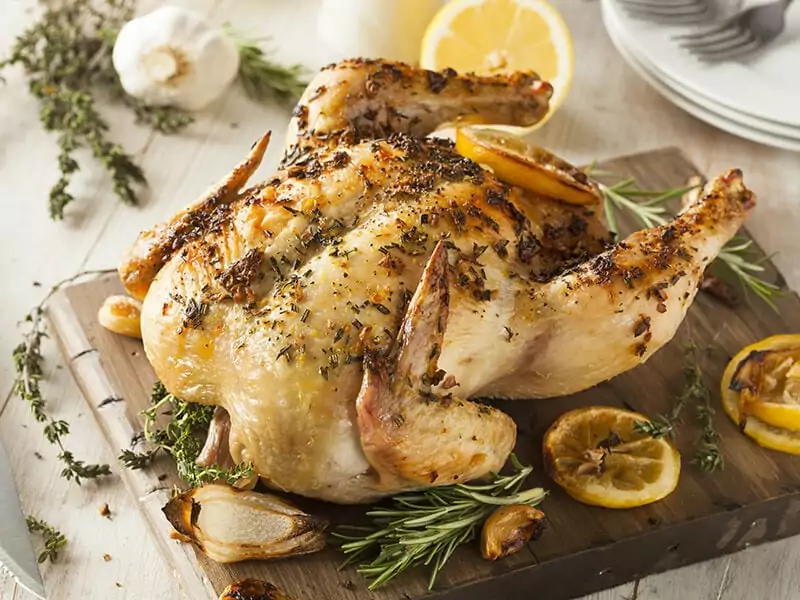
4Lb
The perfect temperature to roast a 4lb chicken is between 1.5 – 2 hours. You should start roasting the chicken at 400 for 10-15 minutes to make the chicken skin beautifully crispy brown. Then, lower the temperature to 350 and roast the chicken within 1-2 hours.
Once cooked, you can use an inner thermometer to check the temperature of the meat inside the chicken thigh. If the thermometer reads 165, then you can serve it.
5Lb
Roasting a 5lb chicken is the same as a 4lb chicken, but it will take a little longer. So for 5lb chicken, you will need another 20 minutes to cook. Let’s start with high heat and then reduce it to 350.
To check the doneness of meat, you can use a thermometer as above or read my method for testing meat without a thermometer in the next part.
6Lb
6lb is a big size, so you will need more time. Let’s start the chicken at 400 for 15 minutes, then reduce the temperature to 350 and cook for 2- 2.5 hours.
Do not forget to use a thermometer to check the chicken before serving it.
I hope this calculation will help you know the roasting time accurately. Keep reading for more details!
Different Recipes – Different Time Requirements
Along with the ingredients, seasonings, or sauces you use with the chicken, cooking times may vary. Check out some of my suggestions for each roast chicken recipe you might need.
Stuffed Chicken
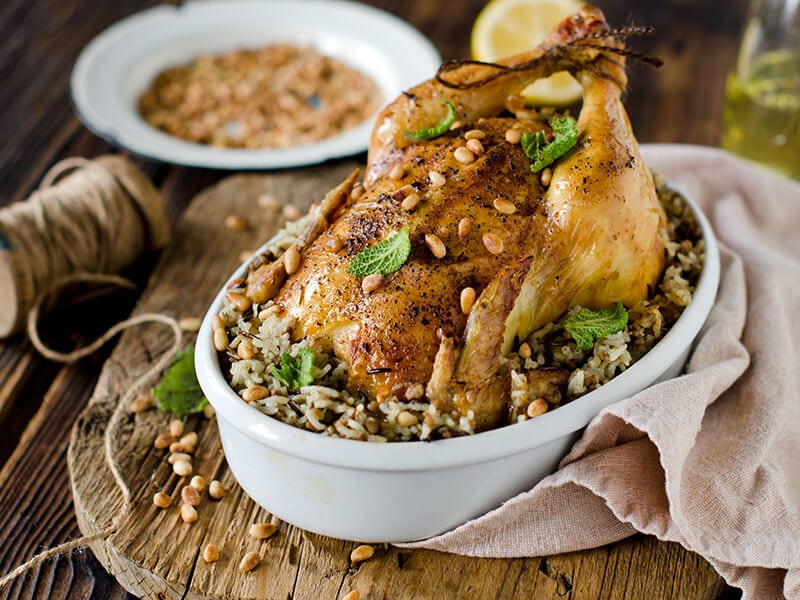
What ingredients do you usually use for roasting a stuffed chicken? The stuffed chicken dish’s unique feature depends on the ingredients you plug into the chicken; it can be chorizo, vegetables, and fruits.
Heat your oven at 400°F and place your chicken on the middle oven rack. After 15 minutes, reduce the oven temperature to 350 and continue to cook for 2 hours. You should baste your chicken every 20 minutes until you see the juices run clear.
To determine whether the chicken is done, insert the thermometer into the thickest part of the thigh. 165 -170 is the perfect meat temperature. The total time to roast a stuffed chicken is 2.5 – 3 hours for a chicken with 5 – 7 pounds.
Learn how to make stuffed chicken with super chef Gordon Ramsay.
Beer Can Chicken
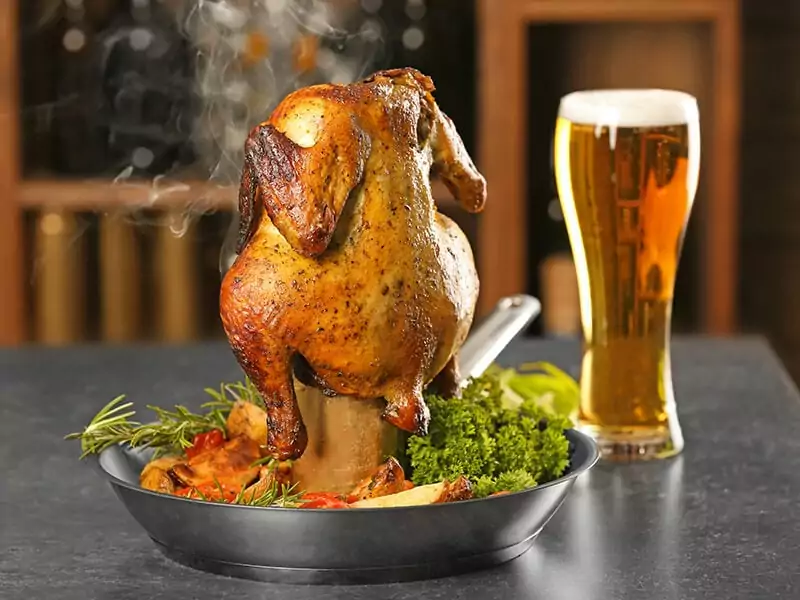
Beer can chicken is one of the simple dishes you can make with chicken. Chicken meat will blend with the beer’s flavor, creating a delicious dish you will remember forever, even if you only eat it once. All you need is a can of beer, some seasoning, and a chicken.
The standard time to roast a chicken is about 1.5 hours for a chicken with 4 – 4.5 pounds. You will need a thermometer to measure the internal temperature of the chicken. The typical internal temperature is 165°F.
It would be best if you chose light and not hoppy beers. Soda or white wine are great alternatives if you have no beer at home.
BBQ Chicken
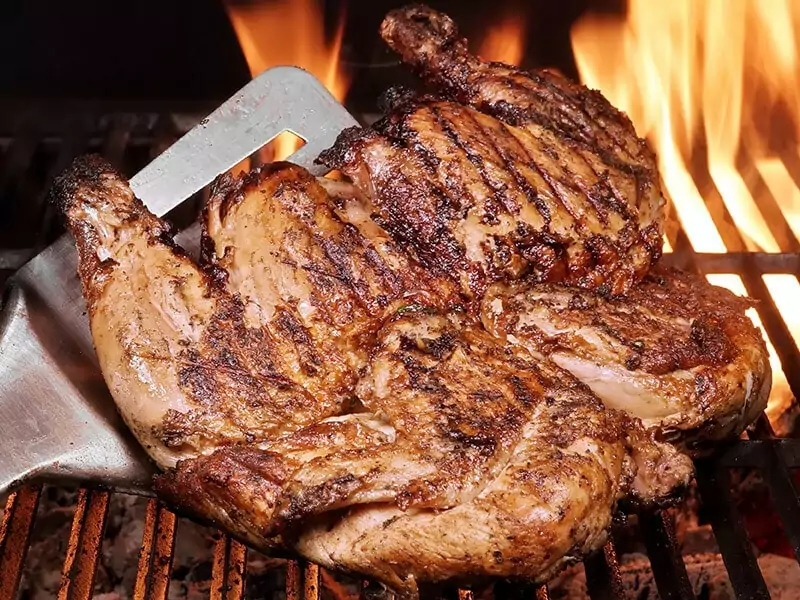
For BBQ chicken, choosing ingredients to make BBQ sauce is very important. The time to pour sauce is another step worth considering.
Typically, I recommend you choose boneless chicken to save roasting time and help the sauce distribute more evenly on the chicken. The roasting time is 1 hour with a 3-pound BBQ chicken.
You can pour sauce after roasting the chicken and roast it again for 3 – 5 minutes. This step helps the BBQ sauce penetrate the chicken’s crispy skin.
How To Make Chicken Gorgeous On The Plate
You can cook a whole chicken, but it won’t look good on the plate. Let’s show everyone you are a real gourmet with the perfect in both quality and appearance!
There is no advice for this step! You can choose truss, spatchcock, or splay your chicken, depending on your taste. Each method has its pros and cons, so you should try them one by one and choose the most suitable method for you.
Truss
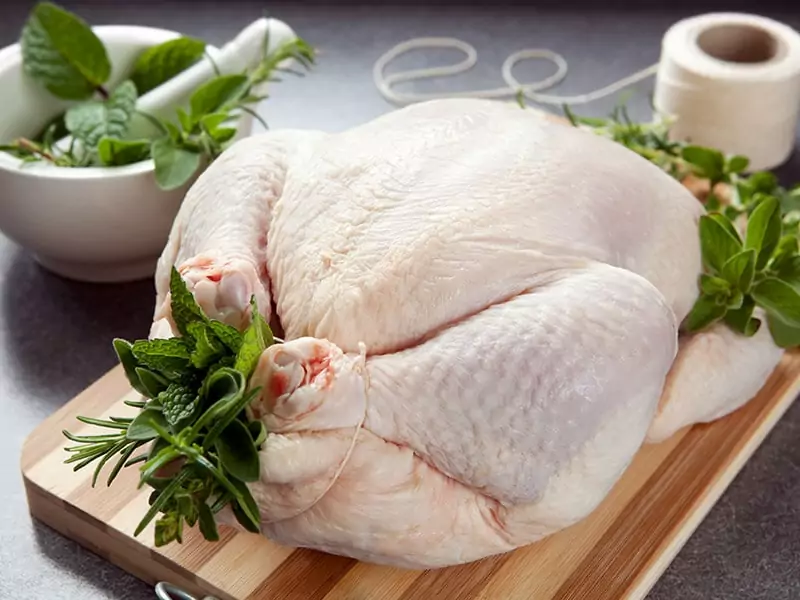
People believe truss chicken can keep moist meat and build a nice form for roasted chicken. Applying this method, you will have a chicken lying neatly in the oven or pan with only one string.
Truss chicken before cooking is a great way to cook it evenly and keep it looking good on your plate. There are different ways to truss chicken, but I will guide you to the easiest way.
To truss a chicken, you need a butcher’s twine. This type of string is often used in cooking with 100% cotton. You should use this rather than an ordinary string to avoid the temperature causing your string to burn and break. Now, let’s start!
- Cross the chicken legs and tie them together with the twine.
- Loop the twine around 2 legs for 5 turns to secure them tightly.
- Tie a knot. You can tie the knot as many times as you want, as long as you ensure the knot doesn’t loosen and cause the twine to come loose during the roasting process.
- Use scissors to cut the remaining twine.
Your friends will be surprised by your trussing skill. After the meal, they will surround you to ask how to truss a roasted chicken and still cook all meat evenly.
Truss chicken step by step for beginners.
Spatchcock
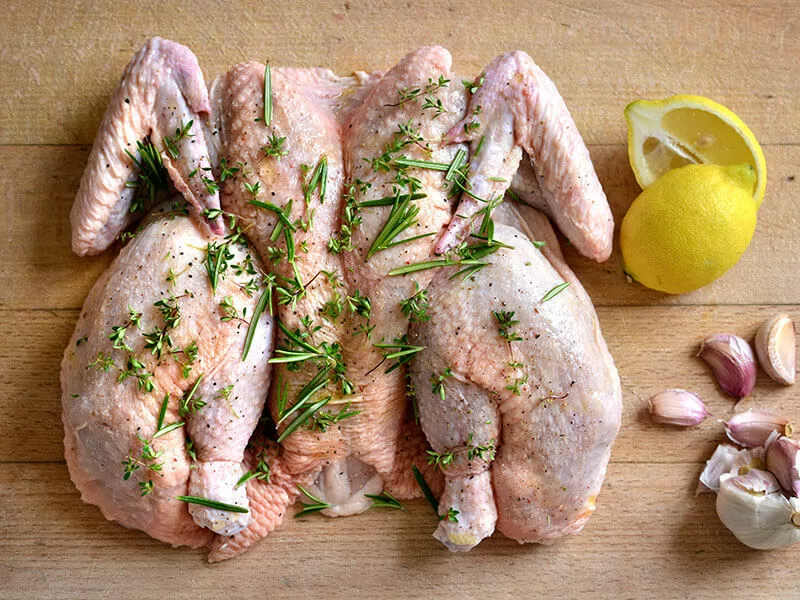
Spatchcock or butterfly is another easy method to prepare for roasting chicken. It is also an excellent solution to solve the problem of roasting temperature. You only need a shear or a kitchen knife to cut the backbone for this method. (1)
As I mentioned above, each chicken part needs a different temperature. Usually, the center pan’s temperature will be cooler than the pan’s edge. This method takes advantage of this rule and allows you to cook your chicken more evenly.
The benefit of this method is helping the chicken to cook faster and absorb the spices better because the entire surface of the chicken is spread evenly. Are you ready? Let’s start now!
- Place chicken breast side down on the cutting board.
- Use scissors or a kitchen knife to remove the chicken’s backbone.
- Flip your chicken breast up.
- Press your palm over the chicken to make it flat on the cutting board.
Now you can easily season all areas of this spatchcock chicken!
Spatchcocking chicken for an evenly cooked chicken. Try it now!
Splay
If you think spatchcocking is a complex technique and takes too much time, you can use the splay method! It is the fattest technique compared to the two ways above.
Unlike a spatchcock, you’ll cut the skin along the thigh on each side instead of slicing the chicken’s backbone. This way has the unique feature that you will have crispy dark meat that is still as delicious as white meat.
It is simple to practice this method:
- Place the chicken breast up on the cutting board.
- Use a knife to slice the skin between the legs and the body chicken.
- Open the thighs and push back until you hear a “pop” at the joints of each side.
You can easily splay chicken for your perfect roasted chicken.
How To Season Chicken?
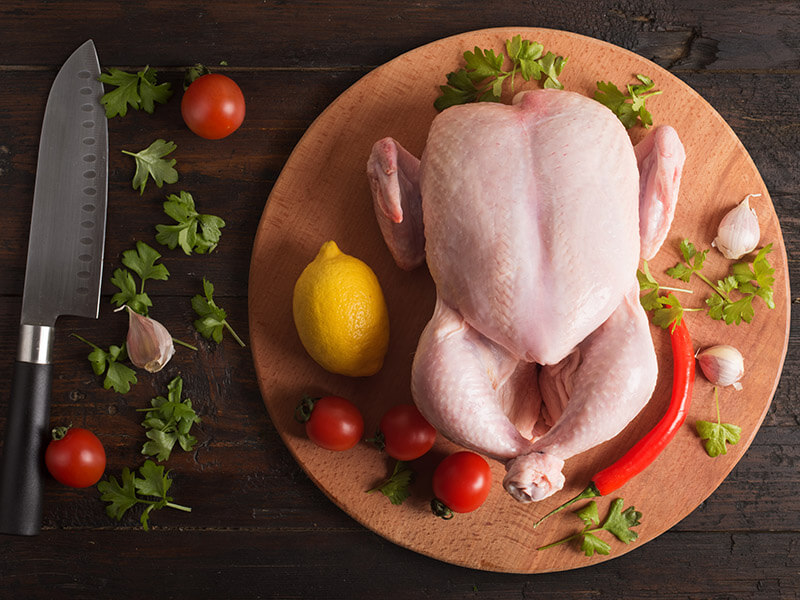
You can season your chicken both inside and outside. Typically, everyone loves seasoning the chicken with salt and spices (brine).
In addition, if you want to boost the flavor of your chicken, you can add herbs, garlic, lemon, or onion into the chicken cavity.
Another way to season the chicken is using olive oil and lemon juice. You can do this step before or after finishing the roasted chicken.
Supreme Instructions For A Juicy Roast Chicken
You can choose two devices to roast chicken: a roasting pan and an oven. Now it’s time to show your cooking! Take a look to explore which equipment is better for you!
Instruction For Perfect Roasted Chicken
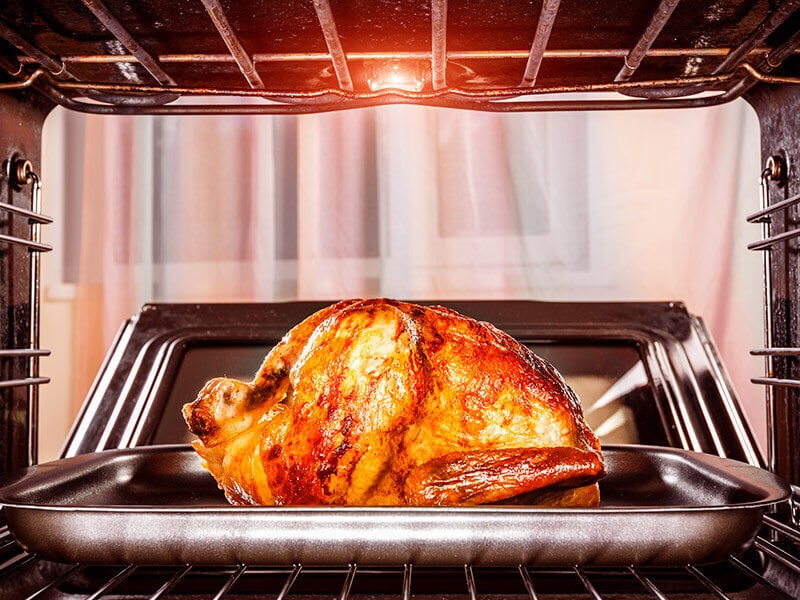
Roasting pan has a roasting rack inside to place chicken on it. With the roasting rack, you can cook chicken more evenly, and the skin is more crispy. You can line an aluminum foil on the rack to clean it easier later.
You can place your chicken directly on the pan if you have just a pan without any rack. You should consider that the skin may stick to the bottom face of the pan.
In this example recipe, I have a 3-pound chicken.
Step 1: Preheat The Oven
The oven takes around 10 -15 minutes to reach the correct temperature. If the oven is not heated, the cooking time you calculate can be wrong, leading to the bad quality of your dish. You should preheat your oven to 350°F.
Step 2: Season The Chicken
You place the chicken in the roasting pan and season both inside and outside of the chicken. You can use your own seasoning way or follow this suggestion.
Use salt, pepper, and onion powder to season the inside and outside of the chicken. Place 3 tablespoons of margarine and 3 or 4 celery species into the chicken cavity.
Step 3: Roast Chicken
Place the chicken roasting pan into the oven and roast for about 1 hour and 15 minutes. Insert a thermometer into the thigh to measure the temperature. If the thermometer reads 165-175°F, you can take the pan out and cover the chicken with aluminum foil.
Let the chicken rest for about 30 minutes before serving to allow the sauce to penetrate the meat.
The basic way to roast chicken for everyone.
Roasting Pan Substitutes
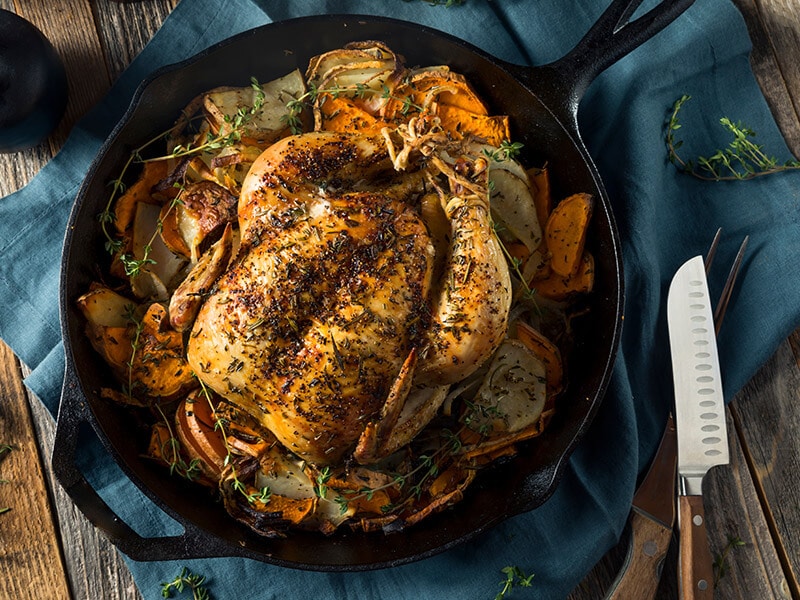
If you don’t have a roasting pan or for personal reasons, you don’t want to use it. Try these roasting pan substitutes that I suggest below.
- Cast-iron skillet: It is a good choice for small roasts. You can use the skillet for both cooking methods on the stove or in the oven.
- Skillet: It is similar to the cast-iron skillet above but lighter and easier to move from the oven to the kitchen counter. You should avoid using pans with non-stick surfaces or handles to prevent them from melting in the oven.
- Bundt pan: Although the bundt pan is not a specialized roasting tool, you can use the bundt pan to handle emergencies.
Remember the beer can chicken above? Place the chicken the same way, and place a baking sheet underneath the pan to catch the juices dripping from the hole in the center.
- Baking pan: A 9×13 baking pan is a perfect substitute for your roast chicken. The shallow sides are best for browning chicken perfectly.
Great Tips To Boost Your Mouthwatering Roasted Chicken
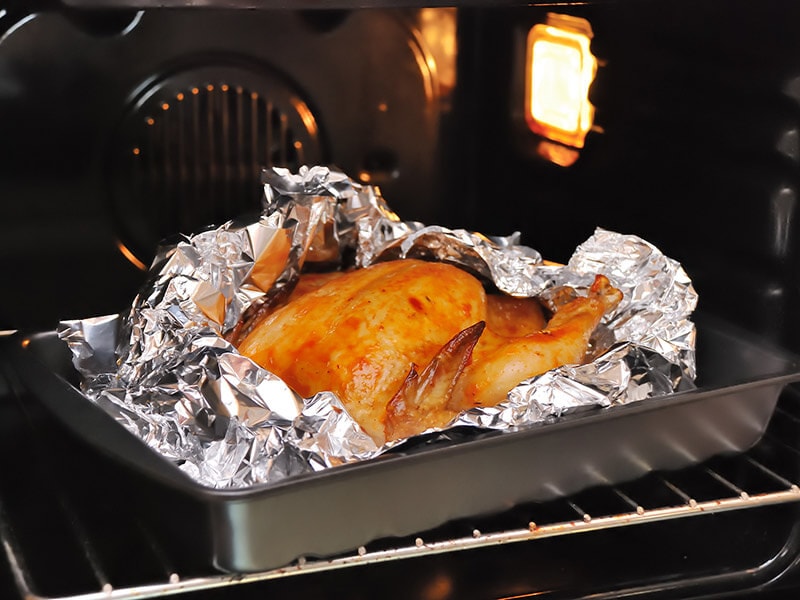
In order to roast the chicken easily, you’ll need some helpful tips. By following these tips, you can make an excellent roast chicken and reduce the cooking and cleaning time.
- Placing your seasoned chicken in the fridge for 2 or 3 hours can enhance the flavor and crispiness of the chicken skin.
- A shallow pan is the best idea for roasting. Why not a deep pan? The juicy water from the chicken will make your chicken mushy.
- You can line the bottom of the pan with a piece of aluminum foil. Thus, when the juice from the roasted chicken is released, it does not stain the pan and is much easier to clean.
- Spinning the chicken will allow all sides of the bird to absorb the heat, which will result in a more even color after it is cooked.
- Using foil to cover the chicken will help the chicken stay moist.
- People often wash chicken before cooking to remove bacteria inside. This step is not necessary! The bacteria have already died during the cooking process, so all you need to do is remove the chicken from the package and dry it with paper towels.
- Your chicken should be defrosted completely in the microwave or refrigerator before seasoning. The frozen chicken will not absorb seasoning as thawed chicken.
- If you want your roasted chicken to have a crispy golden color, you should cover the chicken when roasting at high heat at the beginning. Once you have the desired crispy chicken skin, you can cover the top of the chicken with foil.
- Basting is an unnecessary step as it causes the heat in the oven to escape, which results in the chicken taking longer to roast. A better way to keep the chicken brown and crispy is to coat the skin with a herb and butter mixture before roasting.
- You should let the chicken rest about 10 minutes after taking the chicken out of the oven. While the chicken rests, you can place the vegetables on a plate and make the chicken gravy from its juice in the pan.
- You should know that the temperature at the back of the oven will be hotter than at the front. You can take advantage of this to cook the chicken more evenly.
Firstly, you should place the chicken at the oven back, its legs point to the 2 corners, and the breast lies at the oven center.
Afterward, you should turn the chicken to the opposite side (the breast remains in the center of the oven) so the chicken cooks evenly.
Signs To Show Your Roasted Chicken Is Done
You need to check that the meat is cooked evenly before taking the chicken out of the oven. Here are ways you can do to check the temperature inside your chicken.
With The Thermometer
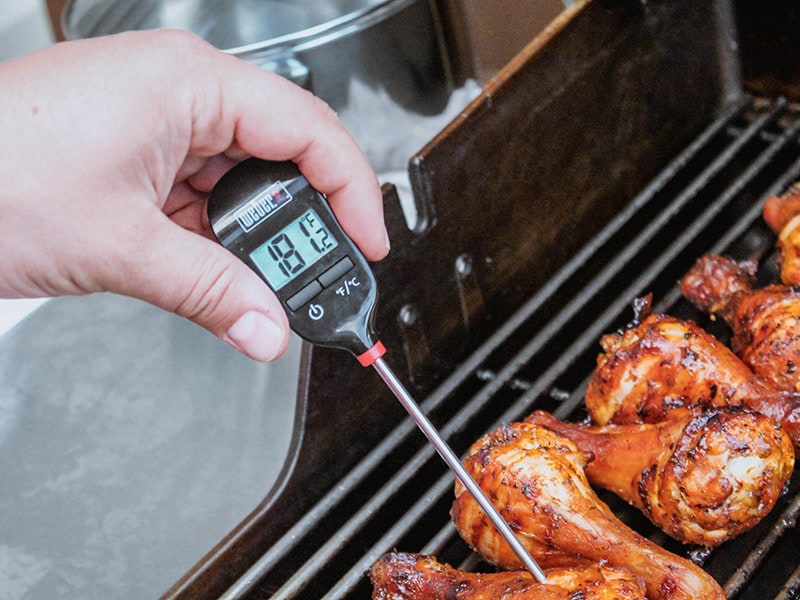
You can check for the doneness of your roasted chicken using an instant-read thermometer or a digital thermometer.
When you want to check the chicken is finished cooking, use a thermometer to check the temperature of the thickest part (not touching the bone), such as the thigh. The chicken is ready to eat if the temperature is between 165 – 175°F.
Without The Thermometer
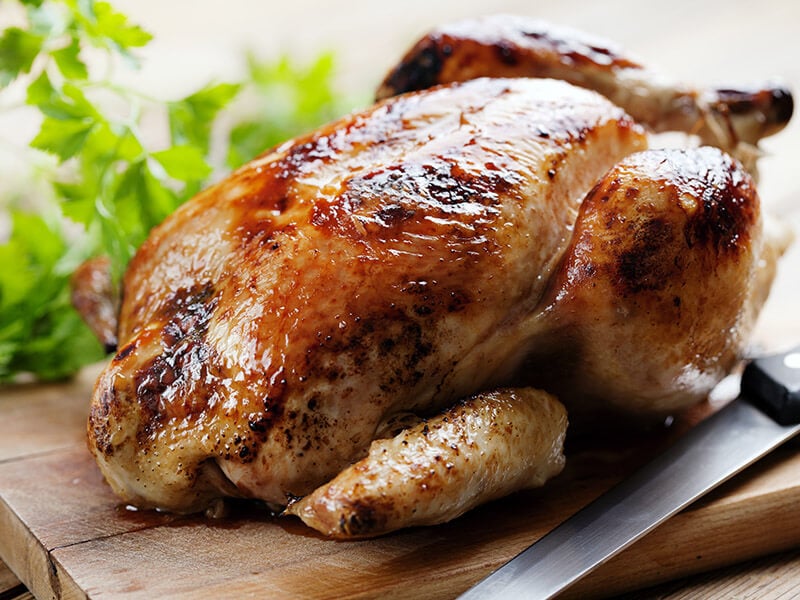
Don’t worry if you don’t have a thermometer in your house. In this case, you can observe the status of meat to guess whether it is cooked evenly by cutting up the flesh to check.
The cooked meat has the following signs:
- The juices run clear, and the meat becomes completely white.
- The chicken leg joints will also be easier to separate.
- The meat is elastic when touched.
Detailed instructions for checking cooked chicken with and without a thermometer.
FAQs
The following are the answers regarding the roast chicken at 350. I hope these answers are helpful in your preparation of this dish.
Good Luck With Your Roasted Chicken!
I hope this guide allows you to make a perfect roasted chicken. All the secret is simply in choosing the corresponding temperature and time. I really hope you can practice successfully at the first time.
Please share this helpful post with everyone if you succeed with homemade roasted chicken. I’d love to hear your thoughts in the comment section below. Who knows? After following what I shared, you have your own idea or new tips!
Again, thank you very much!
Nutrition Facts
6 servings per container
- Amount Per ServingCalories418
- % Daily Value *
- Total Fat
14.9g
22%
- Saturated Fat 3.2g 15%
- Cholesterol 175mg 59%
- Sodium 212mg 9%
- Potassium 446mg 13%
- Total Carbohydrate
1.1g
1%
- Dietary Fiber 0.1g 0%
- Sugars 0.5g
- Protein 65.9g 130%
- Calcium 37%
- Iron 2%
* The % Daily Value tells you how much a nutrient in a serving of food contributes to a daily diet. 2,000 calories a day is used for general nutrition advice.
References
- Butterflying – Wikipedia. (2022)

