Summer is coming, and it is essential to have a lovely ice maker for your home, restaurant, or coffee shop. Using an ice maker is easy; enjoying its results is amusing, but when it comes to the cleaning part, it’s not that delightful as it should.
I know it’s twenty-one century, and still, you’re stuck with the ice maker cleaning process. Well, you’re not alone in this journey. A lot of people are having struggles with this problem too. So what should you do after using an ice maker? Are you tired of searching for complicated and redundant tips or “how-to” guidelines that lead you nowhere?
Luckily, you’ve got me. All of those problems could be solved in just a blink of an eye after reading my concise yet informational guideline about cleaning the ice-making machine. What are you waiting for? Let’s begin!
Before Cleaning The Ice Maker
Before getting down to work, there is some general information that might be helpful to you.
How Many Types Of Ice Makers?
Do you ever wonder what type of ice maker that you are using? Since each type requires some specific cleaning methods, it is essential to distinguish between them. Let’s go through a brief conclusion about the two main ice maker categories.
1. Consumer Icemakers
The consumer icemaker is the most common ice maker appliance on the market. There are three kinds of consumer icemakers: Freezer ice makers, portable ice makers, and freestanding ice makers.
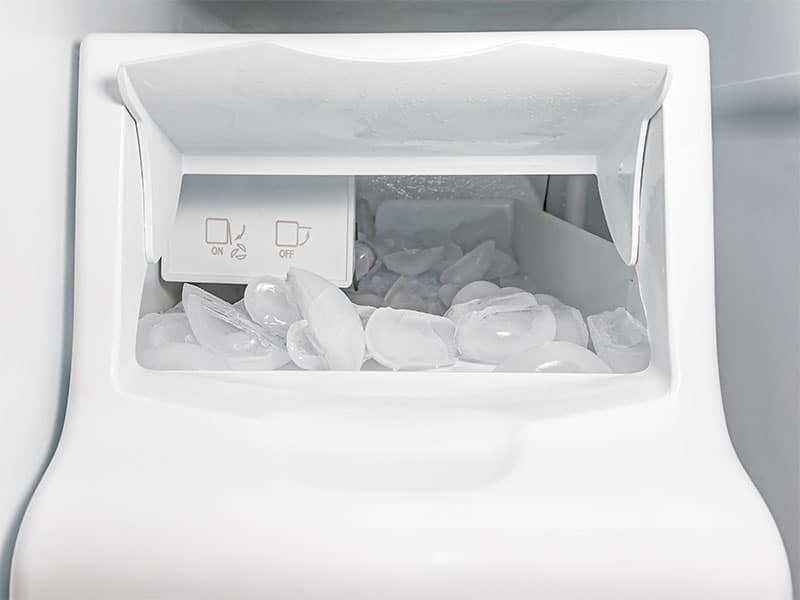
The freezer ice maker is the part that we usually find in the freezer machines or refrigerators. This one is the first ice-making machine model on earth. Until now, it is still one of the most popular ice makers in every home, bar shop, or restaurant.
In order to make ice, this machine requires cold water to fill in the mold. Usually, the mold is flexible due to the removable ice tray. You can create almost any shape for the ice.
Then, ices will be frozen for a few minutes up to hours, depending on the amount of water and the types of refrigerators. After that, the machine will turn on a bit of heat to melt the ice slightly, so it can not stick to the mold. Or you can use the silicone mold instead because it is a non-stick material, which is an ideal ice tray for the freezer ice maker.
Finally, the machine extracts ice from molds to a bin, and the circle repeats until the container is full of ice. Yet, some models keep the ice on the tray until we take it out and fill it with new water manually.
A portable ice maker is a compact-sized machine that can carry around. It’s small, convenient, and very suitable for the minimalist. The steps required to clean portable ice makers are simple as well. Besides, it is also the quickest ice-making machine of the three consumer icemakers.
One of the disadvantages of this model is you have to fill the water manually and frequently. The principle of ice making is pretty much the same as the freezer ice makers. However, the shape of the ice is usually a bullet-like form with a thick and frosty appearance.
Another thing you should notice is a portable ice maker does not keep the ice from melting. However, it can reuse the melting water to produce more ice. Once the container is full, the process ends.
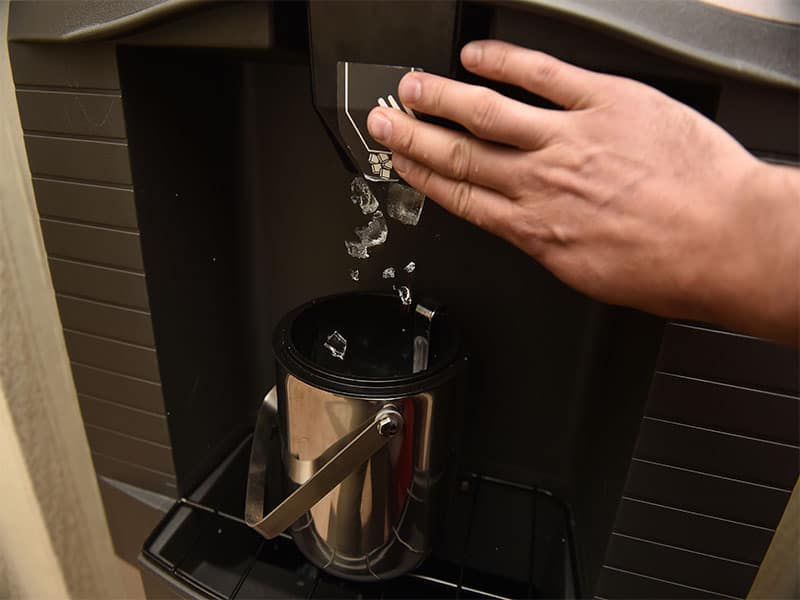
The built-in or freestanding ice maker is the larger version of freezer ice makers; some fit the bar counter or the kitchen’s appliance; some are separated units.
The ice-making process causes the tiny bubbles to get trapped, so the ice surface is not as clear as other consumer ice makers. However, it’s faster, and it can generate more ice within the same amount of time.
2. Industrial Ice Makers
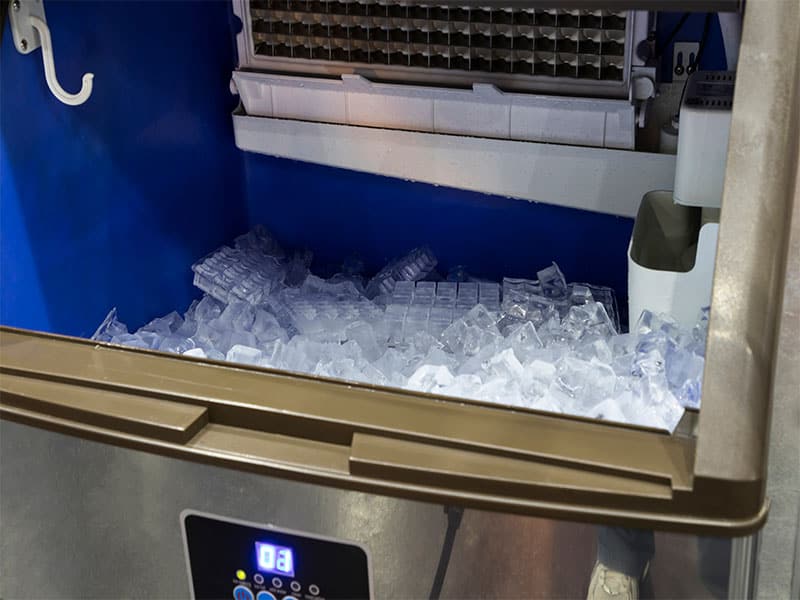
The industrial ice maker is a much astronomical version compared to a consumer ice maker. This type is for commercial purposes such as a coffee shop, restaurant, or even preserving frozen foods.
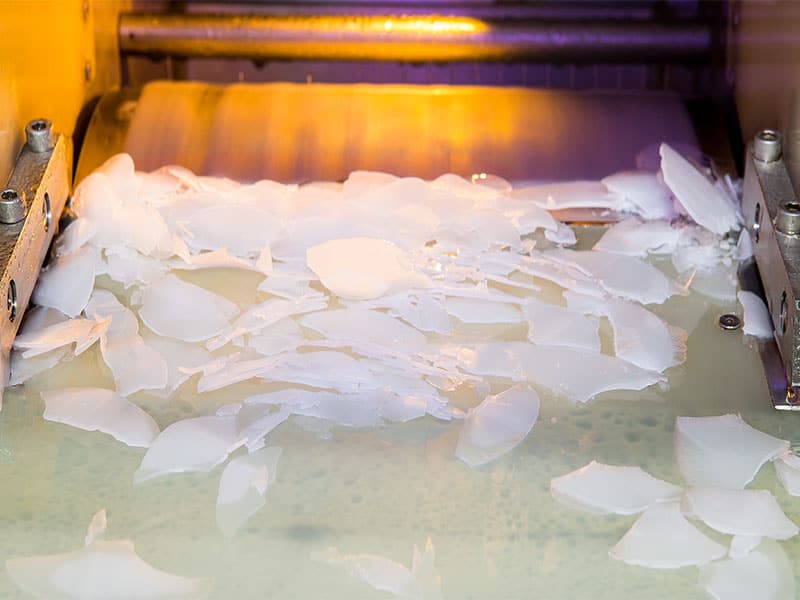
Industrial ice makers improve the quality of the ice result. Not only is the ice more transparent, but also amazingly hard and long-lasting. Moreover, the commercial ice-making machine can produce various ice shapes like flaked, crushed, cube, or tube.
The flake ice uses the water with salt, usually for preserving sea products or fruits. In baking, it can prevent self-raising flour when you mix all kinds of ingredients. The flake ice also can be used as fake snow for decoration.
In construction, the concrete cooling process uses the flake ice as the primary water source because the concrete will break if the preparation is not produced at a constant low temperature.

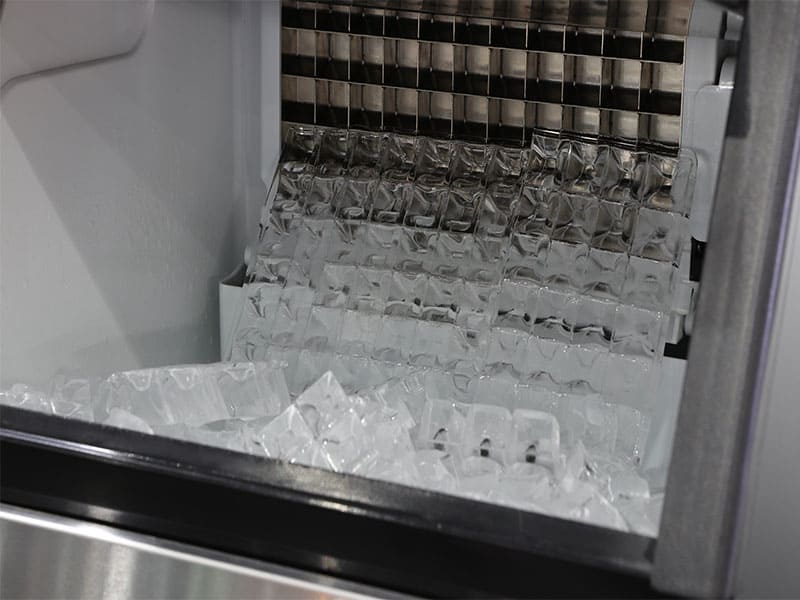
Whenever you come to any coffee bar or restaurant and order an iced drink, you would probably see little ice cubes that are fresh and beautiful. That ice also comes from an industrial ice maker.
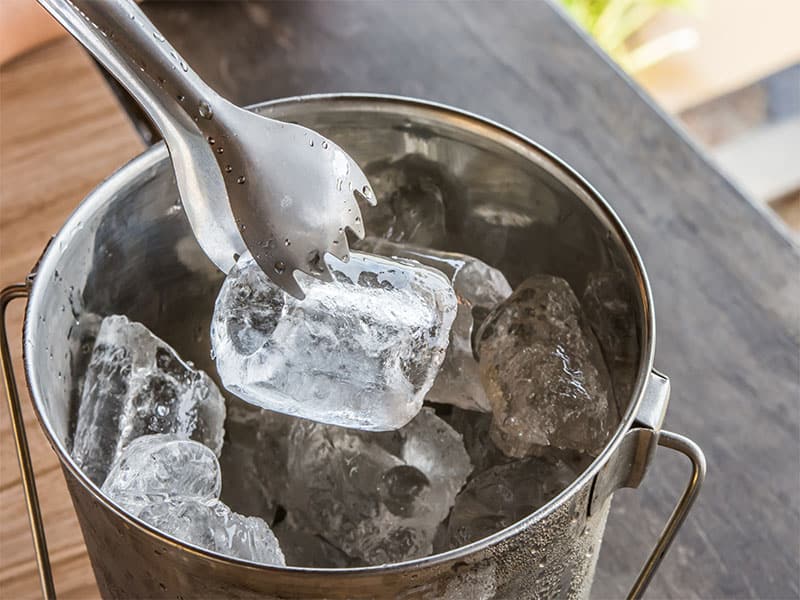
As its name suggests, tube ice is shaped like a tube, with inner holes in the middle, usually 35mm in height and diameter.
Which Cleaning Solution To Use To Clean An Ice Maker?
Cleaning your ice maker is not as complicated and time-consuming as you would normally think. Some specific cleaning solutions that you can probably guess, such as vinegar, lemon juice, or dish soap, can clear away all of the filthy things in your ice maker and your mind.
- Vinegar: Maybe vinegar is the top of mind when it comes to clean pretty much anything, isn’t it? But what brings the reputation for the vinegar is the ability to clear away all the molds, both on porous and non-porous surfaces. As you can probably guess, one of the main dirt in your ice freezer is mold, and what can kill mold better than vinegar, right?

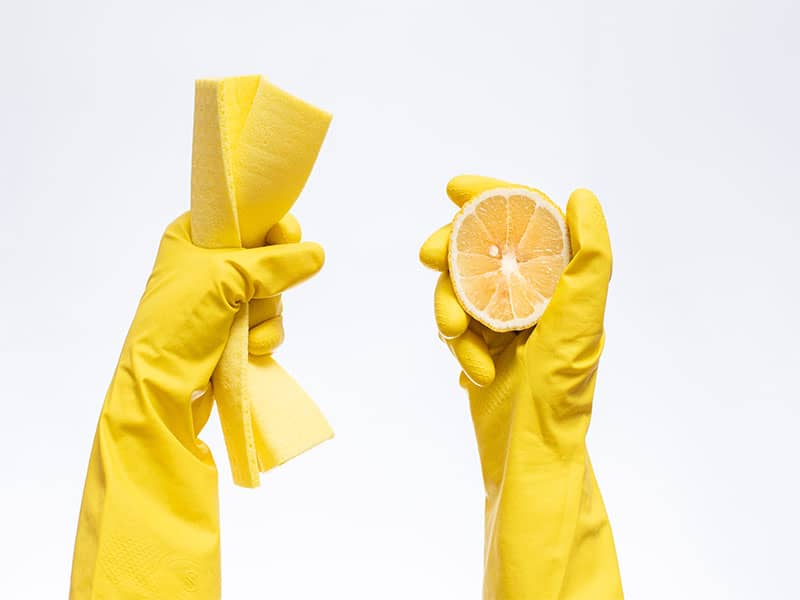
- Lemon Juice: is the most environmentally friendly cleaning solution and can be used for cleaning many things in the kitchen. One of the things that you need to clean bamboo boards, for instance, always include lemon juice. Its benefits are also the same as vinegar.
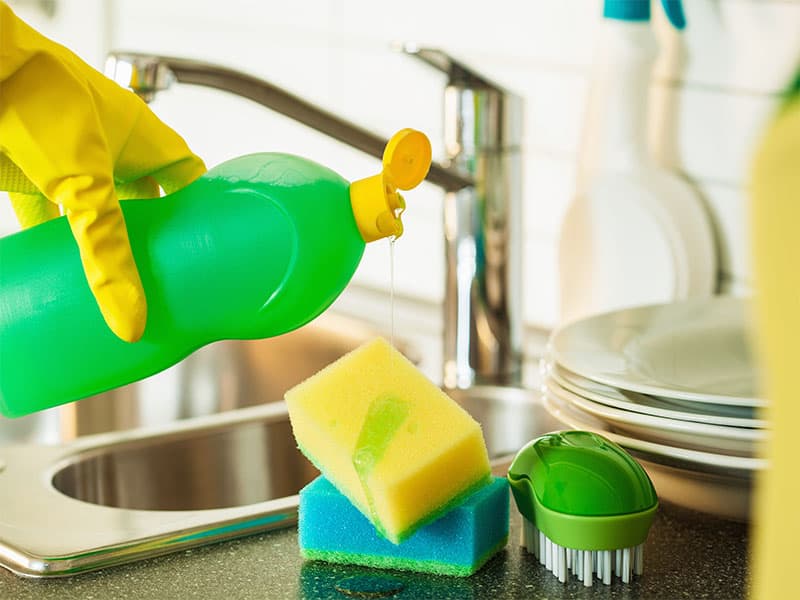
- Dish Soap: is always the go-to item for me. It’s also the easiest requirement for cleaning electric skillets and many electronic cookwares. I mean, we all have at least one bottle of dish soap in our home, right? It’s a cost-saving choice for everyone.
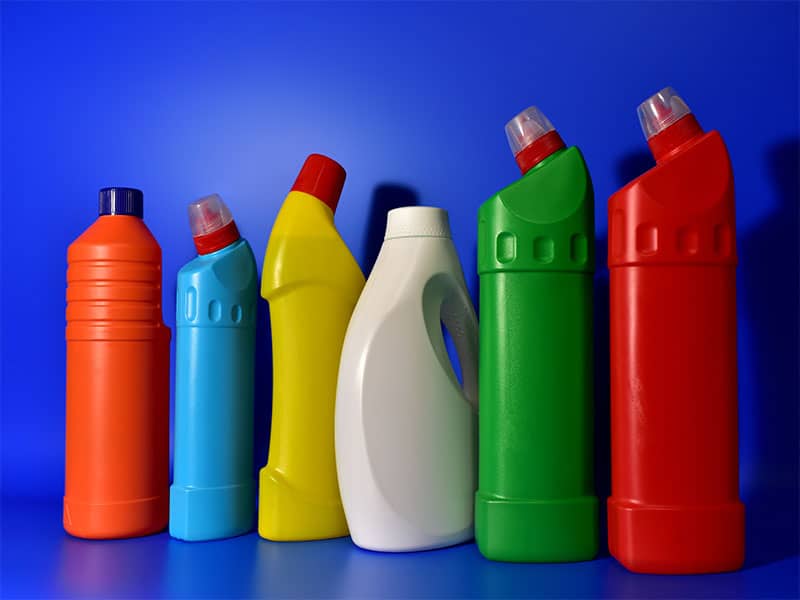
- Commercial Cleaning Solution: Other than these “home cleaners,” you can go online and search for some cleaning solutions just for ice makers. Depending on which types of ice machine, you can choose some exclusive ice maker cleaners that work best for you. However, it might be more expensive than the other traditional cleaning solution that I mentioned above. But you know, you pay for what you get.
Why Do We Have To Clean The Ice Maker Regularly?
We all know water is essential. When we drink ice, it also means we drink water. According to the research, we consume 125 ounces each day for men and 91 ounces daily for women on average. That explains why up to 60% of the human body is water.
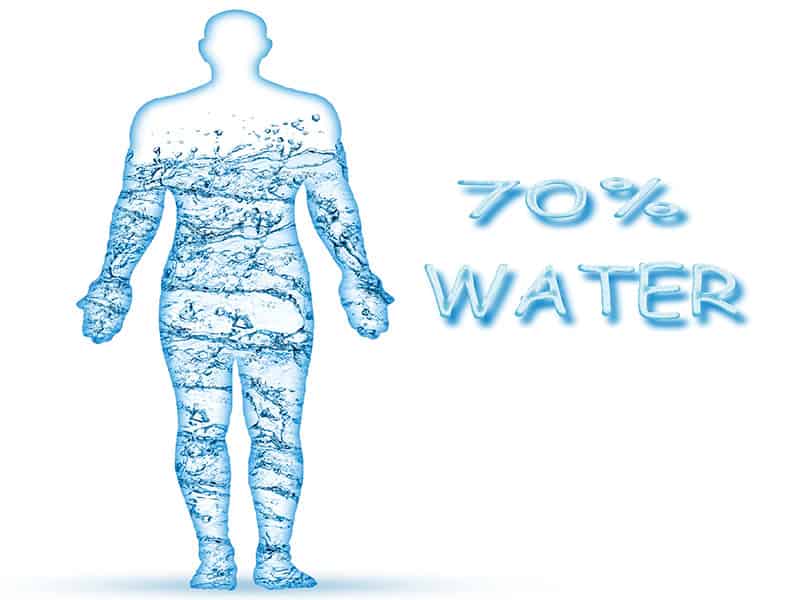
So what if that 60% is not as clean as you expected? Are you unintentionally poisoning yourself and people around you with dirty ice? Do you even know whether the ice is pure or not just by looking at its appearance?
Well, you might have an answer in your head right now. And I hope that my answer will align with yours.
Health Risk
Obviously, the first reason that comes to mind to explain why we need to clean the ice maker regularly is to have fresh, clean ice to drink. Since we care about our health and others, it’s necessary to make sure your ice-making machine is in a hygienic state.
Ice Taste
Secondly, contaminated ice can also tremendously affect your taste for drink and food. Imagine your lovely meal that you spend hours making is ruined just because the taste of your iced drinks is “not normal”.
So, it would be terrible to spend an extravagant amount of money on the tastiest cranberry juice out there, only to have it ruined because of contaminated ice cubes. Unimportant as it might seem, once you encounter this issue, you’d probably wish you’d cleaned your ice makers.
Durability
The last thing is, after using any kind of appliance for a while, especially with kitchen appliances, there will definitely built-in some dirt, rust, limescale, or mold. Those culprits are not only harmful to your health but also damaging your ice maker. Cleaning your ice generator will prevent those nasty and keep your appliance working efficiently for a long time.
What To Pay Attention To When Cleaning An Ice Maker?
During the cleaning process, there are things that you need to notice. It’s better to know these first to avoid any regretful situation later, as they say, forewarned is forearmed.
1. DO NOT USE the abrasive steel-wool pad or brush to clean the ice maker because it could scratch the surface and damage some ice maker parts (1).
2. DO NOT USE any caustic chemicals to clean your ice maker.
3. Using a filter will help produce purer ice and reduce the amount of time cleaning your ice-making machine. But remember to change it every 3 to 6 months to have the best result.
4. There is no fixed time to clean your ice maker. It depends mostly on your model and your use of time. However, in general, you should clean at least one time every six months.
5. There are some alert signs that remind you to clean your ice maker, such as:
- The ice becomes more cloudy and has doom.
- The ice melts faster.
- The ice feels softer.
- The ice is smaller than usual.
- The taste is different.
- There is some strange smell in your ice maker.
- Your ice container isn’t keeping your ice as long as it was (I can assume that there are some things wrong with your ice-maker, or the dust and mold have already grown enough to cause a gap for your icemaker’s seal).
- There are some problems with the operation or ice-making process.
6. Different types of ice-making machines require specific cleaning methods. What I’m writing is just for the general ice-making device. That means before thinking of cleaning any appliance, including your ice maker, you have to carefully read the manual to learn how to clean your machine.
7. Some models need unique cleaning solutions and sanitizers that are suitable for their materials. So be careful when choosing the proper cleaning solutions for your ice maker.
8. There is no use cleaning your ice-making machine if your water source is impure. That’s the reason why you should pay attention to your water clarity when you fill it in your ice maker.
9. I know some of you guys want to have more substantial results and have an intention to mix all kinds of detergents to clean as much as possible all the tainted subjects in your ice maker. But that is totally a misconception. When you blend various cleaning solutions, it may create chemical reactions that can harm your ice maker.
10. The last thing you should notice is that it’s compulsory to clean your industrial ice machine regularly because ice is considered a kind of food, according to the FDA (Food and Drug Administration) (2). However, depending on where you live, there will be different rules about how often you should clean your commercial ice-making machine.
How To Clean An Ice Maker?
So, this is the most exciting part that you have been waiting for. I’m going to run through all the preparation tools and detailed steps on how to clean the ice-making machine.
Preparation Tools:
- Clean water, warm water
- Any cleaning solution
- A bucket
- A soft brush or a sponge
- A piece of cloth
Detailed Steps:
Step 1: Unplug And Turn Off Switches
When cleaning your ice maker, the first thing you should do is turn off all the switches and unplug it. This is one of the steps required for cleaning pasta machines, electric skillets, and other electronic appliances.
This step may sound superfluous but trust me, you will thank me later. Sometimes, when you focus on the main things and accidentally forget the basic step, it could lead to unwanted or even horrible consequences.
Turning off the water supply of your ice generator if there is any. You can skip this step if your machine is a portable ice maker or some specific model that doesn’t come with the water supply part.
Step 2: Pour Out Any Left Water
After that, pour out all the left water or ice in your bin. At this part, there are two ways to drain all out. One is to take out the ice in the container directly. The other way (probably when your ice sticks to the ice tray) is to wait for the ice to melt (you can speed up this part by pouring the warm water in) and then remove it from the bin.
Step 3: Create A Cleaning Solution
Now, it’s time to do the magic. Mix any cleaning solution you have (the one I mentioned above) with warm water and prepare a soft cloth. The cleaning solution should depend on your machine, so read the instructions before choosing the wise one. The ratio can be 1:5 – 1 cup of the clean solution and five cups of water. It also can be different with each condition. If there are many stains, you would need more cleaners than the standard suggestion.
Step 4: Pull Out All The Removable Parts
The next step is to do a purge on all the removable parts and clean them individually with the mixture. Following the manual instructions if your machine requires some atypical remove steps.
Step 5: Rinse Those Removable Parts With Water
Obviously, after cleaning, you should rinse all the removed components with clean water. However, it would be better to use a soft brush or a sponge (any pliable materials as long as it is convenient to you) to wipe all the foam before rinsing them all. Use a rag or small piece of cloth that you have prepared to wipe any left water on the surface and let it dry naturally for a while.
Step 6: Clean The “Food Zone” Area
Move to the “food zone” area. If you use your ice maker not only to make ice but also to preserve foods or fruits, it is essential NOT to skip this step. Still, keep using those left mixtures (or you can make a new one following the steps above) and repeating all the cleaning methods you apply to the removable parts. But with the “food zone” surface, pay close attention to some specific details such as the evaporator, the sidewalls, the base, the waterline…
Step 7: Place Back All The Pull Out Parts And Clean The Reservoir
Let those “bad boys” air dry while making another bucket of cleaning solution. After putting all the removable parts back to the machine, fill the reservoir with the new cleaning mixture.
This step is when you have to look back at your machine because it could go in two different directions, depending on your ice maker device. If your ice generator has the automatic “clean” or “wash” button, you can push that button, let it clean itself, and discard the ice that the process has made during the cleaning process.
Step 8: Making The First Tray Of Ice
If your machine does not have that add-in feature, you can move to the following step. First, you keep making ice as usual by filling in the tray with water and letting the machine make ice until all the cleaning solution runs out of your appliance.
Step 9: Throw Away All The Ice
The second step is to throw away all the ice and repeat the cycle. Rinse your reservoir with clean water afterward. Take a cloth and wipe all the dampness. Let it dry, and your machine is ready to go.
You can have some visual references on cleaning your commercial ice maker (industrial ice maker) by watching this video.
With consumer ice makers like portable ice makers or freezers, you can check out this video to better understand how to do the cleaning process for your ice machine.
After Cleaning The Ice Maker
After finishing the cleaning part, it is essential to make some extra efforts to keep it in the best condition. There is quite a wide range of accessories for your ice maker, which is super conducive if you want to extend the life-long use of your machine.
Create A Cleaning Schedule
One tip that I usually use to remind me of cleaning my ice maker is to note down the cleaning day on my calendar. This trick will reduce the stress of cleaning things in your house, and I will explain why.
Habitually, I would have at least one or two days off per month to clean all the things in my lovely home, every nook and cranny. Imagine after a long and tiring working day, and when you’re back at home, you still have to face all the dirty and messy stuff that could drive you insane. How can we get the energy to spruce up all those things?
That is when the cleaning day solves your problem. When you spend the whole day cleaning up everything, you also create a workflow that is easy to dive into. Besides, you don’t have any deadlines or stress from work, which reduces the amount of pressure and burden when cleaning every little thing, such as the ice maker.
You can think of it as an exercise day because cleaning requires lots of effort and energy. When you clean, your muscles also work to improve your health.
Sharing Is Caring
Moreover, you can ask your family members or roommates (if you don’t live alone) to clean up space regularly. It is understandable to share household chores in your place. Cleaning shouldn’t be considered a torture process, and everybody should enjoy it and create something fun out of the “boring” activity like cleaning an ice maker.
In fact, this cleaning day can apply for the members in your house to not only keep your area tidy but also strengthen your relationships with others.
Make It Fun
While cleaning up your ice makers, you can distract yourself from negative thoughts about the cleaning process by turning on some of your favorite music playlists or listening to some podcasts that interest you.

Cleaning The Surrounding
You should also notice that the surrounding affects a lot on your ice maker. Keeping everything tidy and clean around the ice maker and the whole kitchen will ensure your machine works well and efficiently, and your ice will taste better.
It is important NOT to use an abrasive pad or brush to clean all the exterior and interior parts because it could scratch your surface and damage your machine.
This tip is not compulsory, but if you want to extend your machine’s life and health, you can buy some ice machine sanitizer or make it manually at your home to keep your ice machine in its best condition.
Frequently Asked Questions About How To Clean The Ice Maker
Below is the quick ask and answer section that I think it’s pretty helpful to you. These are the most asked questions on the Internet. I hope with my limited knowledge and research skills, you will find yourself a perfect answer for your own.
It’s Your Showtime
With the development of technology, gone are the days you need to buy ice on the hot summer days. Now you can make ice easily and instantly at your convenience. However, you should always pay attention to the hygiene of your ice maker.
Cleaning and sanitizing your ice maker on a regular basis can tremendously improve your health and extend the life of your machine as well. With some simple, effortless steps, you can clean your ice maker within a sec.
If you are reading till this line, what are you waiting for? Let’s grab a soft brush, a bucket of the chemical mixture, a full energy attitude, and start cleaning your ice maker right away!
Don’t forget to share your cleaning experience in the comment section below. If you have any questions or feedback, feel free to share. I hope my guideline will help your cleaning process be less complicated and more fun!
