So you want to know how to dry basil in the oven. Maybe it’s because you just harvested basil from your garden, or perhaps you just bought it in bulk from the grocery store. Either way, what can you do with so much basil?
Unless you are hosting a party for 20 people, you obviously can’t eat it all in one go. The basil will become limp and tasteless after only 5-9 days, so you must learn how to store it properly.
Drying basil in the oven is, without a doubt, one of the most effective ways to preserve your basil, especially if you’re unwilling to research what ingredients you can use to substitute basil. So if you are ready to learn how, give this article a read now!

A Detailed Guide On Drying Basil In The Oven
There are a few differences between fresh basil and dried basil, but the most noticeable one must be their shelf-life.
Basil, regardless of what variety of basil you’re talking about, tastes best while it’s still fresh, but it will spoil in about a week. So if you want to dry your basil and extend its lifespan, roll up your sleeves and let’s get started!
Step 1: Remove The Leaves
If you grow your own basil, you can pick the leaves individually off the plant or cut the whole stem off from the top. Make sure to cut no more than ⅓ of the plant. You can also clip off small parts of the stem where there are 2 leaves on either side.
Did you say that your basil has also sprouted flowers? As there are several applications to basil flowers, it’s best that you save the flowers for these purposes. Throwing them away would be an unfortunate waste.
Likewise, if you have basil seeds, you should keep them as well. Basil seeds look a lot like chia seeds, and their applications are similar as well. While you can name what makes basil seeds different from chia seeds, you’ll be surprised by how alike these two seed types are.
Remove the individual leaves from the stem of basil using your fingers. Any leaves that are dead or wilted must be discarded.
Note:
Don’t throw the stems away. They can be used to flavor stock, soup, or stuffing.
Step 2: Wash Them
Although different basil types have different features (for instance, Thai basil have many dissimilarities from regular basil), you need to make sure that your basil go through this step to ensure that it’s completely clean. Otherwise, your dried basil might be contaminated.
Put leaves in a bowl and run cool water into it, then allow them to soak for a few minutes. Afterward, pull the leaves out of the water. Do not pour it through a colander since the dirt at the bottom of the bowl will make your leaves dirty again.
Step 3: Air Dry Them
Lay the leaves flat on a clean towel and pat them dry. You can also wrap them in that towel to soak up the moisture from the basil. Alternatively, you can give them a good shake in a strainer or spin them using a salad spinner.
Note:
You may put the basil in the oven directly once they are dry, but you should let them air dry in a shaded spot overnight or for 3-4 days. This will cut down on the length of time it needs to be in the oven.
Step 4: Preheat The Oven
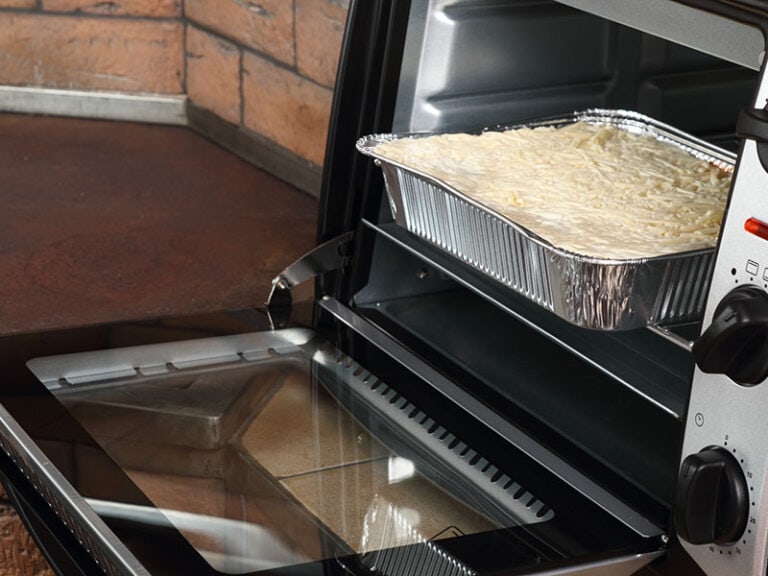
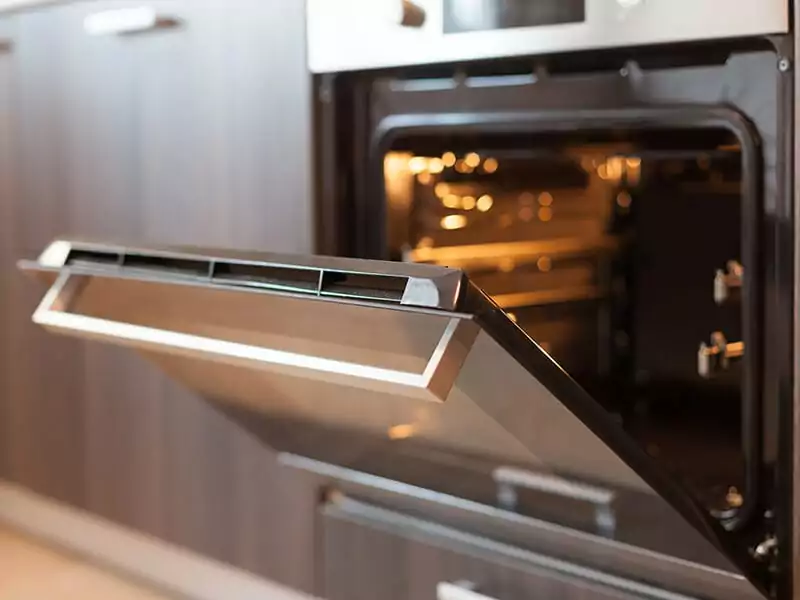
Preheat your oven to its lowest setting (preferably 170°F). While it is heating up, place a single layer of leaves on a baking sheet lined with parchment paper. Allow some space between them if it is possible. Avoid stacking them.
Step 5: Bake Them
Place the baking sheet on the top rack of the oven and bake the basil. The drying time might vary depending on the heat of your oven and the fullness of the baking tray. The dryness and the size of your basil leaves also affect the drying time.
It usually takes about 45 minutes to 1 hour to fully dry your leaves, but sometimes it might take up to 4 hours. If the oven is too hot, leave the oven door slightly ajar to avoid charring your basil.
Step 6: Check Them
If the basil still hasn’t dried after 1 hour, check the basil every 10-15 minutes to make sure that they don’t burn. At the 2-hour mark, use tongs to flip them over every now and then so they will dry more evenly.
When they shrink significantly and have an olive green color, they are dry. Or you can crush the leaves with fingers to test their doneness. If they crumble apart, you’re good to go!
Step 7: Crumble Them
Take them out of the oven and allow them to cool completely before crushing them. A mortar and pestle will make this process faster but if you don’t have one, just crumble the leaves with my fingers.
Note:
Don’t crumble all your leaves since whole dry leaves are more aromatic and flavorful. Only crumble a small amount of dried basil each time.
Step 8: Store Them
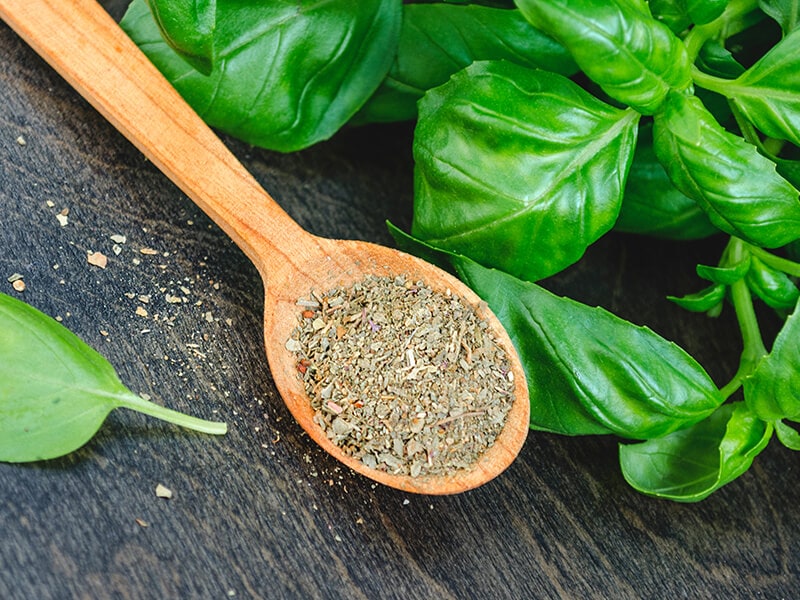
Store the crumbled leaves in a spice jar or airtight container. Keep the basil in your cupboard or pantry, where it will be shielded from heat and sunshine to make them last longer.
The Truth About Dried Basil’s Shelf-Life
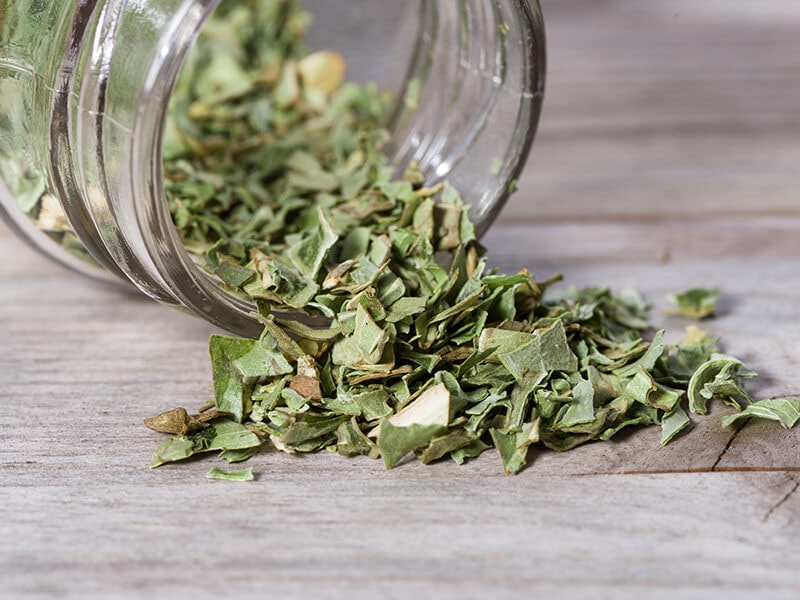
Drying is by far the best way to lengthen the shelf-life of your basil. If stored correctly, it can maintain the signature taste of basil for 1-3 years (1).
It is implausible that your basil will spoil once it is completely dried. However, residual moisture might lead to mold growth(2). That’s why it is essential to store your basil in a cool and dry place.
If you are not 100% sure about the quality of your dried basil, crush it with your fingers and smell/ taste it. If the basil’s flavor or smell is lost, it is no longer suitable to use.
3 Healthy Recipes With Dried Basil
There are so many recipes for fresh basil, but what about those for dried basil? Dried basil is more than just a garnish. Utilize it in your daily meals with the recipes below:
1. Dried Basil Pesto
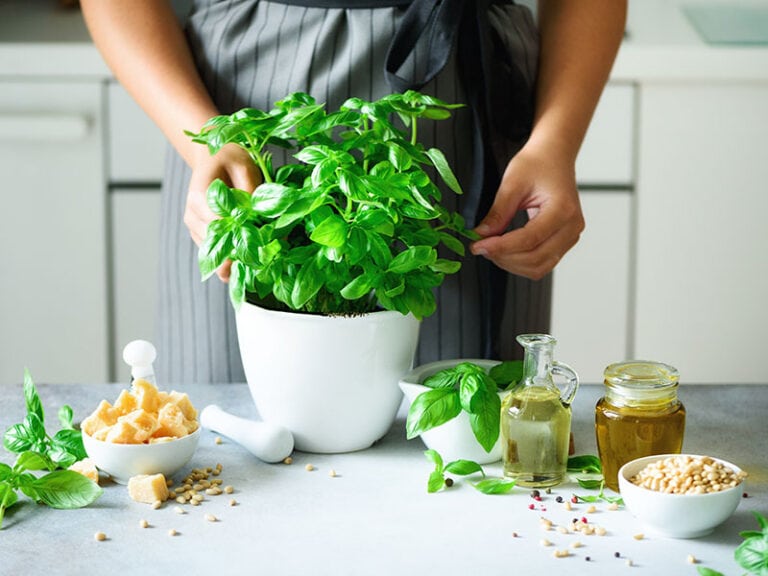
Yes, it is possible to make pesto from dried basil, and it’s delicious! Dried basil pesto is pretty easy to make, just replace your regular fresh sweet basil with the dried basil, add some Parmesan cheese, cashews, lemon juice, garlic, and voila!
Keep in mind that the color of dried basil pesto won’t be as vibrant as the fresh one. It looks rather dull and brownish. So if you want the signature green color of fresh pesto, this is not the recipe for you.
For a lively demonstration on how to make dried basil pesto, check this out!
2. Tomato Soup With Dried Basil
Tomato and basil soup is the ultimate comfort food. It tastes just like summer in a bowl with the acidity from the tomatoes, creaminess from the milk, richness from the butter, and aromas from the dried basil.
You can garnish some parsley onto the soup for some flavors. It’s true there are many distinctions between parsley and basil; however, you can combine these two herbs for a more flavor-packed dish.
3. Baked Zucchini Fries With Dried Basil Dipping Sauce
Satisfy your French fry cravings with this healthy and tasty alternative. The zucchini fries are crispy and flavorful, not as oily as regular french fries. These veggie fries pair amazingly well with dried basil dipping sauce, making them the perfect side dish for any meal.
Feel like jazzing the fries more? Add in some dried oregano! Again, while you can easily spot the differences between oregano and basil, you’ll be surprised how well these two taste when they’re combined.
Bonus Tips: 4 Other Effective Ways To Dry Basil
There are many different methods to preserve fresh basil, but drying is, by far, the best way to make basil last for as long as possible. But using the oven is not the only way, other appliances can also be utilized to get perfectly dried basil leaves.
1. Using The Sun
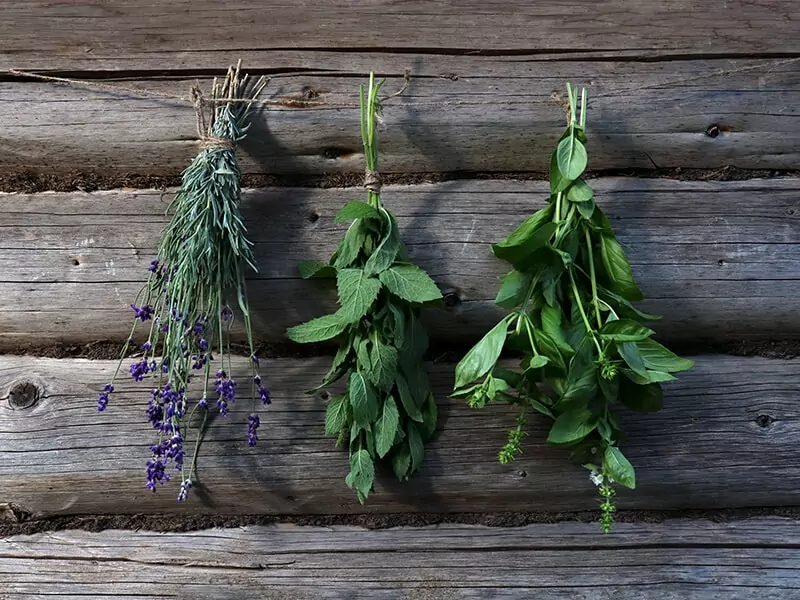
Air drying basil can be pretty time-consuming, but it is highly effective. Plus, having dried basil hanging on the wall will make your kitchen look much cozier.
Step 1: Prepare The Basil
Get rid of any wilted or damaged leaves you can find, but do not remove all the leaves from the stem. Then wash the basil leaves under cool running water and pat them with a paper towel. Set them aside and let them dry completely.
Step 2: Hang Them
Using kitchen twine, tie 4-5 basil stems together. Don’t overcrowd them since this will prevent ventilation. Then, hang the basil in a warm and dry place in your house. Don’t hang it somewhere too windy or have too much moisture in the air.
It might take 2-4 weeks for the basil to fully dry, depending on the temperature.
Step 3: Crumble Them
Once the leaves are dry, remove them from the stem to crush them. You can use your hands, but using a mortar and pestle will give better results. Then, store the basil in a spice jar or container. Keep them in a cool, dry place.
2. Using A Microwave
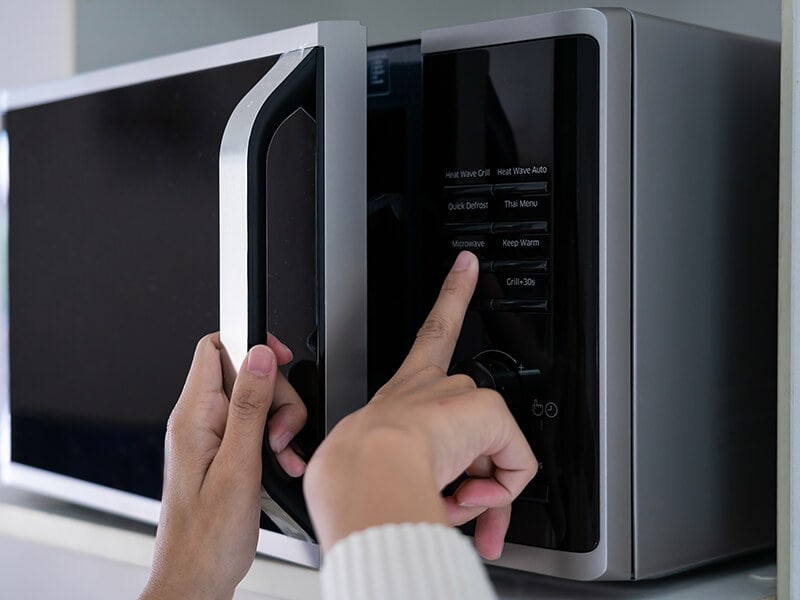
This is perhaps the quickest way to dry your basil. However, microwaved basil doesn’t taste nearly as great as oven-baked ones. So you should only try this if you need dried basil as soon as possible and don’t mind the taste.
Step 1: Prepare The Basil
Before the drying process begins, the basil must be removed from the stem and washed under cool running water. Grab a paper towel and pat the leaves dry. Allow them to dry overnight on a clean kitchen towel.
Step 2: Microwave Them
Sandwich the basil leaves between 2 pieces of paper towels and microwave them for 30 seconds. Then check to see if they’re completely dry. If not, allow them to sit in the microwave for another 30 seconds. In general, it will take about 90 seconds in total to dry them.
Step 3: Crumble Them
Let the leaves cool completely before transferring them to a mortar or a large bowl. Crumble them with a pestle or your hand. Once you’re happy with the result, place the crushed leaves in a spice jar or container.
Let’s learn a few more things about drying basil with a microwave!
3. Using An Air Fryer
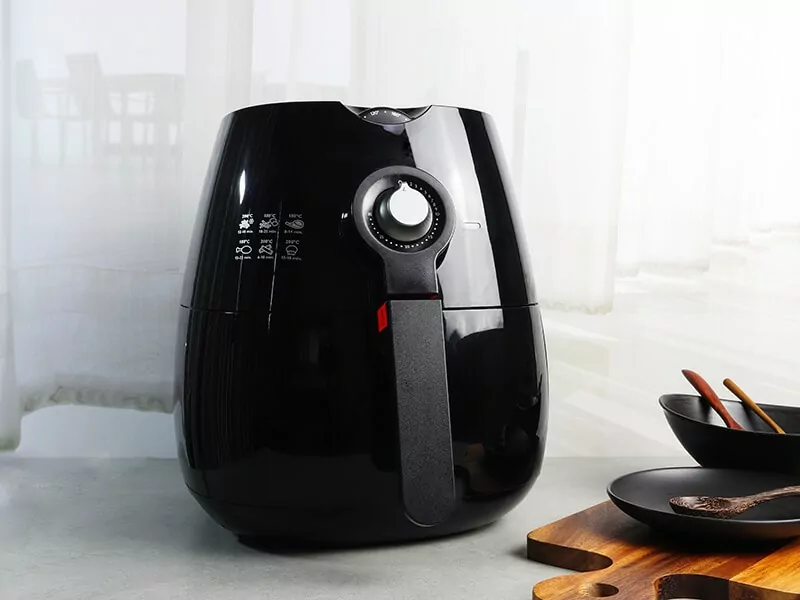
This is another quick and easy way to dry your basil effectively. But just like the microwave method, dried basil from the air fryer is not as flavorful as the one from the oven.
Step 1: Prepare The Basil
Like before, remove the basil leaves from the stem, wash them under cool running water and pat them dry with a paper towel. Make sure that basil is fully dry before moving on.
Step 2: Air Fry Them
Preheat the air fryer at 360°F for 2 minutes. Then place the clean, dry leaves in the air fryer basket. Put a rack on top of the leaves to prevent them from being blown around.
Air fry the basil at the same temperature or slightly lower for 3 minutes. Shake the basket after every minute. After 3 minutes, take one out and crumble it. If it is still too soft, give it another minute in the air fryer.
Step 3: Crumble Them
Crumble the basil using a mortar and pestle or your fingers. Store them in a mason jar or airtight container.
4. Using A Food Dehydrator
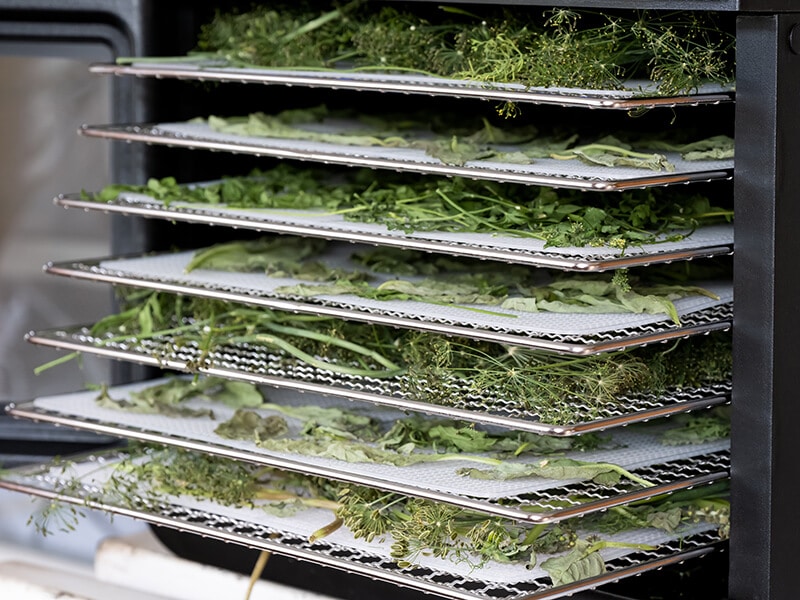
If you have a food dehydrator, this method is for you! Drying herbs in a dehydrator will take more time, but this is just waiting time. You don’t need to constantly stir the basil to make sure it’s not burned. Plus, this method is ideal for drying a large amount of basil.
Step 1: Prepare The Basil
As always, remove the basil leaves from the stem, discard the bruised and damaged ones. Wash them well with cold (but not too cold) water and pat them dry with paper towels. Ensure that they are dry to prevent molds.
Step 2: Dehydrate Them
Put the cleaned and dried basil leaves in the dehydrator, avoid overlapping them. Use the herb setting (or 95°F) and let the leaves sit for 12-24 hours. The time may vary depending on the number of basil and the amount of moisture in the leaves.
Check the basil every 4 hours or so to make sure it hasn’t dried out too much.
Step 3: Crumble Them
Now that they are dry, crush the leaves with your fingers or a mortar and pestle. Transfer them to a jar or container to place the basil in your pantry.
FAQs
For additional information on drying basil, have a look at the FAQs below. And if you have further concerns, please share them in the comments section below.
Enjoy Your Dried Basil!
If you want to make use of your basil in the winter as much as you do in the summer, drying it is the way to go! Dried basil makes a fantastic addition to your home-cooked meals, like pesto, pasta, soup, quiche, and more.
By the end of this post, I hope you have learned all the tips and tricks to properly dry basil in the oven. Do you find this post helpful? If you do, don’t forget to like and share it. I wish you all the best and goodbye!
Nutrition Facts
1 servings per container
Serving Size1 cup (52g)
- Amount Per ServingCalories120
- % Daily Value *
- Total Fat
2.1g
4%
- Saturated Fat 1.1g 5%
- Sodium 39mg 2%
- Potassium 1357mg 39%
- Total Carbohydrate
25g
9%
- Dietary Fiber 19g 76%
- Sugars 0.9g
- Protein 12g 24%
- Vitamin A 7.7%
- Vitamin C 0.7%
- Calcium 89%
- Iron 257%
* The % Daily Value tells you how much a nutrient in a serving of food contributes to a daily diet. 2,000 calories a day is used for general nutrition advice.
Reference
- Healthline, 2020. Do Spices Expire? Shelf Life and When to Toss Them.
- Andress, E. L. & Harrison, J. A., 2014. So Easy to Preserve (6th edition).

