Don’t panic if you don’t know how to freeze lasagna yet and there are a lot of leftovers to deal with! Or if you are a fan of lasagna and want to have it anytime you want, you can now follow my instructions in this article and adapt them to your situation.
Your treat, lasagna, requires quite a lot of time to prepare, cook and rest. It would be such a pity to throw away this delicacy. Then don’t wait any longer; it’s time to roll up your sleeves and get started!
What Should You Know Before Freezing Your Lasagna?
Any skills related to the cooking process are essential, and if you want to create good food in safer ways, you should know how to accomplish those skills. The skill I will show you today is freezing your special Italian casserole, lasagna.
Before getting on to the freezing steps, it would be better to tell you more about the utensils you should use and several notes you should be aware of.
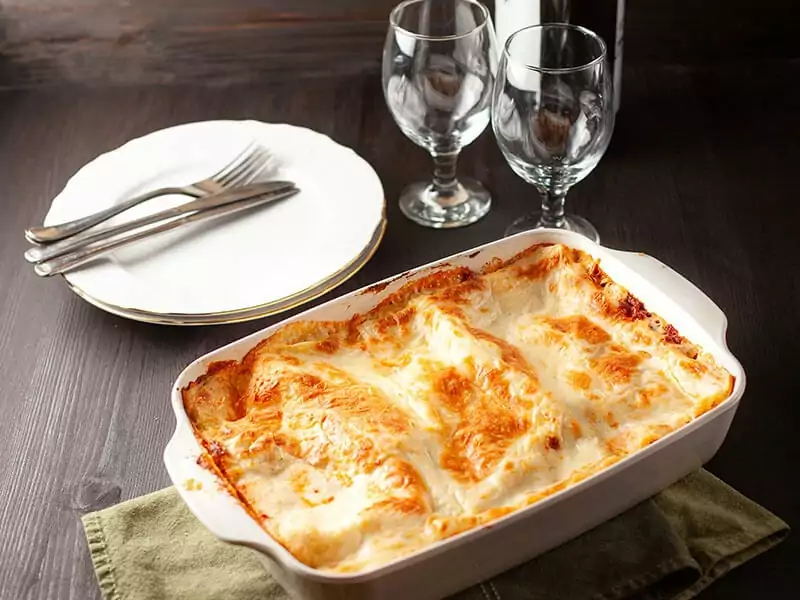
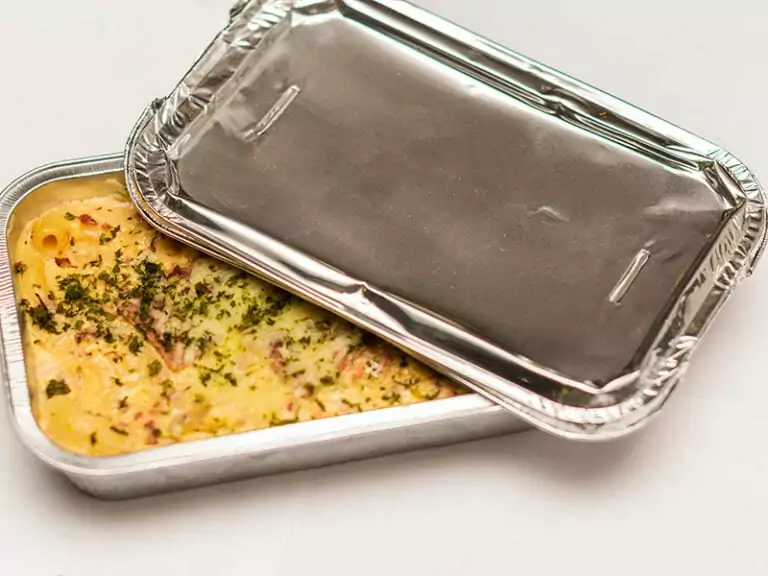
- I suggest using a metal or ceramic tray/dish/pan to put your lasagna in and freeze it. Disposable foil trays/pans can be used either.
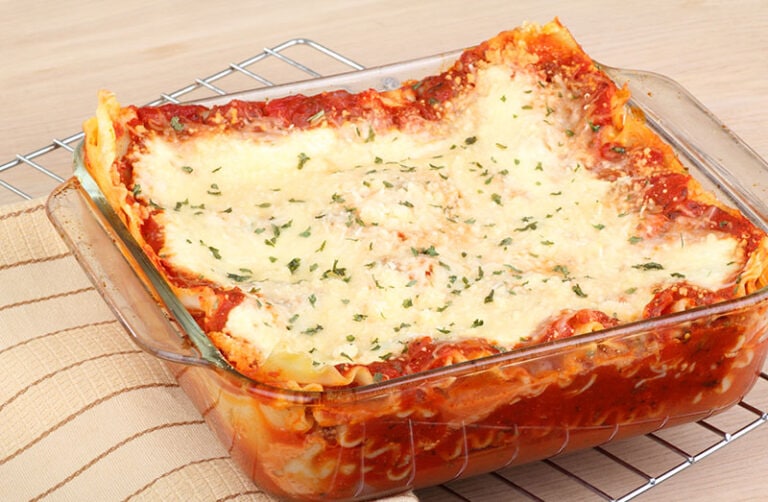
- The best container size for a big family is a 9×13 inches pan.
But if your family doesn’t have many people or prefers a moderate amount only (and doesn’t want leftovers), the size of 8×8 inch pans/trays will be better.
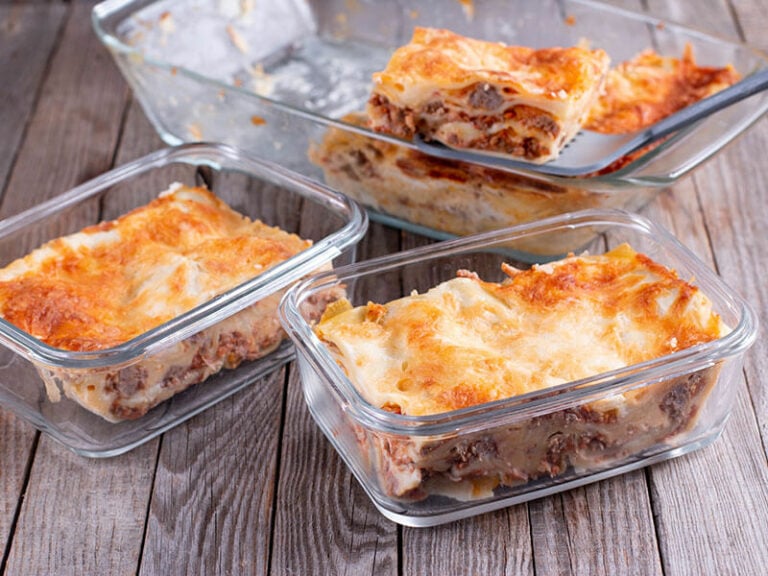
- You should divide a big portion into individual ones before storing. The smaller the batch, the quicker the thawing, reheating, or cooking time.
- Avoid using glass utensils in the freezer; the extreme temperature fluctuation can break/crack them. Choose ones with freezer-friendly tags/labels if you want to use them.
- Avoid using aluminum pans/trays (to wrap directly over the top layer of your dish) for long-term freezing purposes since your dish can taste like metal later.
- The aluminum trays/pans should be put/placed onto a more formidable tray for the first few hours in the freezer (or until it becomes harder).
It is because the foil-made trays cannot hold their shapes well under such heavy pressure from your lasagna, which might lead to the buckling issue.
- Frozen baked/cooked lasagna will deliver a bit of difference in taste compared to freshly made. It will still be edible, but the flavors have changed.
Therefore, to minimize the taste changes of your delicacy, following my suggestions below will help.
Properly Freeze Your Cooked Lasagna
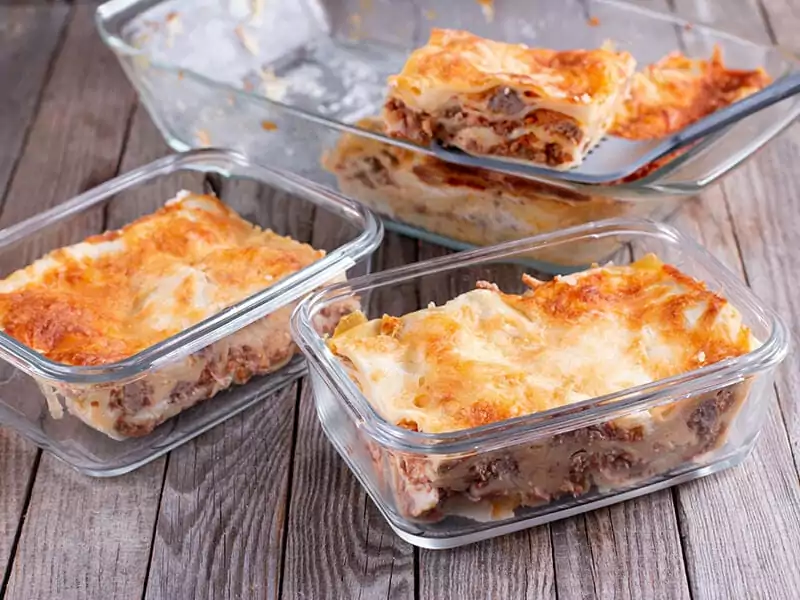
Since this special casserole is a prevalent heart-warming dish for any family-gathering feast, you might prepare a huge batch or be too absorbed in eating side dishes served with lasagna. It will lead to many leftovers.
Applying appropriate methods to freeze your leftover lasagna can help you preserve it better.
What You Should Prepare:
- Plastic wrap (freezer-safe variants)
- Aluminum foil (optional)
- Freezer-compatible containers (big or small-sized)
- Freezer bags (optional)
- Labels
You Need To Do:
Here are the steps you might need to take a look at.
- Step 1: Let your food cool down at room temperature for a while.
Just remember not to put your food on your counter for too long (over 2 hours); about 1 hour after cooking is the ideal time. Or else the harmful bacteria might grow and ruin it (1).
- Step 2: Divide your leftovers into smaller portions. It will be easier for you to store, thaw, and recook it later.
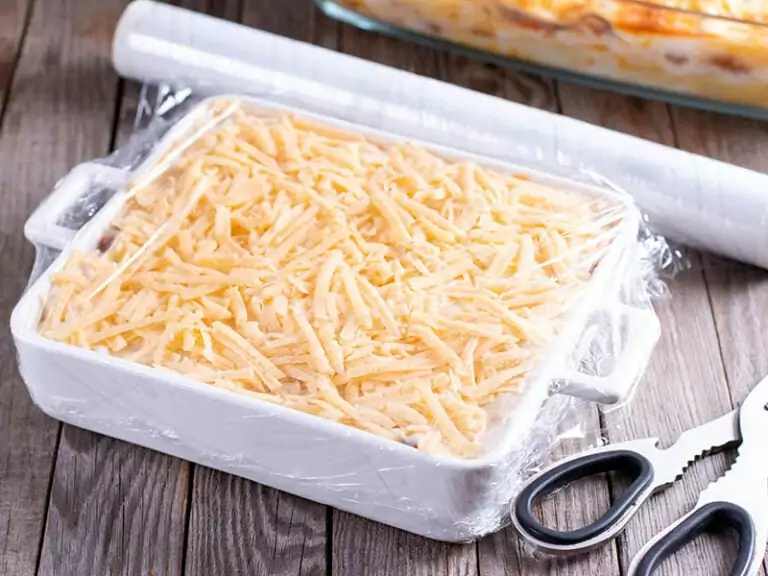
- Step 3: Wrap your lasagna carefully with plastic wrap (several layers are fine) you have prepared. Then add one more layer of aluminum foil for better freezer burn protection.
Ensure to cover all the edges tightly to prevent air leaking and freezer burn.
- Step 4: Continue doing all the portions.
- Step 5: Stick on a label on each container and write the date you freeze it. It will help you to estimate the expiry date and consume your food before that.
- Step 6: Toss your sealed food into the freezer.
Do you know the expiration date of frozen lasagna?
If you think it will be short, then you can expect a longer period. And the answer is, no matter if your lasagna has meat or veggie filling, it can sustain around 2-3 months in the freezer.
Notes:
- The cooling step is essential. It helps to avoid maintaining excess moisture and forming crystals in the freezer. At the same time, its heat can affect the other things in the freezer as well.
- You can also put it into the cooler compartment to chill faster, make sure it is not too steaming hot, and be covered with at least 1 layer of aluminum foil (or 2 layers of plastic wrap). Remember to take off the aluminum foil before freezing.
- Smaller portions (for individual use) can be put in freezer bags. Each piece goes in 2 layers of freezer bags.
This is an excellent suggestion on how to save your single-portion lasagna in the freezer.
Special Freezing Guide For Eggplant Lasagna
Have you ever tried eggplant lasagna? The steps to assemble this kind of lasagna are simple and also straightforward.
You just need to redo exactly what you normally do with regular lasagna (replace flat lasagna noodles with thin slices of eggplant), and it will be done in no time.
But now, I will not tell you how to do it but show you how to freeze it properly.
What To Have:
- Lasagna ingredients (meat sauces/cheeses/no flat noodles)
- Thin slices of eggplants
- Freezer-compatible tray (optional)
- Freezer bags
- Airtight containers (optional)
- Plastic wraps
How To Do:
The freezing steps for this type of lasagna you should know.
- Step 1: Roast your eggplant before assembling the food in the tray.
It will help to take out the excess moisture and avoid soggy lasagna after freezing.
- Step 2: Assemble the food and let the whole batch cool down on the counter for 30 minutes or 1 hour.
- Step 3: Divide your lasagna batch into smaller portions (for one or two people) and wrap them tightly with plastic bags.
You can leave it in the tray, also wrap the tray with plastic bags and freeze the whole tray at one time.
I suggest you freeze your treat with small portions for a quicker freezing effect and more convenience when reheating.
- Step 4: Put all the lasagna portions into freezer bags/containers for better protection.
Note: Following all the above steps can help your food be usable in 9 months.
Freeze The Premade Lasagna
How about storing the premade lasagna in the freezer? It is a genius idea to do so because you can basically have your frozen lasagna ready anytime in your refrigerator.
Although you can find top manufactured frozen lasagna, it will be much more fun to make a huge batch at home with your family member. Here are some steps I suggest you follow.
How To Prepare:
- Disposable utensils (glass/ceramic pans or trays)
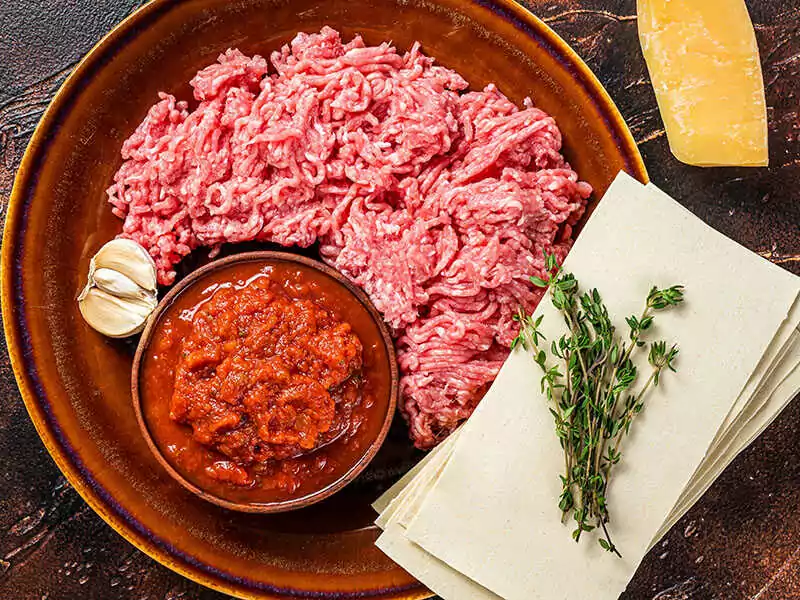
- Lasagna ingredients (meat sauces, cheese mixture, lasagna sheets)
- Aluminum foil
- Freezer-friendly plastic wrap
- Freezer bags (big-sized, optional)
- Labels
You Should Do:
Follow these steps to successfully freeze your premade lasagna.
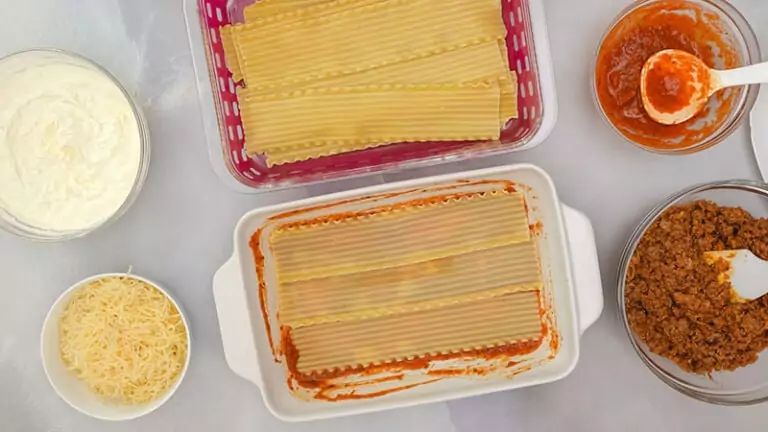
- Step 1: Assemble your lasagna as usual and put it into the ceramic dish/tray you have prepared.
You don’t need to over-complicate things. Simply use your familiar ways to assemble your lasagna’s layers and create a lasagna batch. One pro tip is you should not cook the lasagna sheets in this case; just let it be raw.
- Step 2: Let the hot components (sauces) cool down after assembling. It is to prevent forming moisture crystals later.
- Step 3: Wrap the first protection layer with the plastic wrap. Do it carefully and thoroughly.
- Step 4: Put on the second protection layer with aluminum foil. Remember to fold all the edges to avoid extreme cold air leaking in and creating freezer burn; remember to fold all the edges.
- Step 5: To be even more careful, you can toss the whole batch into one more layer of freezer bags.
- Step 6: Stick on a label and write the date you start to freeze it.
- Step 7: Place your ready-to-freeze lasagna batch into the freezer, and it can last for around 3 months.
Additional Tips To Freeze Lasagna In Aluminum Pans
Although it is not recommended since the taste might be affected in the long-term preserving process, I could not deny that using aluminum pans is quite convenient. It can endure well under temperature fluctuation and is non-toxic.
The steps to freeze your delicacy in an aluminum pan are similar to the other two freezing methods; only a few things you should be aware of are:
- Don’t put too much lasagna into the pan because its structure is unstable and can tilt easily (which leads to spilling or overflowing in the freezer).
- Put the whole batch onto a firm, freezer-compatible tray until semi-hard to avoid food spilling.
- Bake your food before freezing to avoid taste loss and a quicker reheating process.
- Cool your lasagna before freezing like usual.
Some Helpful Notes On How To Assemble Premade Lasagna:
- You can try to use the containers that are both fit for the oven/microwave and freezer since it will be much more convenient for you later.
But if you can’t find any things like that in your house, you can still do it like usual, freeze in one and bake in another one.
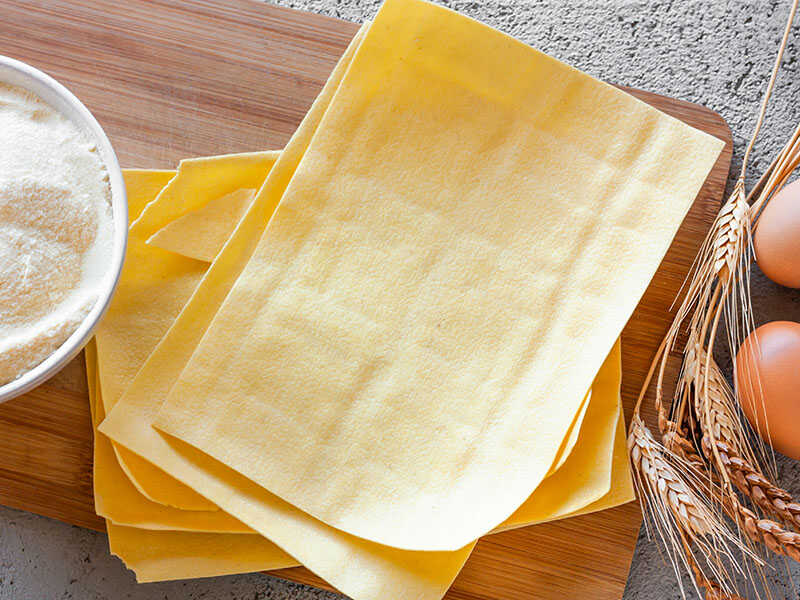
- To pre-make lasagna for freezing, using uncooked lasagna can avoid the cooked one absorbing more excess moisture and turning soggy/mushy afterward.
However, this means that when you cook the lasagna, you should know the way to cook lasagna noodles without them sticking. Without the required technique, your lasagna might not be properly cooked.
Therefore, the raw sheet can help to reduce the common over-watery problem when cooking frozen lasagna.
- Never refreeze the recipe with thawed/frozen components. When you freeze and thaw those foods the second time, many bacteria might have chances to develop and poison your treat already.
- Prefer using fresh ingredients. It is not difficult to do this tip since lasagna typically requires fresh components. Those fresh foods will not cause much trouble when thawing or baking later.
Furthermore, if you want to alter the frozen components with the fresh ones, the taste might not be affected a lot (for example, change frozen shrimp to fresh shrimp, frozen mushroom to fresh ones).
- Bolognese sauce should not be too thick. Once chilled, bolognese sauce in a lasagna bolognese dish might become denser and hard to spread. Then you should check and add ¼ cup of clean water to dilute the sauce a bit.
- To avoid cheese layer/sauce sticking to the aluminum foil, coat one side of the foil with olive oil (or other oil types) before wrapping your ready-to-freeze lasagna.
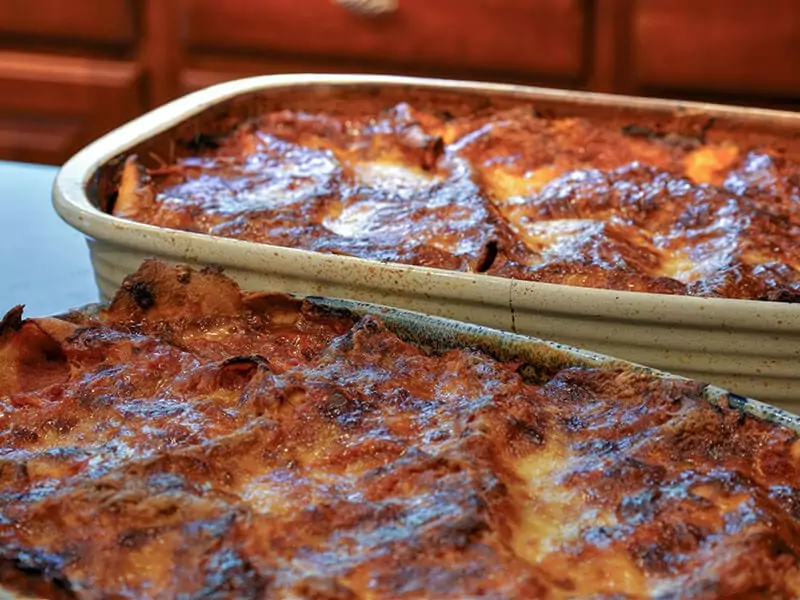
- You can make a double batch when you prepare lasagna for a weekend party, then you eat one right away and store the other one in the freezer for later.
When there are some leftovers, you can also freeze them. That’s how to kill two birds with one stone!
The Ways To Defrost Your Treat
If you want to consume your frozen lasagna, it would be best to thaw it before cooking or reheating thoroughly. I suggest you thaw it in 2 main ways.
- First, thaw your frozen lasagna in the cooler compartment of your fridge.
If you use a glass utensil to contain your lasagna, you definitely should opt for this way. Simply toss your frozen lasagna into the cool compartment overnight and let it gradually thaw at a temperature under 40 degrees F.
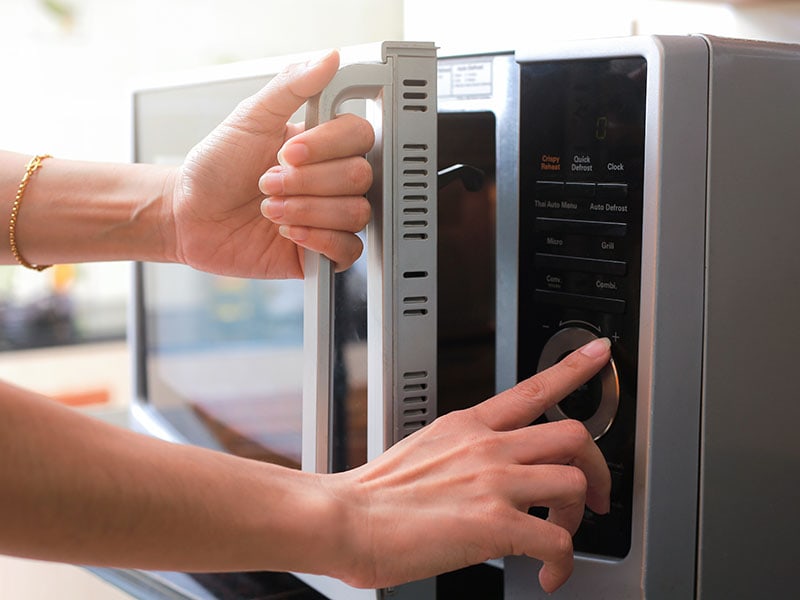
- Second, use a microwave with defrosting mode to help you do the task quicker.
Take off all the aluminum foil wrap or metal containers, move your lasagna into a glass or ceramic dish. Then turn on the thawing mode on your microwave, set the timer from 5 to 10 minutes (depending on your portion’s size). The machine will do the rest.
Notes:
- Never leave your lasagna thawing on your kitchen counter/at room temperature (the increase of bacteria at the temperature above 40 degrees F is massive and can severely affect your health.
- Don’t use aluminum foil/metal in the microwave, or it will cause adverse effects to your microwave and yourself (2).
Reheat Frozen Lasagna
Although there are many ways to rewarm your lasagna quickly and easily, nothing can compare with using a microwave in this application.
Convection Microwave
Among all the options for microwaves to use in this application, I highly suggest using a convection microwave because they can defrost and bake your lasagna. I will show you how things will work.
You Will Need:
- A kitchen thermometer
- Frozen lasagna (thawed)
- Plastic wrap or wax paper
- Disposable tray/plate (microwave-compatible, optional)
You should choose those plastic wraps or wax paper products compatible with microwaves and wrap your lasagna tray with that.
How To Do:
Take a look at this guide that can help you out!
- Step 1: After thawing your food thoroughly following the suggested guidelines for the microwave above, you can move the second step below.
- Step 2: Now, switch to the “full power” option and bake your lasagna in 2 or 3 minutes (single-sized) or a bit longer (family-sized).
- Step 3: Wait until the edges of your food tray/plate sizzle or use the thermometer to check the internal heat of your treat (165 degrees F means it is cooked).
Additional Notes: You can still use the regular microwave with similar steps.
Step 1: Redo steps 1, 2, and 3 above. In step 3, you can use a plastic lid to cover your food instead of plastic wrap (it can still prevent any splatter).
You should add some water or sauce to the food before reheating to avoid drying it.
Step 2: Microwave your food in 2 rounds. First-round in 1 and a half minutes and second for 15 seconds more (optional, if the food hasn’t been cooked thoroughly).
Step 3: Also check with a thermometer to see if the internal lasagna reaches 165 degrees F or not.
In The Oven
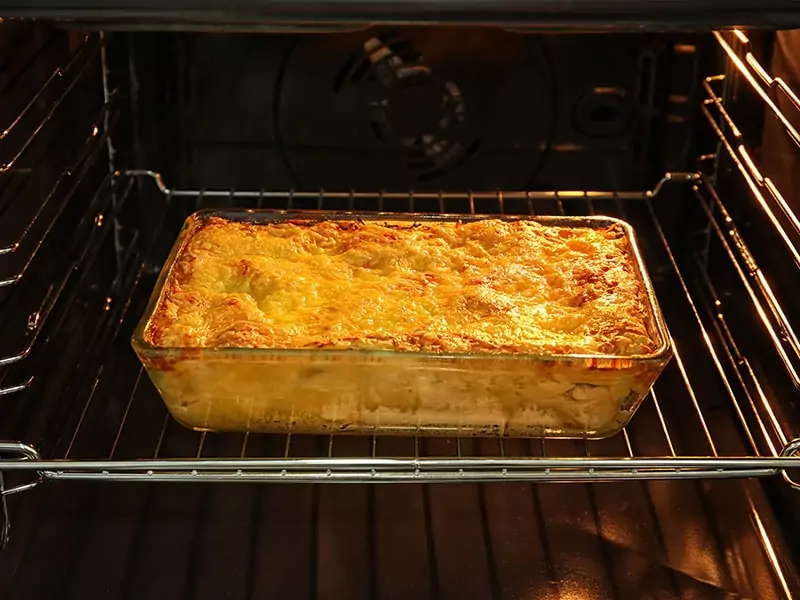
There are many exciting ways to cook your frozen lasagna, yet I highly recommend you to bake it in the oven after thawing to have the best result.
You Need To Prepare:
- Kitchen thermometer
- Aluminum foil
- Oven-friendly pans/trays
What You Should Do:
No more beating around the bush; these below steps will show how to bake your frozen lasagna in an oven.
- Step 1: Defrost your lasagna thoroughly in the fridge (from the previous night) or microwave before baking.
If you defrost your food in the cool compartment, you should take it out 30 minutes before starting to bake it. You can preheat the oven while waiting for your food to warm up a bit at room temperature.
This step will help cook your treat faster and reduce any changes in taste.
- Step 2: Turn on the oven, preheat it to 375 or 350 degrees F (around 180 degrees C).
- Step 3: Move your food into the oven-compatible pan/tray. This step can be neglected if you have frozen your lasagna in a freezer-oven-friendly utensil.
You can also remove the plastic wrap and change it to only aluminum foil in this step. The heat through aluminum foil can be distributed evenly and help you cook your frozen food faster. It also helps to preserve the needed moisture.
- Step 4: Place your food into the oven (middle or bottom shelf will be better) and wait for the next 60 minutes (or until the internal heat of your lasagna reaches 60 or 165 degrees F).
Depending on the size of your portion, the cooking time can change. Smaller amounts might need less time in the oven (about 30 minutes for individual portions), while larger ones need to be in it a bit longer.
- Step 5: Take out the aluminum covering and rebake your treat in the oven for 10 more minutes so that the topping can be nicely seared.
Don’t worry if the cheese is burnt; put on another layer and redo the rebaking step. This time you should bake in a shorter amount of time.
- Step 6: Take your lasagna out and wait for 10 minutes before slicing and serving it with sprinkled dried herbs. Serving the lasagna with some sweet desserts is recommended, as it allows you to cleanse your palate after eating something so rich.
Other Things To Notice When Reheat/Re-cook Lasagna
- Frozen eggplant lasagna can be reheated just as you do with the other type of lasagna. Simply toss it into the microwave or oven (preheated to 350 degrees F) and wait until your food is cooked/warm.
- Add more fresher ingredients/components like cheeses, sauces, or fresh herbs to refresh your dish’s flavors.
- You can use the toaster oven to reheat/re-cook your lasagna. Remember to use the temperature of 325 degrees F only (not 350 degrees F as a normal oven).
- With an air-fryer, preheat the machine to 375 degrees F before “frying” your food. After that, do it similar to what you do with the ovens.
- Skillet can also be used to reheat your treat; remember to cover it so the moisture can simmer your lasagna and cook/warm it thoroughly.
Let’s take a closer look at how to cook frozen lasagna in an oven!
How To Tell If Your Frozen Lasagna Has Gone Bad
You cannot ignore this situation; your frozen lasagna does go bad! To avoid consuming bad food, you should notice these significant signs.
- Smell: This factor is quite noticeable. When you smell anything weird, sour, or funky odor (from tomato sauce/cheese), check your lasagna first and discard it if the smells are genuinely from it.
- Look/Texture: It will be more significant when you re-cook or reheat the food. If you reprocess your delicacy and see the noodles have dried or changed their texture into mushy, gooey, and soggy, don’t try to eat that anymore.
- Color changes or the existence of mold: Once any dark (or whitish) spots appear on your lasagna batch, it might be the signs of mold/decay or other food structure changes. Therefore, tossing it away will be the best choice now.
FAQs
Freezing lasagna is a prevalent topic, and many people are concerned about it; therefore, I will answer some most frequently asked questions in the next part, hoping that you can find your wanted answers.
Nutrition Facts
1 servings per container
Serving Size100 grams
- Amount Per ServingCalories135
- % Daily Value *
- Total Fat
4.9g
7%
- Saturated Fat 2.3g 10%
- Trans Fat 0.2g
- Cholesterol 17mg 6%
- Sodium 373mg 16%
- Potassium 196mg 6%
- Total Carbohydrate
15g
5%
- Dietary Fiber 1.7g 4%
- Sugars 3.1g
- Protein 7g 15%
- Vitamin C 4%
- Calcium 8%
- Iron 3%
- Vitamin B6 5%
- Magnesium 5%
* The % Daily Value tells you how much a nutrient in a serving of food contributes to a daily diet. 2,000 calories a day is used for general nutrition advice.

References
- Fda.gov. 2021.
- Products.geappliances.com. 2021. Microwave – Using Metal or Foil.
- Prohealthmd.com. 2021.
- American Egg Board. 2021. Can You Freeze Eggs? | Incredible Egg.

