Storing food in a lunch box is easy, but knowing how to keep food warm in a lunch box for hours may be a challenge to somebody. The food is not going to maintain its heated condition for hours naturally to wait for you to taste it.
So, do you want to know the secret to keeping your food as warm as new in a lunch box for hours? Here’s a complete guide that is quick and simple that not only gives you steps to set your food in its best quality but also contains much interesting information.
Without further ado, let’s begin the journey!
Interesting Facts About Lunch Boxes That You Might Not Know
Before coming straight to the point, let’s take a little time to know about lunch boxes, okay? It may be useful in the long run because you will understand all of its functions and features to use it according to your purpose.
The Fascinating Origin Of Lunch Boxes In United States
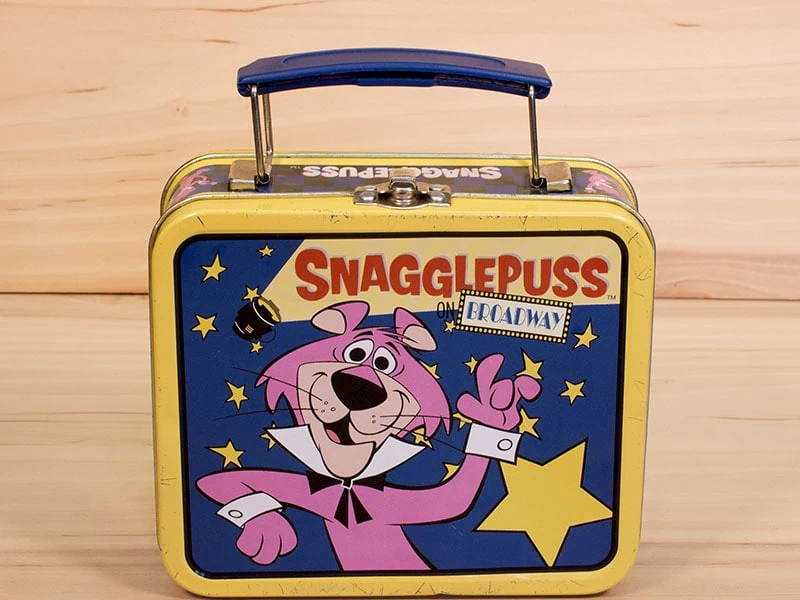
It all first started in the mid 19th and early 20th, when workers began to bring meals to the workplace instead of going back home for lunch. At that time, the concept of lunch boxes was just using tobacco tints to carry foods.
The prime time of lunch boxes came between the 1950s to 1970s, and lunch boxes were popular with kids thanks to the improvement in decoration. Animated characters and pop idols’ images appeared on almost every lunch box.
Up to the 80s, the evolution of lunch boxes came when plastic took over the market. Metal wasn’t the favorite material anymore and was replaced by vinyl and plastic.
From then until now, the lunch box has transformed through various variants with different materials, but the majority on the market is the insulated polyester lunch box. (1)
Names Of Lunch Boxes Throughout The World
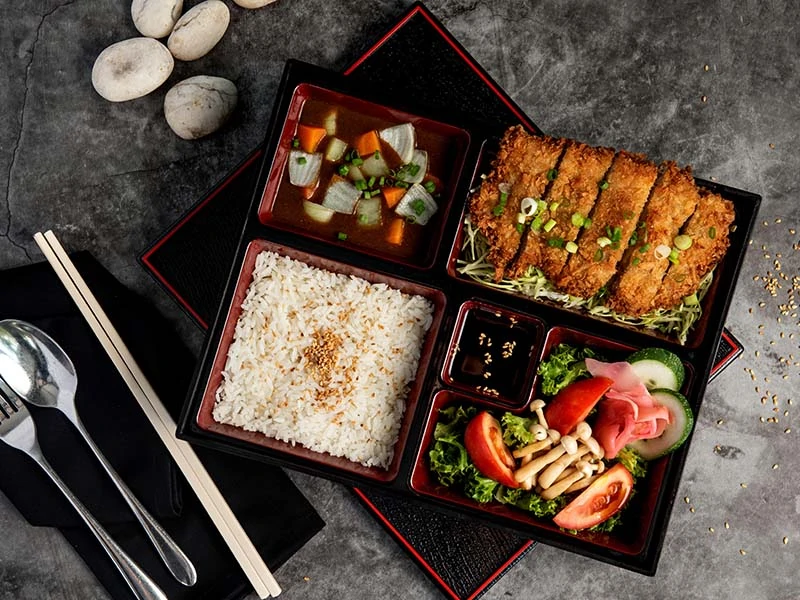
The lunch box has a diverse origin throughout the world. Along with its origin, the names of the lunch boxes are also various in different countries.
In Asia, the lunch box has different names, which are Bento in Japan and Dosirak in Korea.
In India and Mumbai, the names Tiffin Box, Tiffin Carrier, or Tiffin Tint are all used to call the lunch box.
Also, in the United Kingdom, with the influence of Indians, the term Tiffin refers to lunch boxes in south Asia. (1)
The Incredible Benefits Of Using A Lunch Box?
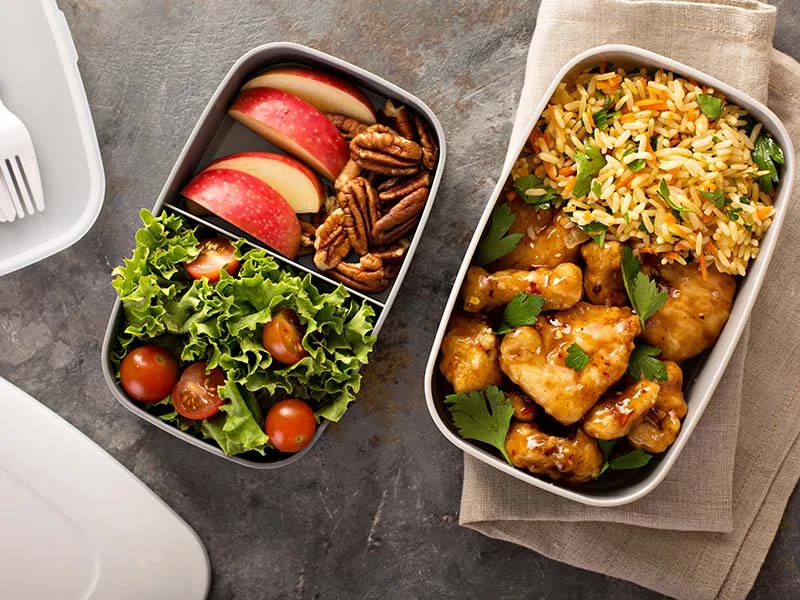
When thinking about the benefits of a lunch box, what comes to your mind first? Don’t fool me, you think it’s just mobile storage for you to carry food around, right! Well, it’s more than that.
Preserving Fresh Taste
Stored in a proper lunch box, the food is preserved in an ideal condition to keep its heat, whether hot or cold, its best quality is maintained and ready whenever you want to have a treat.
Nutritional Retaining
As I mentioned, a lunch box is excellent for keeping your food in a perfect state, so it should be fine for the nutritions to retain in the food.
Bacterias And Insects Inhibition
Imagine the lunch box is like a shield to prevent harmful external factors such as dust, insects, etc., from spoiling your food.
The lunch box with insulating material can keep the original warmth of the food for a few hours, and in that temperature can inhibit the growth of bacteria within the food.
Shelf Life
By being protected from harmful external factors and maintained in an ideal environment, the food can extend its shelf life for a couple of hours.
A rigid and dependable construction lunch box is especially important if you’re working at a construction site. Not only will it protect your food, but it will also make sure that you enjoy your midday meal to the fullest.
Convenient
A lunch box allows you to pack many types of food in it and carry it around without worrying anything would happen with your food. Depending on your purpose, you can either carry it to the workplace daily or bring it with you for a delightful camping trip, it’s up to you!
Highly Economical
A little investment in a lunch box could save you five times that money in the long run. Instead of ordering food from stores, you could easily pack home-cooked meals for your work.
Additionally, think about all the money you waste for dumping spoiled food that was supposedly edible if you stored them in the lunch box in the first place.
It’s Time To Know How To Keep Food Warm For Hours In Your Lunch Box
To control the food heat, you need to put a little investment in the lunch box. Buying an appropriate and sufficient lunch box that is made from materials specialized for maintaining heat is essential.
The market of lunch boxes is growing with an explosive speed, various in shapes, sizes, and materials. However, there are only 3 main types of lunch boxes on the market.
- Lunch Box Made From Plastic, Glass, Or Ceramic Materials
- Insulated Steel Lunch Box Or Thermos
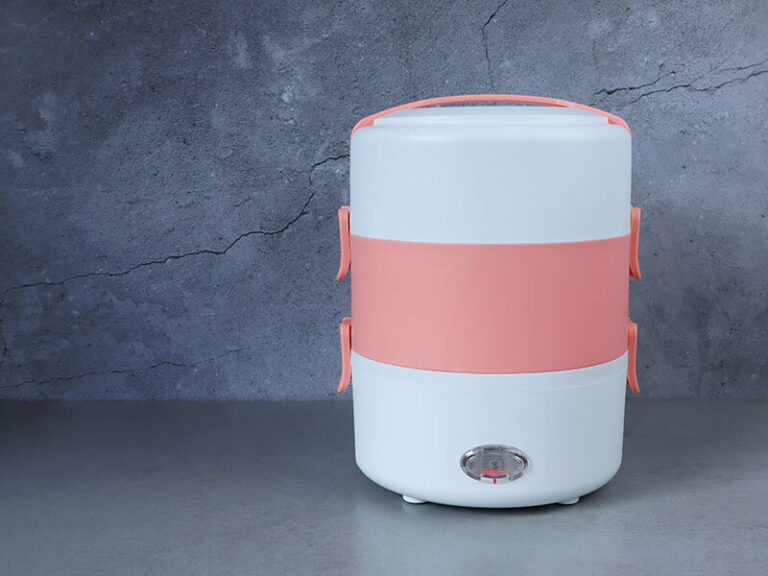
- Electric Heating Lunch Box
Each type has its pros and cons, I will provide a brief overview of each and the ways you need to use them for retaining heat.
Lunch Boxes Made Of Plastic, Glass, Or Ceramic Materials
This is the most common lunch box on the market. Although these containers are cheap, they’re barely usable for long-term storage.
These materials are not specialized for maintaining heat. Therefore, if you want them to keep your food warm for hours, it’s impossible.
Still, there is a way for you to use these lunch boxes. It is a microwave in your workplace. By having a microwave, you can reheat your food after an hour of storage in this type of lunch box.
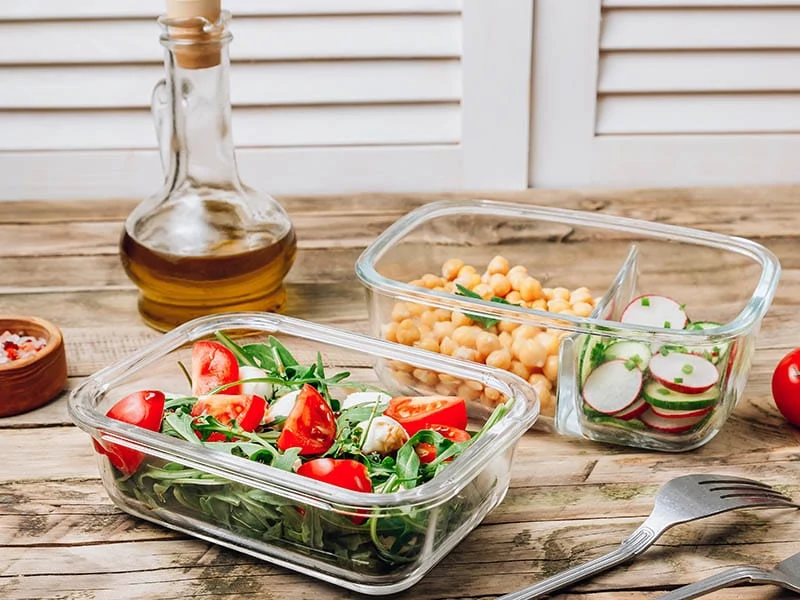
Or you can try this method to prolong the heat of your food.
A Heating Glass Tupperware
This is a pretty simple method that can extend the heat of your food remaining in your lunch box by approximately 2 hours.
Due to the property of easily absorbing and releasing heat, if not designed to have insulation within it, we can manually retain the heat with some specific items similar to insulation.
But I do not recommend using this method with plastic lunch boxes because the quality of the plastic will be affected tremendously in a high-temperature environment.
Step 1: Prepare Items
First, of course, you need a lunch box, and in this case, glass or ceramic lunch box will do the job.
Next, water, aluminum foil, and a towel need to be in charge.
Step 2: Preheat the materials
You need to boil the water for about 5 minutes.
Then you pour the boiled water into the lunch box and let it sit there for 5-7 minutes to heat the box. Remember to close the lid tightly to keep the heat circulating inside the box.
Step 3: Wrap the food
After the lunch box is hot enough, empty the water inside. Immediately dry the box with a towel.
Quickly fill the food in and cover them with aluminum foil. Then close the lid and wrap the box with a towel to keep the heat inside for as long as possible.
5 Steps To Retain Heat With Insulated Steel Lunch Box/Thermos
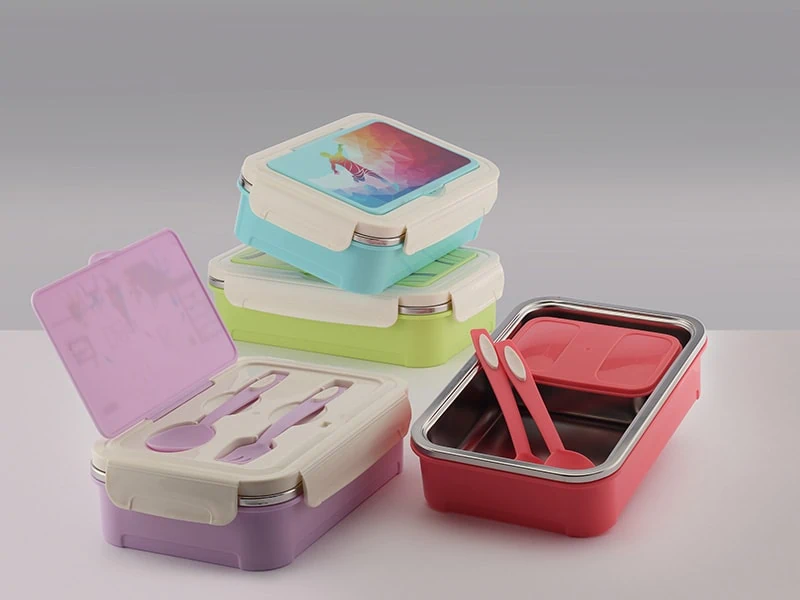
High-quality insulated lunch boxes and thermos are the same in the feature of keeping heat for the food.
These are the ideal type of lunch boxes you want to use for preserving the heat of your food without electricity. A layer of proper insulation contained in your steel lunch box can retain the heat for 4-5 hours.
And regardless of gender, there are several ideal lunch boxes for men or women that you can find in the marketplace.
Plus, it’s flexible to keep the temperature high or low, depending on your purposes. In addition to an insulated steel lunch box, a premium meal prep bag is also a great way to keep your food warm and tasty.
Sometimes you want a hot soup, but maybe on a rainy day, you only want to have cheese or yogurt for the meal, the insulated steel lunch box suddenly becomes convenient in these types of situations.
Step 1: Preparation Items
Undoubtedly you need an insulated steel lunch box or thermos for this method. Like I said, the two of them are the same. Remember to keep the lunch box clean before and after use.
Boiling water and paper towels are essential for this method as well.
Additionally, for more efficiency, an insulated lunch box is far better than a normal lunch box.
Step 2: Prepare And Heat The Food
Boil the water for about 2 minutes and steam your lunch.
The food should be heated at a high temperature higher than 212°F. Don’t worry, and it will cool off and be perfectly warm when you eat.
Step 3: Warm The Insulated Steel Lunch Box
Pour the boiling water into the lunch box and close the lid for about 10 minutes. This action increases the temperature tremendously within the lunch box, creating a perfect environment to sustain heat.
Step 4: Fill The Food Into The Insulated Steel Lunch Box
After the specified heating time, empty the hot water from the lunch box. Then, slow down a bit before filling your food in.
For the best result, grab those paper towels I told you to prepare and put them in the lunch box. They have the mission to consume the moisture within the lunch box before it makes your food turn bad but still preserve the perfect heat.
Right after that, immediately fill your food into the lunch box and close the lid to retain the steam.
Absolutely don’t open the box before the time you eat to keep the best quality. The opening can facilitate chances for air to infiltrate into the box and let the heat out, eventually, ruining all your efforts.
Step 5: Arrange The Lunch Box Into The Insulated Lunch Bag
If there are 2 or 3 lunch boxes, you should avoid arranging them against each other, causing collisions and breakage during transportation.
If your meal has both hot and cold food, remember to separate them as far as possible. Placing a divider between them would be great, just a piece of cardboard is fine.
Remember the paper towels? Using them to grab around the lunch box/thermos to create protection to prevent collision between hot and cold food. After that, use rubber bands to secure the position of each box in the lunch bag.
To know how to properly retain the heat of your food in the lunch box.
3 Easy Steps To Use The Electric Heating Lunch Box
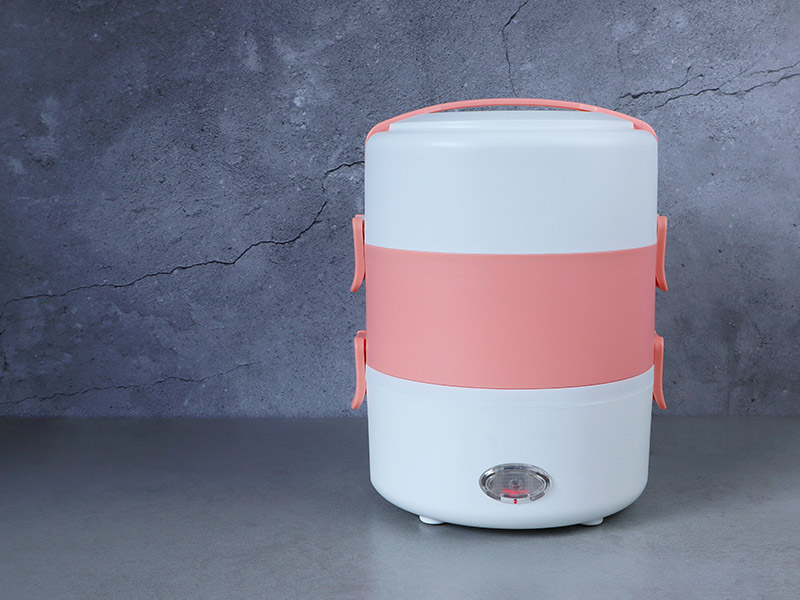
The electric lunch box is a huge step forward in the development of lunch boxes. It includes all the advantages of the old versions and adds new functions like reheating and cooking in it. The electric heating lunch box will be in no doubt to be the best of all types.
The industry of these products has expanded rapidly in recent years with the mass production of new and excellent electric lunch box items to satisfy the customers’ needs.
However, the benefits come with a high cost. And one more thing, unlike ordinary lunch boxes, it requires electricity to function, that’s one thing you should keep in mind.
Step 1: Preparation For The Electric Lunch Box
You need to make sure the electric lunch box is clean. Absolutely during cleaning, do not let any contact between water and the electrical circuits to avoid electrical leakage.
Remember to bring the power cord for your electric lunch box. Depending on whether you will be plugging it into your car or an electrical outlet, bring the appropriate type of cord.
Step 2: Put The Food In
Electric lunch boxes, as mentioned, are the most convenient of all, so you don’t have to worry about keeping the heat. Feel free to put food in each container of the electric lunch box.
Some high-end models even have the function of cooking rice and reheating food at high temperatures. These will have a container for storing water at the bottom. If you plan to use the rice cooking function, remember to fill water into that container.
Be cautious to separate dry food and loose food into different containers. Even at a high temperature, there’s still a risk of exposing spoilage due to contact between dry food and loose food.
After you have put all the food in, arrange the containers back to the electric lunch box and close the lid tightly.
Step 3: Turn On The Lunch Box
Now it’s all ready to go. You only need to push the button to turn on the lunch box, and it’s up to you to bring it anywhere you want.
You can plug the electric lunch box into the car’s electrical outlet in case your destination does not have an electrical outlet.
Your food will stay hot and delicious for hours as long as the lunch box works properly. Your job is to ensure the electric supply will be maintained stably in the waiting time.
Do you want to know how the electric lunch box functions in practice? This is the answer for you!
The Ideal Time To Keep Your Food Warm In A Lunch Box
According to the report of the U.S Department of Agriculture, you can only consume food within 2 hours at room temperature. Food leaves at room temperature over 2 hours expose risks of food poisoning. The longer, the higher chances. (2)
Therefore, as they recommended, you should use the insulated lunch boxes or the heating lunch boxes for storage food.
The shelf life of food can be extended from 4 to 6 hours depending on the properties of food and the retaining heat ability of the lunch box.
But keep in mind that the ideal time for storing food in the lunch box for best quality is within 6 hours. If you’re over that time, it’s best to stop consuming the food.
7 More Tips For Keeping Food In A Lunch Box Efficiently
For maximizing the result, I will provide you with some extra tips to add to your storage plan. These are simple and cost-effective for you to use instantly.
Aluminum Foil And Towels, Double Covers For Your Food
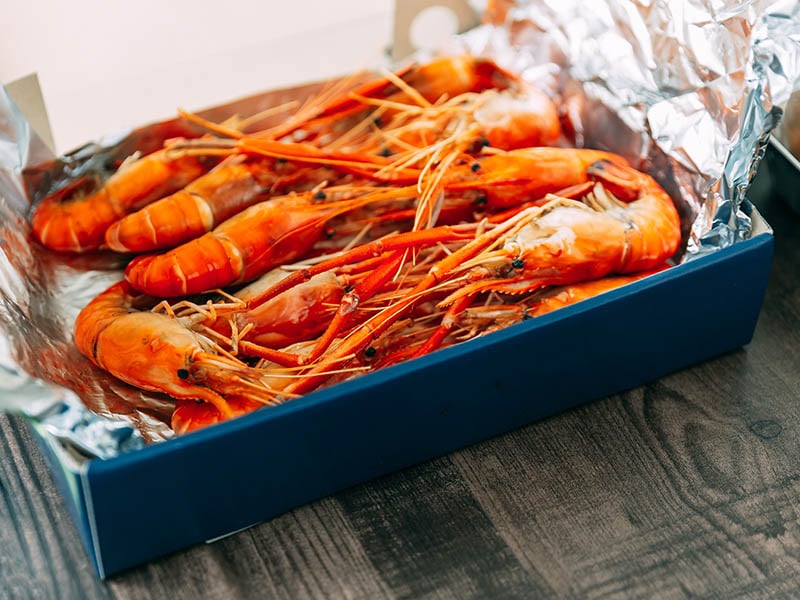
In case you didn’t have an insulated lunch box/thermos in your hand, but you suddenly had a leftover of the delicious brunch to keep for dinner, what to do? Look around for aluminum foil and towels. They would be your solution.
Aluminum foil and towels give you the same results as an insulated lunch box, but perhaps a few hours less. Because aluminum foil has the property of reflecting heat radiation, the heat of the food will be trapped inside but cannot pass through and escape.
But over time, there is still the possibility of heat being released and the entry of air from the outside, so what should you do? Use towels to add an extra layer of warmth.
With the 2 layers of protection, aluminum oil acts as the keeper of the heat inside, and the towels play the role of the defender to prevent air from entering.
Sounds complicated? In fact, the method is extremely simple, you just need to wrap the entire food with aluminum foil and double the wrapping with the towels outside.
Sweat Sweater With The Sweat Hot For Your Food
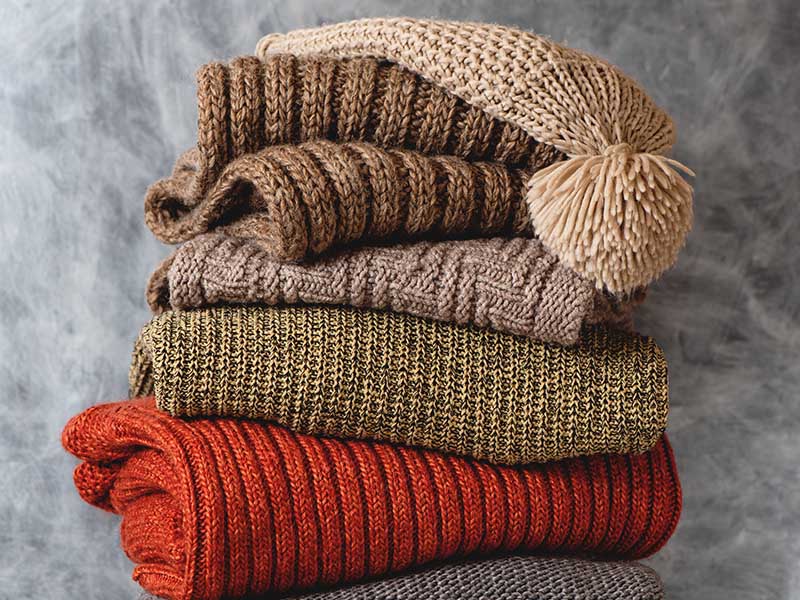
Foils and towels keep your food warm, then what keeps you warm? It’s a sweater. Well, similar to the given foils method, only that towels will be replaced with the sweater.
Of course, winter coats with their huge appearance will keep your food warm best, but fleece sweaters or puffer jackets when needed are also great.
Once you’ve determined which sweater you’re going to use, wrap your food in foils or put it in a container, then double wrap all of them with your sweat sweater.
Here’s the second benefit, you can put that sweater back on after you’ve finished your meal, and you’ll now know how warmed your food was.
Cheap Reusable Insulated Bags
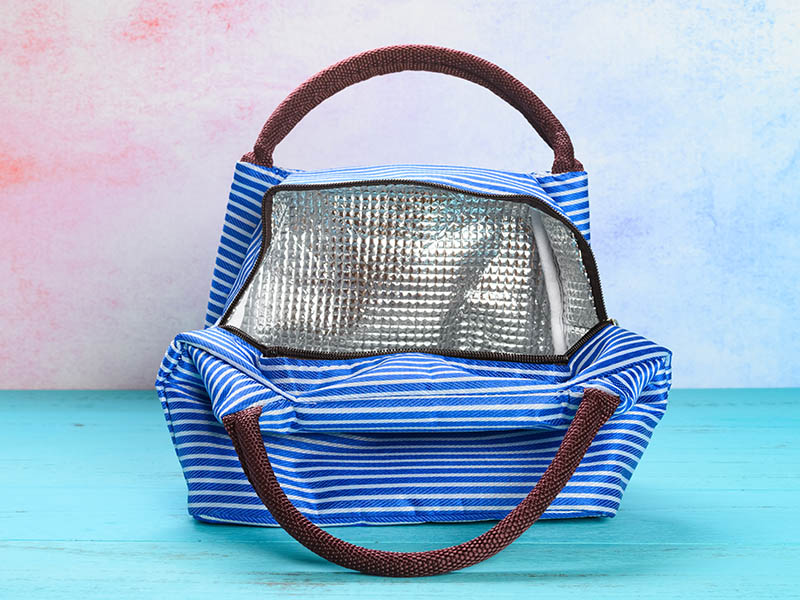
Insulated bags are very effective in retaining heat for food, even for old bags. It works on the same premise with the foils and towels method.
The difference lies in the handiness that the insulated bags provide. No more wrapping, your job is lifted a half that you only need to place your hot food in and zip the seal of the bag.
Well, but for extra heat for a longer time, maybe you can try to incorporate the wrapping foils and towels into this method.
As for the insulated bag gone worse, you can simply replace it with a new one.
Hot Water Bottle Or Heat Pack Is Great For Adding Heat
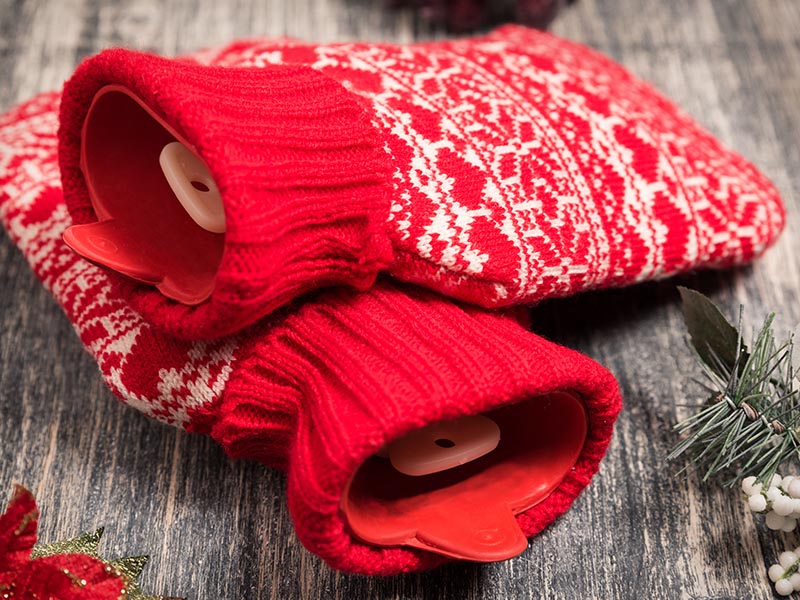
What do you think about hot water bottles and heat packs? They are also items that can hold and radiate heat for hours, so why don’t we take advantage of them?
It only takes you a few minutes to use them. With the hot water bottle, you just need to fill it with hot water, and it’s done. As for the heat pack, just put it in the microwave for 1 minute, and your job is done.
You should only fill about ¾ of the bottle, not overfill it. Make sure that the lid is tightly closed to prevent water from leaking out.
To retain heat with a hot water bottle, you can put the bottle at the bottom of the lunch box and place food containers on top of it.
Reminder:
Absolutely avoid using plastic hot water bottles as high temperatures can melt the plastic, which leads to water leakage. Therefore, I suggest you choose single-walled stainless steel bottles instead.
Do not use insulated hot water bottles because insulation materials can’t spread the heat outside.
Another thing to remember, check for holes and rips in the bottle. If there are holes or rips, the bottle is no longer usable.
Pouring the boiling water directly into the bottle right after the boiling process can gradually damage the quality of the bottle. It is best to let the water cool a bit before pouring it into the bottle.
Notice: A small trick is that you can add the foil papers method above for doubling the success. Having 2 heating elements, how can your food cool off? You simply put the hot water bottle next to the lunch box and cover all of them with foil papers as given.
Fill Up The Space With Cardboards
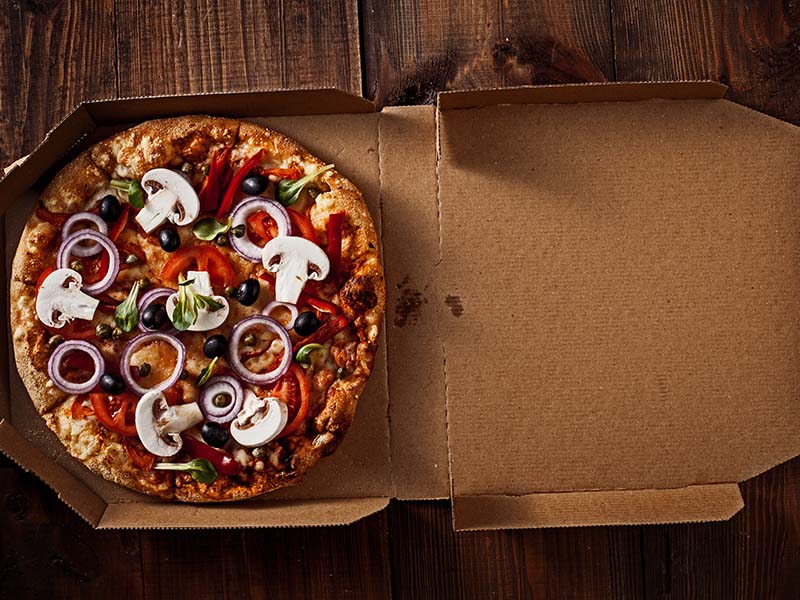
Cardboards are cheap and effective in retaining heat. Although not as effective as the above methods, it’s still useful as you can combine all of them. You only need to fill all the space in the lunch bag with cardboard storage, and it’s ready.
Instant Hand Warmers – Instant Heat
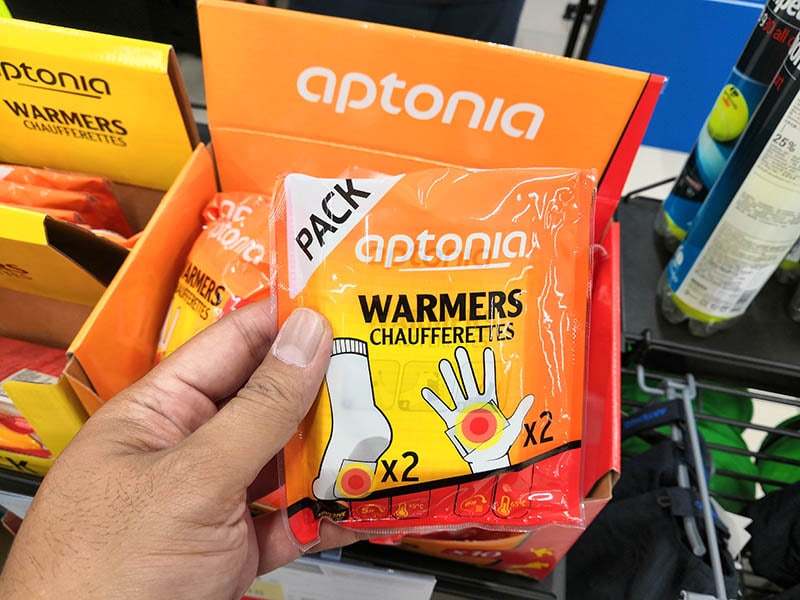
Instant hand warmers are useful when you need an immediate source of heat. To be honest, they are not a strong heat source to cook your food but still give off enough heat to warm your food.
The great thing about them is that they are so easy to replace. As soon as a hand warmer shows signs of running out of energy, you just simply grab a new one.
So, next time, when there’s nothing around you to radiate heat to keep your food warm, give instant hand warmers a try. Shake them up and put them under the food containers in an insulated lunch box, and everything will be fine for the next couple of hours.
Divide Hot And Cold Items Separately
No matter how small the bag is, hot food and cold food should never be placed next to each other. Each item gives off opposite types of heat. When they have an impact on each other, both will be neutralized in temperature, causing both of them to lose their original heat.
In case your lunch bag is too small or doesn’t have distinct compartments to store these two types of food separately, you can try to make a divider.
It doesn’t have to be anything special, just neutral items like napkins or utensils. Although they are small, they can create a certain distance to prevent direct collision between hot and cold food.
It’s easy to pack everything in just one box but still not mess up hot and cold food.
The Ideal Temperature For Storing Food In A Lunch Box
There’s a “danger zone” of temperature, which ranges between 40°F to 140 °F (4.4°C-60°C). I know this is a huge gap, but I strongly recommend avoiding it. (2)
It is hard to create an environment with ideal temperatures for both hot and cold food, especially in a small area like a lunch box. Therefore, it would be best not to mix these up on the same day.
Additionally, you should have a thermometer to check and adjust the temperature within the lunch box.
Holding The Warmth For Hot Food
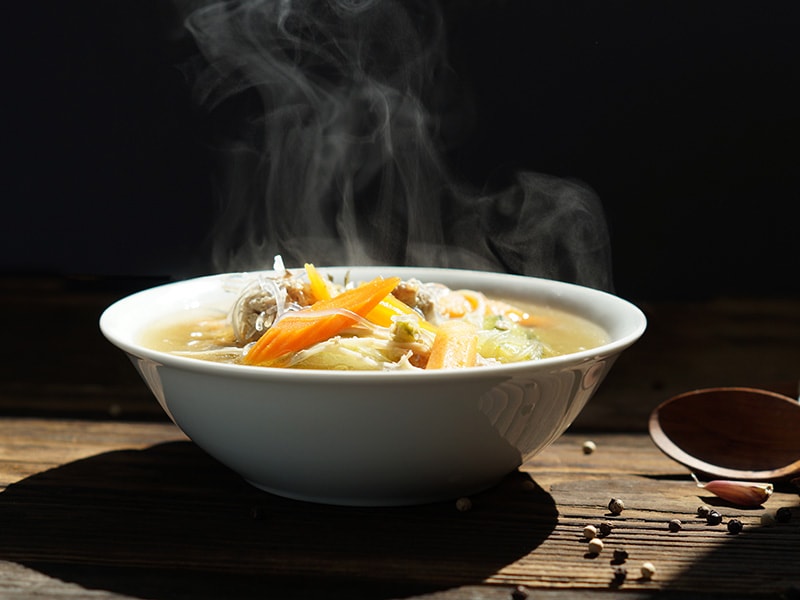
Hot food certainly should be stored in a place full of heat. Above the “danger zone”, which is 135°F is the ideal temperature for preserving hot food.
Hot food that has been left outside below the range of 135°F for over 4 hours is no longer edible.
Separate freshly prepared food and reheated food to avert the appearance of crossed contaminants.
Staying In Low Temperature For Cold Food
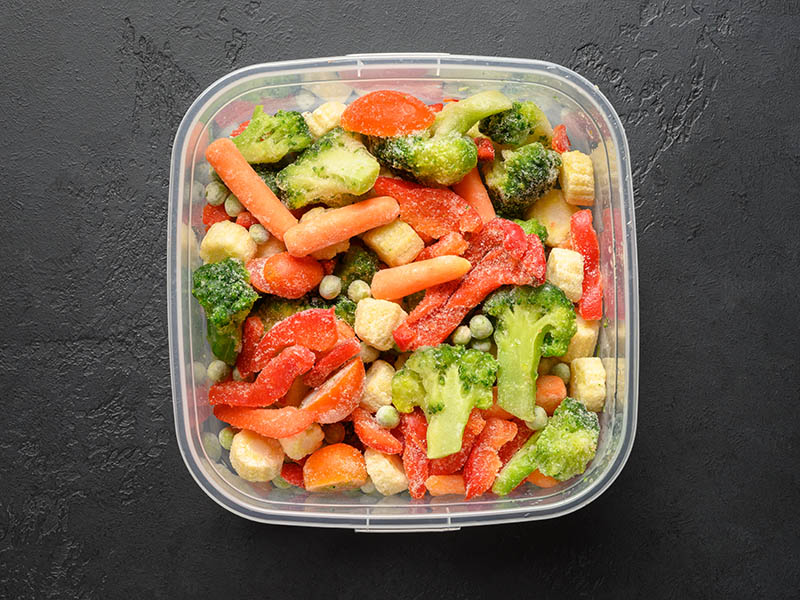
On the contrary, to avoid the “danger zone”, cold food needs to be kept at a temperature below 40°F.
Cold food can stay fresh for up to 6 hours in this state. But remember to check the temperature regularly, because if cold food is exposed to outside temperatures for over 2 hours, it will spoil.
FAQs
Here are the fun parts – related questions. I know you still have some unveiled questions, so I compose a list of frequently asked questions to give you more information about this topic.
Bring Back The Spirit And Move Towards The Future
Lunch boxes have long been associated with the development history of popular culture. So don’t judge it by its cover. It is exquisitely designed and gradually improved over time. There’s nothing that can help you to preserve food for a long time conveniently like this magnificent box.
So, I hope the given tips will help you in keeping the food as warm and tasty as you want when put in a lunch box. If you find the article is informative, let’s stop pondering and share it with your friends instead to help them!
References
- Lunchbox – Wikipedia.
- Use an Insulated Lunch Bag to Keep Meals Safe.

