Knowing how to keep food warm without electricity is important in so many situations. What if your house experiences a blackout? What if you want to have a picnic at a park? Your food will get super cold! Well, do not fret because you have me as your self-appointed culinary assistant.
Everyone knows the feeling of cold food entering your stomach is not pleasant at all. That is why I am going to reveal some of my top secret tricks to keep your food warm even without electricity. Well, what are you waiting for then? Let’s go!
Health Benefits Of Keeping Food Warm
Aside from making food taste well, the advantages of warm food can extend to your entire body as well. Warm food will give your digestive system an easier time, thus helping your body absorb nutrients a lot faster.
Not only that, if you warm up your food thoroughly after cooking it, this will reduce the risk of contamination. Your food can last much longer without smelling foul. Of course, you must know which temperature you should keep your food at for it to be safe.
According to the CDC, the most optimal temperature for warm and hot food should be above 140°F (60°C). For chilled food, it should be below 40°F (6°C). Anything in between will cause bacteria growth (1) . It’s also best if you consume the warmed-up meal within two hours.
However, I highly advise that you do not warm your food up for too long. Studies have shown that gradual heat will cause a loss of Vitamin C, E, and K (2). The amount of lost nutrients is not significant, but it would be beneficial for your body in the long run.
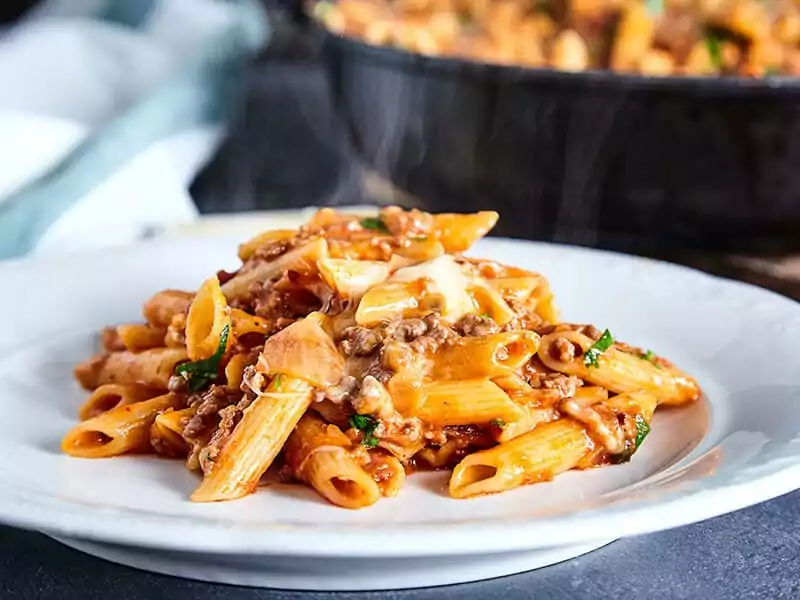
Comparison Of Warming Methods
Since you are now fully aware of the effects and advantages of keeping your food at a warmer temperature. It’s finally time that I can show you the many ways you can keep your food warm even without electricity.
Most of the tricks here only require stuff you find around your home. Only a few need you to buy outside equipment. Well, enough hanging around, let’s start this list with a general comparison table before moving on to the specifics:
14 Good Tips To Warm Up Your Foods, No Electricity Needed
Now that you have seen the table above, let’s have a more detailed look at each of the tips. This will give you a better understanding, and help you pick which tip is suitable for your situation.
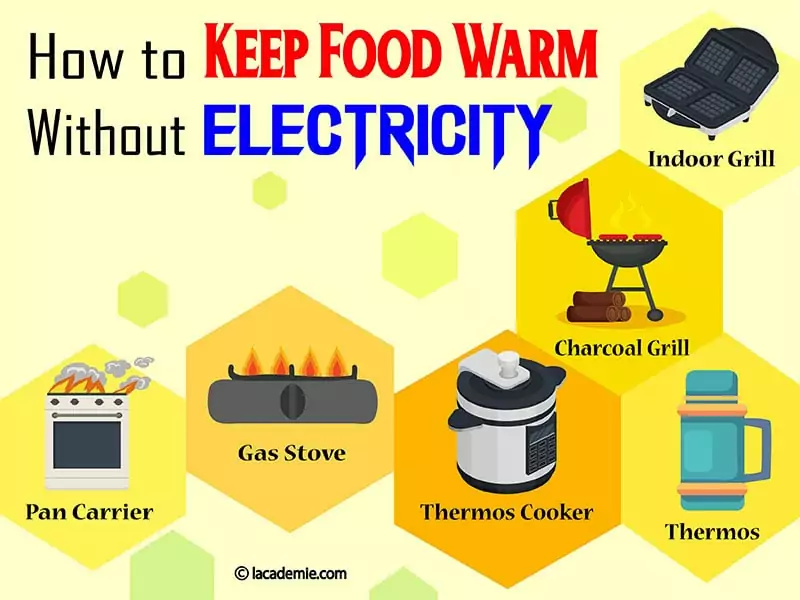
1. Getting A Portable Gas Stove
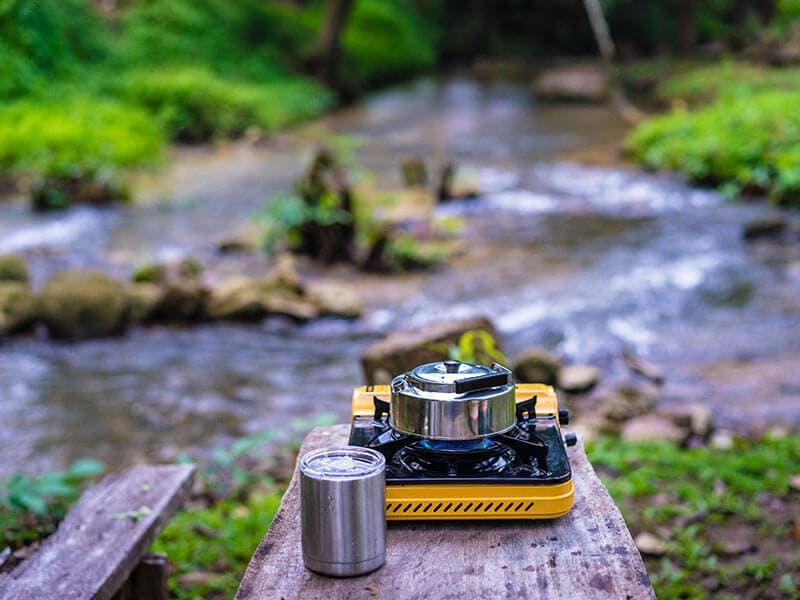
The easiest way if you want to cook or heat food without the need for electricity is by getting a gas stove. The usual stove you get in the store these days requires electricity for things like sparks and a control panel.
That is why getting a gas stove is your best bet to always have heat to warm up your food. And if you’re someone who loves being outdoor like me, a portable gas stove is your best option for delicious and fulfilling camping meals.
The original portable stove was created by a chef called Alexis Soyer in 1837. Since its conception, the portable stove has undergone many different changes. The most popular version is called the square stovetop.
The way to use the portable stove is fairly simple too: You attach the gas canister to the stove; Next, you lock it with the flick next to the knob; After that, you turn the knob to the right to turn on the fire and turn left to adjust the intensity of the flame.
Warning: Once the gas canister is depleted, do not refill. Buy a new one instead.
2. Using A Double Boiler Method
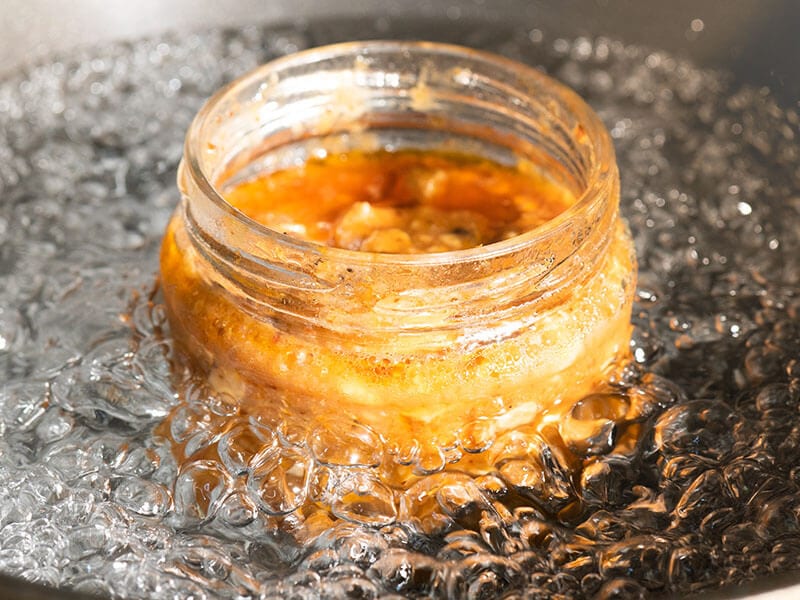
The double boiler method, otherwise known as a hot bath, is when you use the heat from both the steam and boiling water to heat food. The method first appeared in a French cookbook but it was already widely used by most Europeans since 300 AD.
For this method, you will need a large pot to put water in, another smaller pot for your food, and a gas stove. The steps are as followed:
Step 1: Boiling The Pot Of Water
The first step is to prepare your boiling pot of water. You need to fill the pot with enough water until it reaches the halfway point.
Then, put the pot on top of a stove before turning on the fire. Keep the fire at medium while you wait for the water to gradually boil
Step 2: Put Food Into The Smaller Pot
While you wait for the water to boil, transfer the food into another smaller pot. The method works best if you want to heat meals like soup or stew. It also works if you want to melt chocolate for dessert.
Step 3: Place The Smaller Pot On Top Of The Boiling Pot
Once the water in the bigger pot starts boiling, you need to place the smaller pot on top of the bigger pot. Make sure to do it carefully as the steam from the water can be dangerous. You also need to turn the fire on low so the water starts simmering.
Step 4: Stir The Food Regularly
The final step is to keep stirring the food regularly while the heat inside the pot starts increasing. This is to make sure the food is not stuck and that the heat will not burn the food. Once the food is warm enough, take it out of the hot bath.
You can simply create a double boiler using just a pot of water and a glass bowl.
3. Cooking Under Simmering Heat
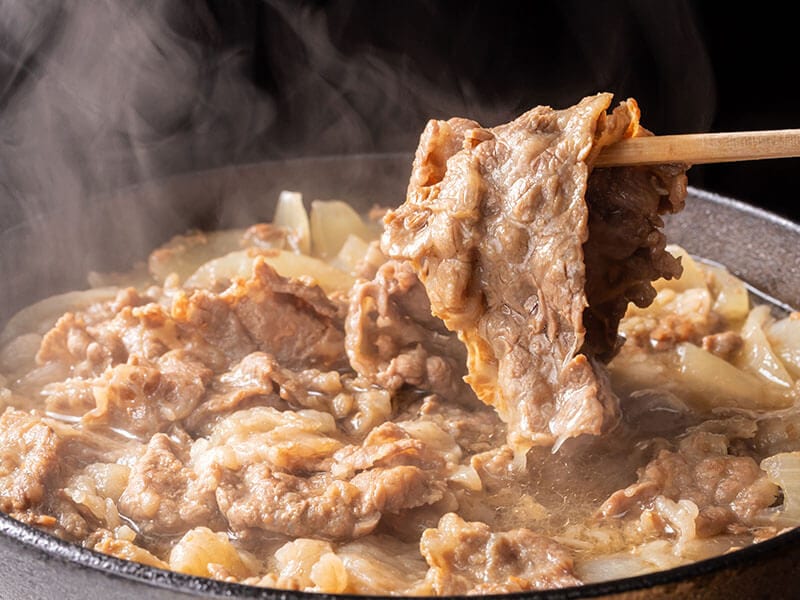
Another method that uses constant low heat to warm food up is simmering. This method requires you to cook food at below water-boiling point (100°C or 212°F) for a long period. This is usually done to make hard cuts of meat tender and juicy.
In most cases, you can use a crockpot but it will need electricity to run. Instead, you only need a simple pot to put your food in. The dish is perfect for warming up soup, stew, and pasta sauce after they get cold.
First, you bring the food to a boil. Once it bubbles up, you need to immediately reduce the heat and let the food simmer for a long period. Remember to keep the heat low so the food will not burn.
If you use this method, the food can stay warm for as long as you keep the fire on. Simmering is great if you want to have a party outside of your own home.
4. Making Food Really Hot
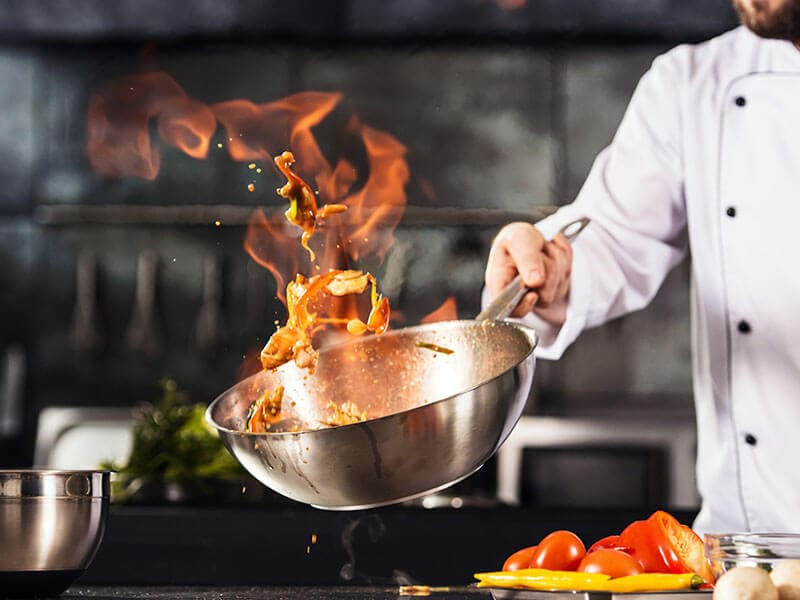
So you forget to buy a portable for your trip, and you’re afraid that all of the food you cook might turn cold? Well, don’t worry because I have this unique trick that might save you from all the trouble. You just need to cook your food hot.
What do I mean by this? It’s simple really. As long as you increase the internal temperature of food by 36-37°F (2-3°C), the food will go cold much slower, especially if you cook a large quantity of food.
To do it, make sure your food is already cooked to a boil. Then, reduce the heat to a medium and let the fire stay there for at least 5-10 more minutes. Make sure to stir to keep the temperature inside from increasing too much.
After 5-10 minutes, take the food off the heat and transfer it to a tray or a bowl. You can use an airtight container or aluminum foil to wrap the food up tightly. The heat will be trapped inside to keep the food warm for your trip.
5. Increasing Food Quantity
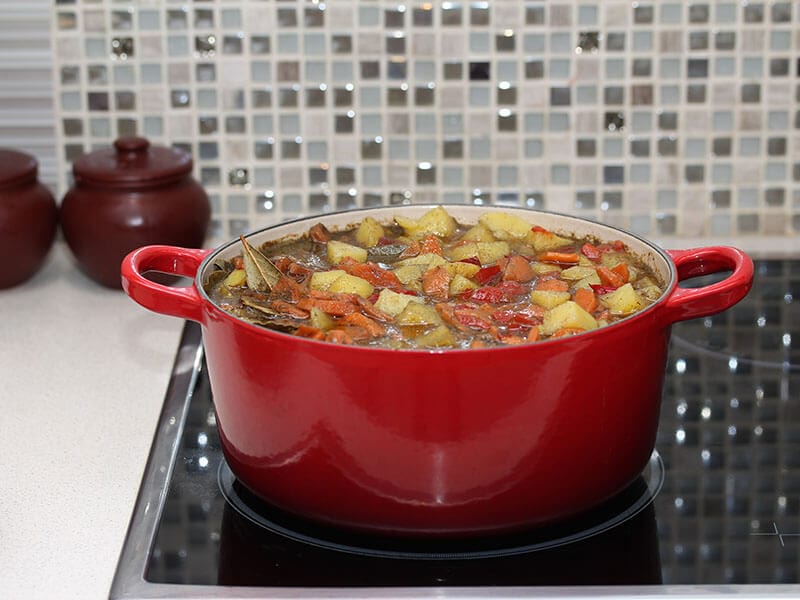
This step is also another great scientific way to get your food to stay warm for much longer. And it’s especially effective if you cook for a lot of people.
You need to cook a large quantity of food, either a big pot of stew or a huge tray of BBQ meat. You don’t even have to increase the temperature. After you finish cooking, just wrap the food up with foil or cover it with a tight lid.
The reasoning for this method is that the huge amount of heat from the cooking process will stay inside of the food. The more you cook, the less heat your food will lose. Once you get to wherever you want, the food is still warm enough for a good meal.
6. Using Non-direct Side Of Charcoal Grill
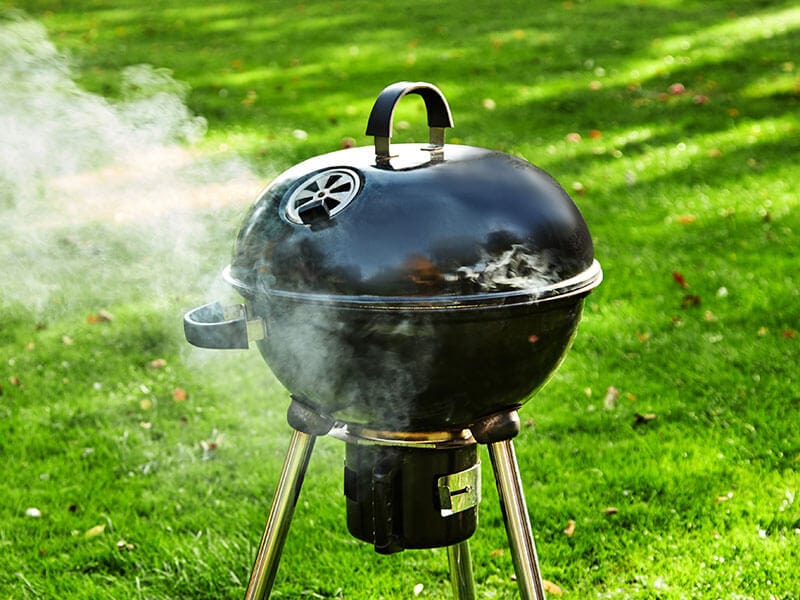
The charcoal grill is very useful if you want to keep your grilled food warm. It works best for food that requires you to leave it alone for a long time.
Most modern grills have two sides, one side with direct heat and the other with non-direct heat. Similar to most Southern US BBQ dishes, the heat and smoke from the non-direct side can keep a stable temperature.
To do this, you need to put your food in a sheet of aluminum foil or cover the dish with a lid. After this, place the dish on the colder side of the grill. Finally, close the grill lid. The non-direct side has an internal temperature of 225°F (107°C) so your food can stay warm inside.
If you have a food thermometer, insert it inside so you can regularly check if the food gets too hot. If it does, open the grill lid to let some smoke out to reduce the temperature. After 1-2 minutes, close the lid back again.
7. Preparing Food With Thermal Cooker
The thermal cooker method has been utilized for a long time. In Medieval Europe, people used to make food inside of a heated small pot. The small pot was sealed inside a bigger pot. People then buried both pots under insulators like dirt and sand.
Through this method, the heat trapped inside would cook the food eventually. Later on, people used this method to create the thermal cooker. The device consists of a small pot inside and a bigger pot to keep the heat in. Both pots are separated with a layer of insulation.
How do you use the thermal cooker then? You need to heat the food hot enough to a boil. Then immediately transfer the food into the cooker. The best thing is that the food inside of the cooker will stay 160ºF (77ºC) for up to 8 hours and 140ºF (60ºC) for 15 hours.
Now you don’t have to worry about your food tasting weird after a while.
Thermal cookers can both keep your food warm and reduce your electricity bill.
8. Using A Thermos
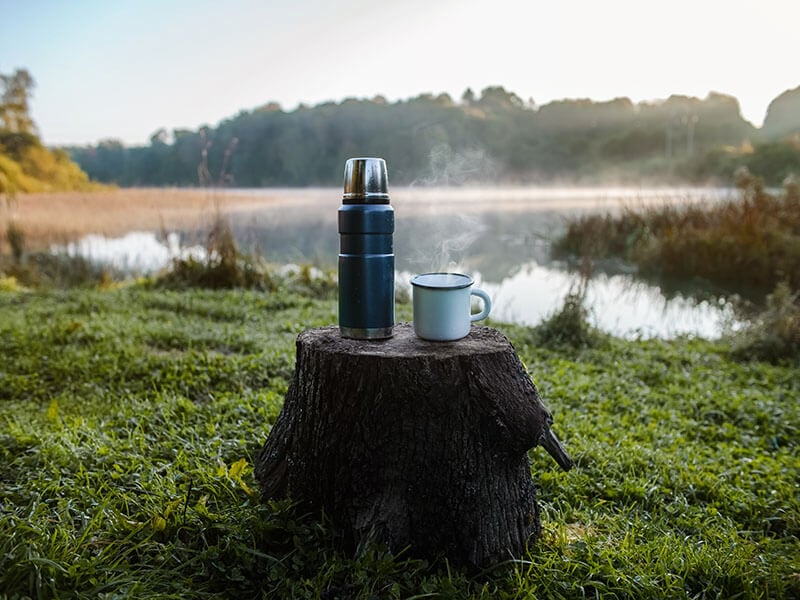
Thermos is a tinier version of the thermal cooker. Both of the equipment use the same principles to keep food warm. The thermos is made from two containers, one inside and one outside. The middle of both containers is filled with a vacuumed space for insulation.
The thermos is believed to be created by Sir James Dewar as he needed a container to store his experiments. However, he did not patent this invention. Most modern thermoses are made with stainless steel or ceramic.
Unlike a thermal cooker, most thermoses can only carry meals for one or two people. If you cook food hot enough and transfer it to the thermos, the food can stay at an optimal 140°F (60°C) for at least 4 hours. It’s popular with office workers and campers.
Protip: You can pour hot water inside of the thermos to heat it. After you’re done cooking, pour the water out and put the food in. This way can add one more hour to the warmth.
9. Keeping The Steam In
If you do not have access to both a thermal cooker or a thermos, you can always count on this tip to keep at least your food hot for around 1-2 hours:
Step 1: Put Your Food In A Tray Or Container
After cooking is done, all you need to do is transfer your food into either a tray, a pot, or a container. If you choose a tray, remember that you need to choose a tray with tall sides so the next step will be a lot easier.
It works best if your containers are metal so that the heat will spread out evenly, keeping the food warm for much longer.
Step 2: Tightly Seal The Food With Saran wrap
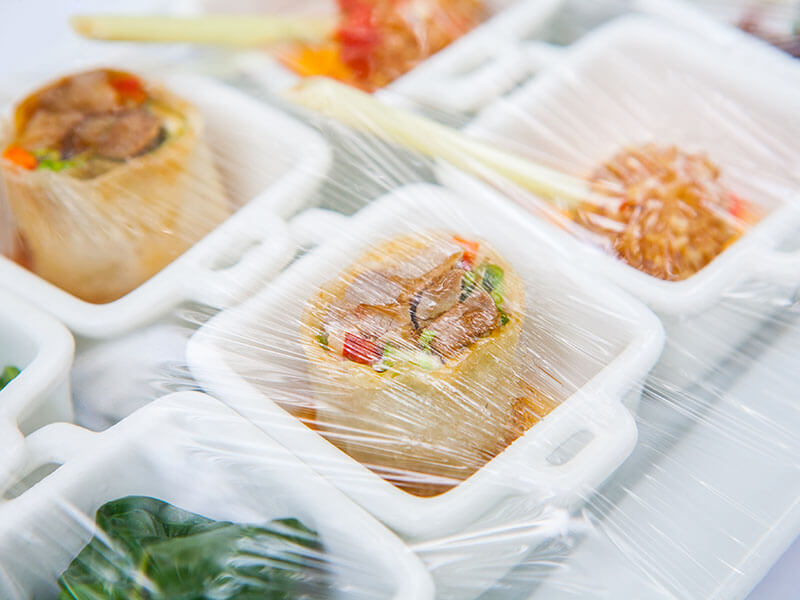
The next step is to seal the containers with Saran wrap. If your containers have a lid, close it up before wrapping. This will trap the steam inside of the food for hours. With no steam escaping, food can stay hot if you’re going on a short trip.
10. Wrapping In Aluminum Foil Or Towels
This technique is quite similar to the previous one, but it is more effective since the materials used have a much better heat-trapping ability. It is a useful method for keeping rotisserie chicken warm. It’s also used by many people to help food stay warm for parties and picnics. Let me show you how easy it is to do it:
Step 1: Place Your Food Inside An Aluminum Or Metal Tray
Similarly, after you’re done with the cooking, you need to put the food into a tray. It also works best if you pick a metal tray for optimal heat retention. After that, close the tray using some sort of flat lid to prevent food from spilling out
Step 2: Wrap A Sheet Of Aluminum Foil Or 1-2 Thick Towels Around The Tray
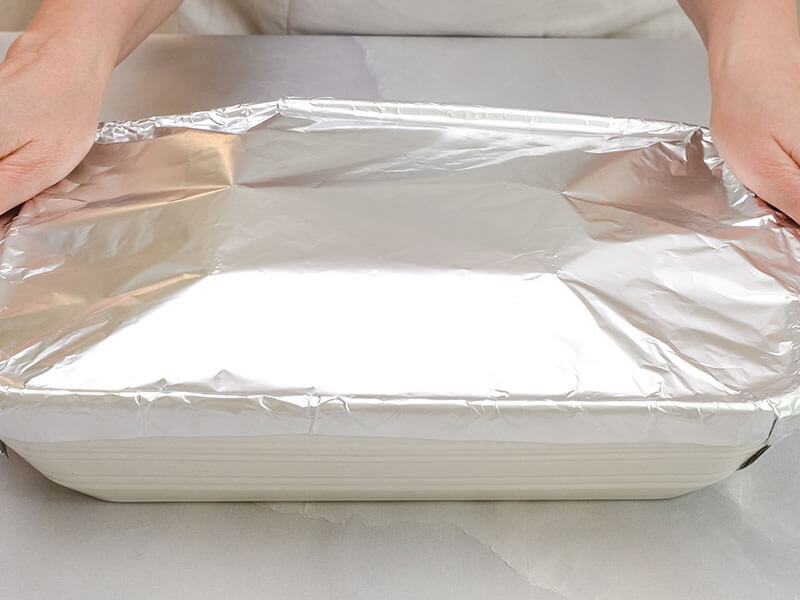
Instead of using simple Saran wrap, you need a sheet of aluminum foil to wrap around the tray to trap in all of that heat. The more sheets you use, the better it is.
If you don’t have any rolls of aluminum foil around your house, you can always use 1-2 thick towels as your insulators.
For maximum efficiency, a combination of both aluminum and towels will further keep the food warm for almost around 1-2 hours.
Protip: Some people might advise you to use the smooth side to wrap the food. Don’t listen to them, both sides can retain heat the same way.
11. Storing In A Thermal Bag
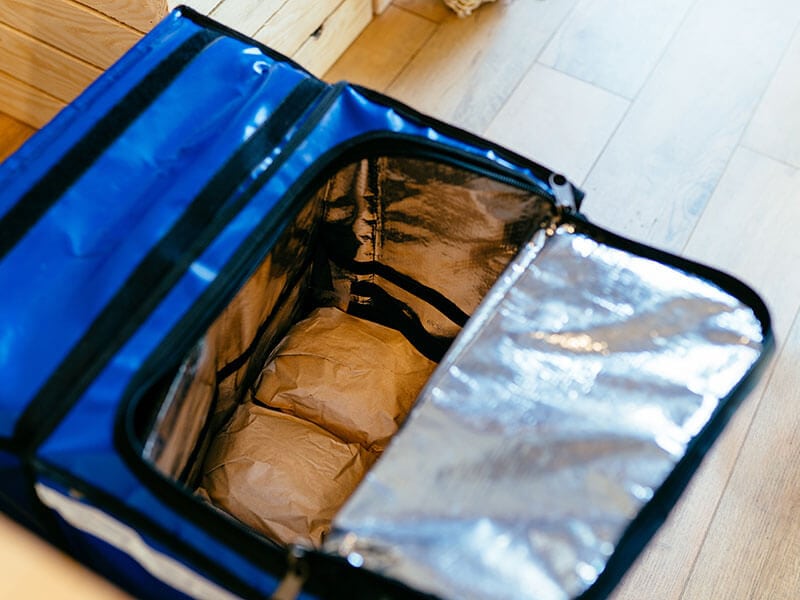
The thermal bag is mostly used by delivery businesses as a way to keep food warm for a long time while transporting. The thermal bag is usually made with thick cotton on the outside and a layer of insulation like aluminum inside.
The thermal bag is usually very light, portable, and does not require electricity. Most delivery services use a wider version, but a smaller bag is sold for individual customers.
The way to use it is to cook your food, place it inside of a container (preferably a thermos). You then put that container into a thermal bag and seal it with a zipper. The bag acts as an outer layer to prevent the heat from escaping.
Since the thermal is usually paired with another container, it will keep food warm for much longer.
12. Using A Cooler With Hot Bricks (Or Hot Water Bottles)
Acts as a thermal bag, but bigger, better, and more likely to retain heat a lot longer, these are the reasons why the cooler is slowly becoming one of the best options to keep food warm.
The first patent for the cooler was filed in 1951 in the state of Illinois. People tend to use the cooler to keep their food and drinks chilled on a hot summer day. However, you probably didn’t know that you could use it to keep hot food for a chilly winter trip?
Well, in that case, you can follow my instructions below:
Step 1: Prepare Your Heat Source
In this step, you can use bricks or flat stones. For a standard-sized cooler, which is around 45 quarts (43 liters), you can use three bricks or 2 flat stones.
After finding your bricks or stones, put them inside of your oven at 300ºF (150ºC) for 20-30 minutes. The heat will penetrate the heat source.
For the water bottles, you just need to boil the water until it reaches 212ºF (100ºC). After that, pour the water into 2-3 bottles (use a funnel to make it safer).
Step 2: Wrap Foil On The Inside Of The Cooler
While you’re waiting for everything to heat up, place a sheet of aluminum foil inside of your cooler. This will increase the insulation of the cooler.
After 20 minutes, the bricks or stones are ready. Remember to use a pair of tongs or thick gloves to take them out. Wrap them in foil and a towel to protect the inside of the cooler.
Step 3: Place The Heat Source Inside The Cooler
Once you’re done with the above steps, place the heat source inside securely. Don’t do too much or the food won’t fit.
If you use the water bottles method, just wrap a towel around each of the bottles and place them into the cooler.
Step 4: Seal Your Foods Inside A Container
On the food side, after the cooking is finished, you can transfer it into a tray. Make sure to wrap a layer of aluminum foil on top to further keep the heat in.
Step 5: Put The Food Into The Cooler
Once everything is done, you only need to close the lid of the cooler up and enjoy the rest of the way. That’s because the cooler can keep the food hot for at least 2-3 hours.
Wanting many people to enjoy food? Let’s look at this “hot bricks in a cooler” trick.
13. Getting A Pan Carrier
The above tips are suitable for yourself or a small gathering of friends and family. However, if you are in the professional catering service, then you will need something a bit more effective. The pan carrier is one such case that needs no electricity to keep food warm.
The pan carrier is made with a special material called polyethylene. This helps the pan feel very lightweight compared to other materials. It also makes good insulation to the outside temperature.
Aside from that, the carrier is equipped with thick foam padding on the inside, increasing the protection against external temperature. The carrier has two handles so you can easily transport it anywhere.
The pan carrier has two versions: One vertical and one horizontal. The vertical version can carry up to four food trays while the vertical version can have up to six.
Bringing food for a lot of people? No problem because a professional pan carrier is all you need.
14. Putting Food In Chafing Dish
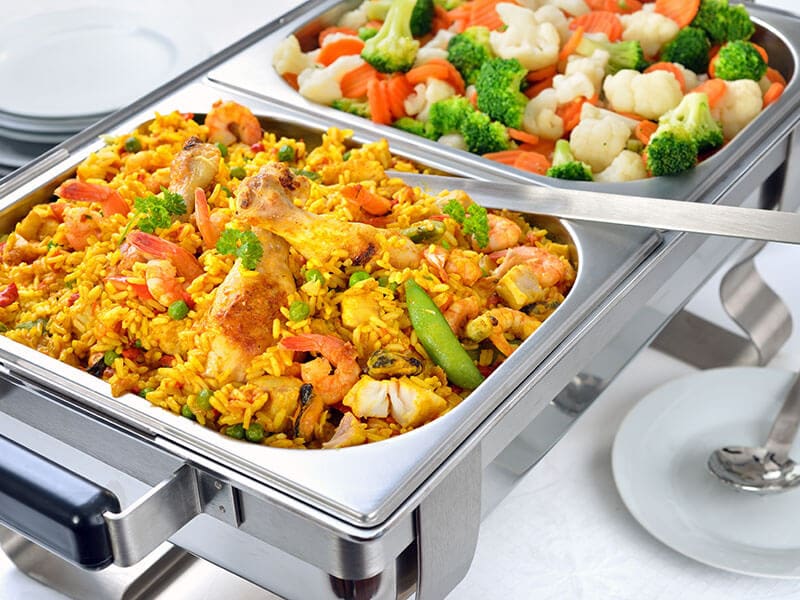
Another piece of equipment you might find interesting if you’re in the catering service is the chafing dish. It is a serving dish that has a small alcohol burner underneath it to keep the food inside warm for a long time. You can utilize it as a way to retain food’s warmth for a party.
The chafing dish is one of the oldest pieces of warming equipment still in use today. From the Roman period to Victoria England, many aristocratic parties were held with the help of the chafing dish, when there was no electricity.
Typically speaking, the material for chafing dishes consists of light metals or ceramic. But sometimes, an aluminum chafing dish can be used to save costs. Most services and restaurants sometimes use the electric version.
The chafing dish is easy to set up if you know how to with this tutorial.
FAQs
Here are some questions about this topic that you might be interested in. After reading this, I hope you’ll be able to understand more about how you can keep food warm without electricity:
No Electricity, No Problem, Even For Meal Time
Thanks to the tips above, the lack of electricity will not prevent you and your family from having a comforting meal time. It will probably make you feel a lot better since it will get you off the hustling and bustling modern life.
Once again, as your self-appointed culinary advisor, I would like to give you one piece of good advice: If you feel stressed out, just stop, get up, go outside and take a warm meal with you.
If you like what you read, please give this article a like. And also don’t forget to share this on your social media so other people can read this as well. Have a great meal!
References
- cdc.gov. 2022. Four Steps to Food Safety: Clean, Separate, Cook, Chill.
- ncbi.nlm.nih.gov. 2018. Effect of different cooking methods on the content of vitamins and true retention in selected vegetables.

