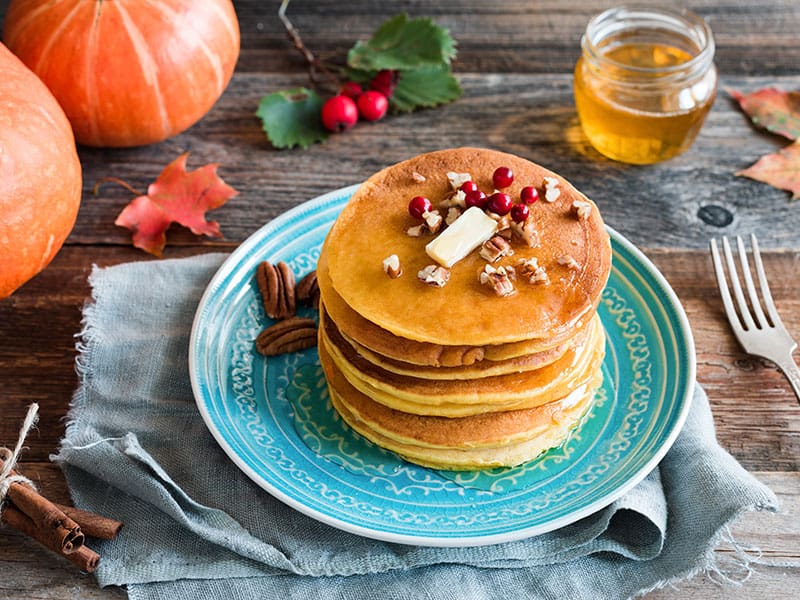
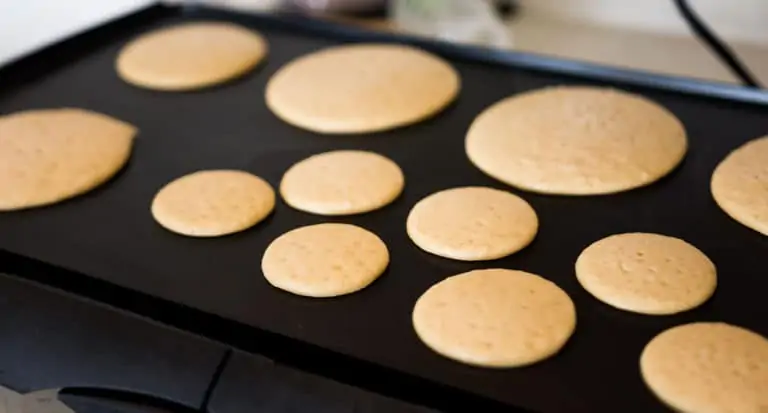
“How to keep pancakes warm?” is a question that a lot of people have. While pancakes are a beautiful choice for breakfast, they are only delicious and fluffy when they’ve just been cooked. As soon as they turn cold, pancakes will turn dense and bland.
But don’t worry! This article will give you all the best methods for keeping your pancakes warm. Plus, I’ll also include some useful information about storing and reheating this tasty breakfast dish!
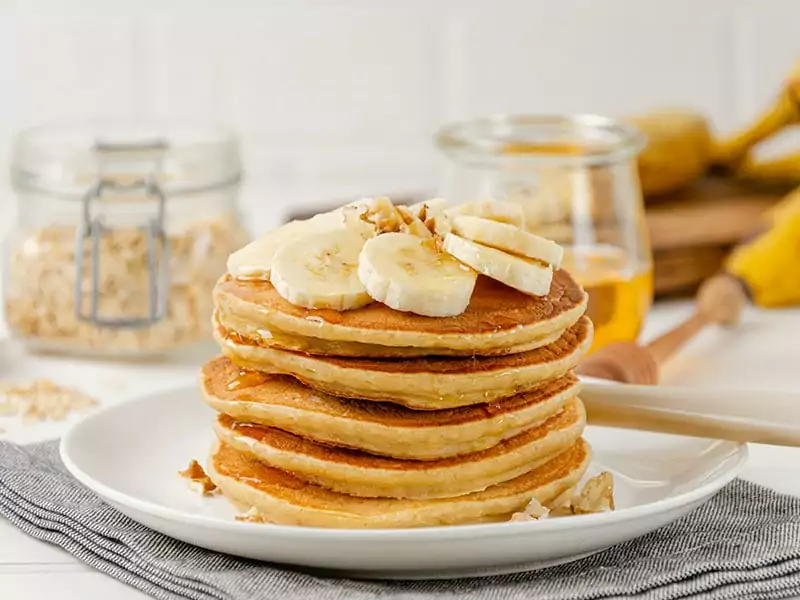
What Are The Best Way To Keep Pancakes Warm?
If you don’t want to go through the various steps to reheat pancakes, how about learning the ways to keep pancakes warm? Here are the 5 most common ones:
- Aluminum Foil
- Pancake Warmer
- Microwave
- Toaster Oven
- Oven
With each option, I will show you both its advantages and disadvantages. Also, there are some extra tips for you to preserve your pancakes perfectly.
What are you waiting for? Start reading now!
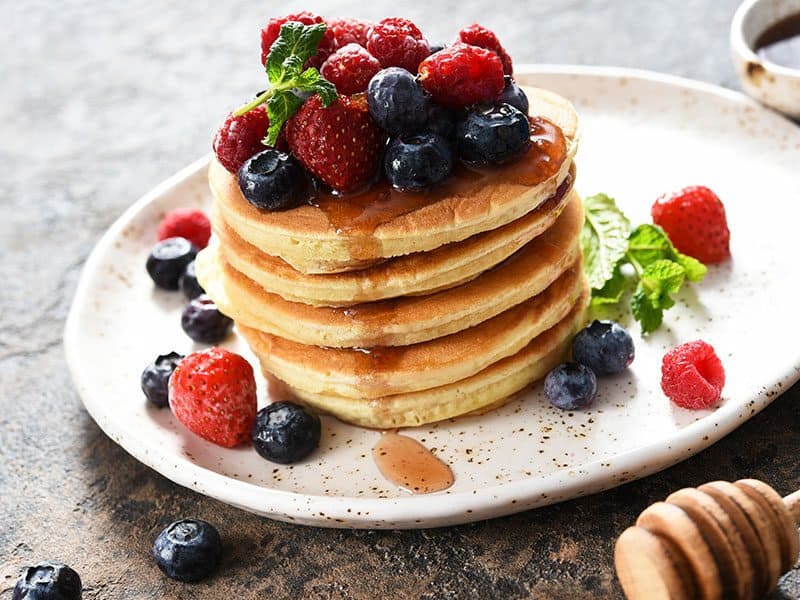
5 Ways To Keep Your Pancakes Warm
Piping hot pancakes are everyone’s dream. However, pancakes get cold as quickly as how dream disappears. I may not know how to preserve your imagination, but there are 5 simple methods to keep your pancakes as warm as new.
With Aluminum Foil
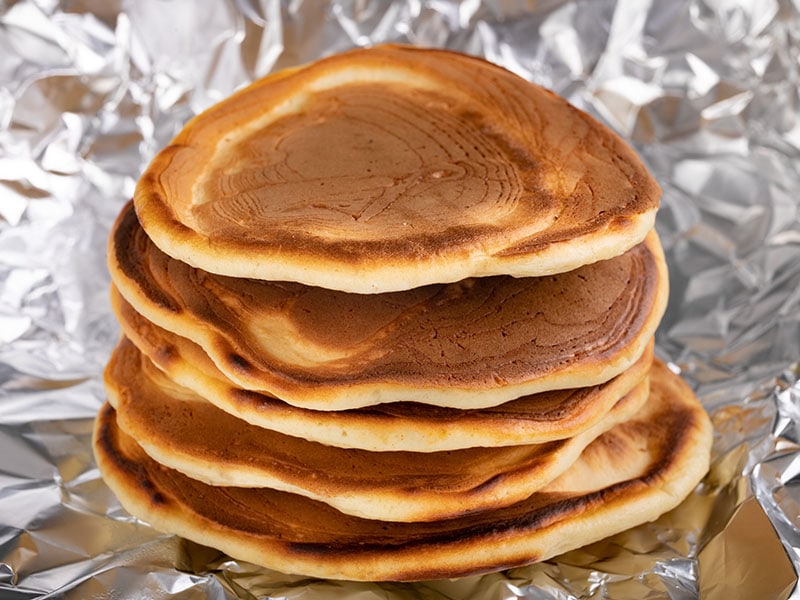
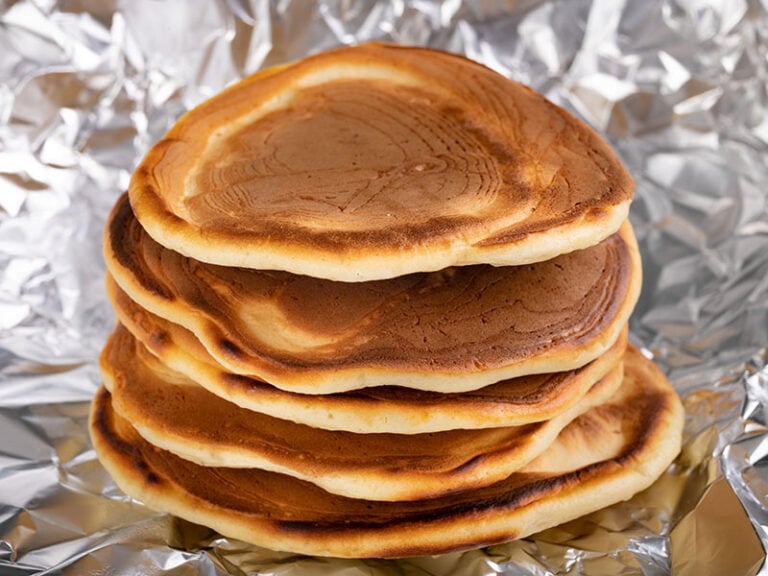
The easiest solution would be using aluminum foil. Almost everyone has this tool in their kitchen cabinets. And this method doesn’t require multiple steps. All you have to do is just cover pancakes with aluminum foil.
Or, if you run out of time, you only need to spread pancakes on a plate and use aluminum foil to cover them. This option’s fast and convenient. However, it has a significant drawback. Aluminum foil will trap all the steam inside, making it condensate and dripping all over the pancakes.
The result you get will be warm yet mushy pancakes!
With A Pancake Warmer
Yes, there is a tool called a pancake warmer. And as its name suggests, people use this tool to preserve pancakes’ temperature. It looks like a stew pot made of ceramic with several holes on the lid. This way, the steam can evaporate, saving your pancakes from being soggy.
That sounds amazing, but whether it works as the description is another story. Most of the time, the pancakes can retain their texture yet totally lose heat. Thus, a pancake warmer is more suitable for serving pancakes than keeping them warm.
With Microwave
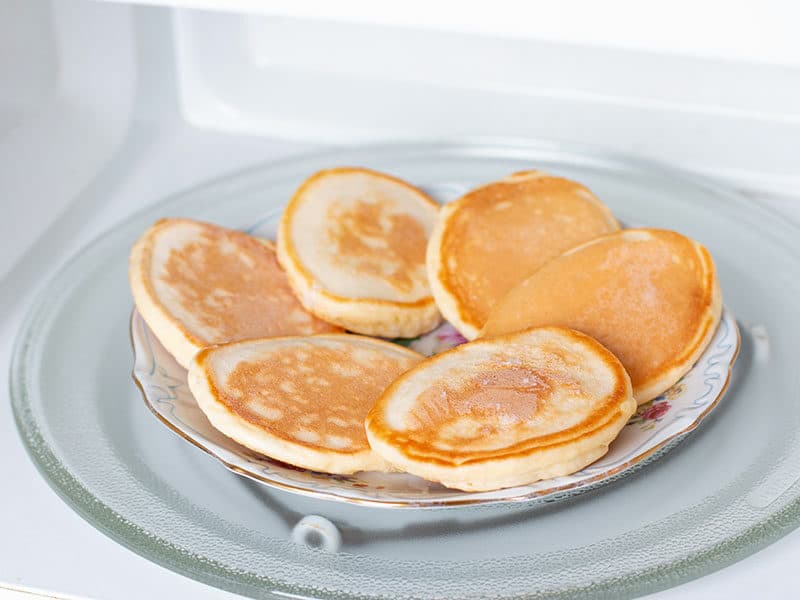
Although there are several dissimilarities between waffles and pancakes, the microwave is an ideal way to preserve these two staple breakfast foods’ temperature. The procedure to do is also effortless. Let’s check what you need to do.
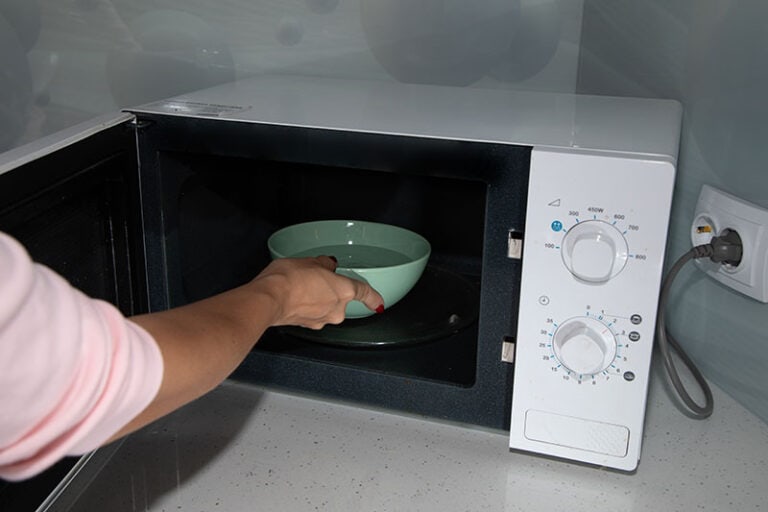
- Step 1: Prepare A Bowl Of Water
Find a medium-size and microwave-safe bowl and pour water until ⅔ of it is filled. Place the water bowl inside the microwave and turn on the heat until it’s boiling.
- Step 2: Set The Pancakes
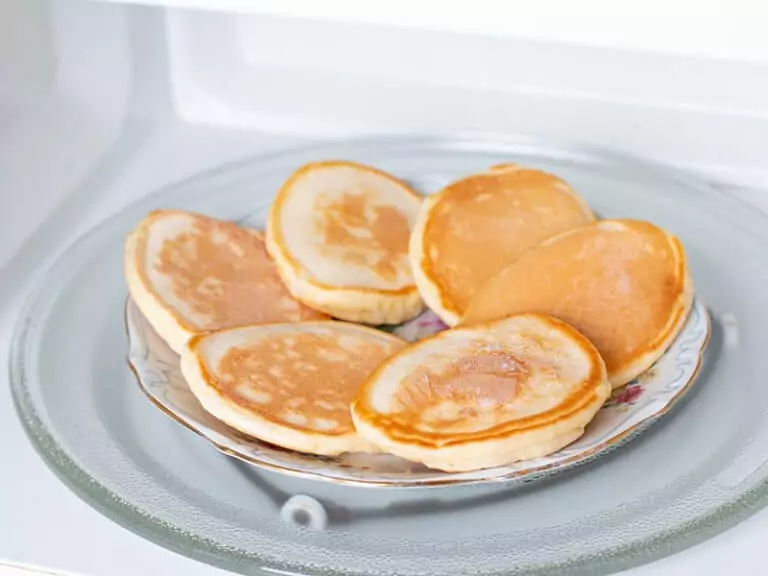
Place a large and microwave-proof plate over this bowl. And set your patch of pancakes on top of this plate. The water vapor will keep the pancakes warm and moist.
This method takes about 20 seconds each time. So if you have numerous pancakes at one, you can divide them into smaller batches.
The major problem with this method is it only heats some pancakes at one time, 6 pancakes at most. So when you want to throw a pancake party, using a microwave is not so beneficial.
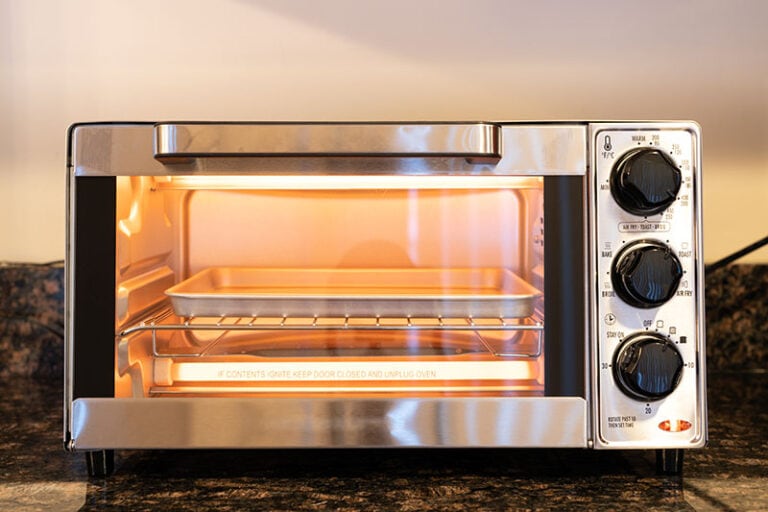
With A Toaster Oven
When looking at this option, you may wonder how different a toaster oven is from a microwave. Well, in terms of keeping pancakes warm, there is a big gap between these two tools as a toaster oven can only warm up a small batch of pancakes at once.
Follow these steps, and you will get a steamy patch of pancakes right away.
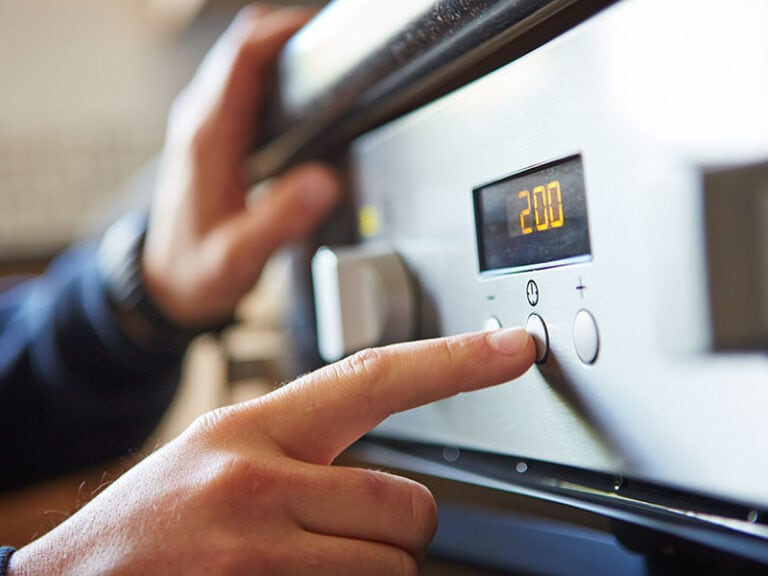
- Step 1: Preheat Your Oven
Remember, toaster ovens cook food faster than regular ovens, so you should lower the temperature to prevent burning. 150-200°F is the recommended temperature.
- Step 2: Place The Baking Sheet
Set an empty baking sheet on the center rack. Many toaster ovens provide their own suitable baking sheets. You should place it right when the stove is preheating to warm up the sheet.
- Step 3: Place The Pancakes
Transfer cooked pancakes from the skillet onto the baking sheet in the oven. Spread them on the sheet instead of piling them up for the best result.
Or you can pile them up, with parchment paper between each layer. If you don’t own this kind of paper, you can find some replacements for parchment paper. Make sure you pick ones that are compatible with the toaster oven.
Turn off the convection setting of your oven since it can dry out your pancakes. In case you can’t or don’t know how, lower the oven’s temperature to merely 120°F.
After that, wait for your pancakes to warm up. It regularly takes about 40 minutes maximum, and you should pull pancakes out by that time. The longer you leave them there, the drier they become.
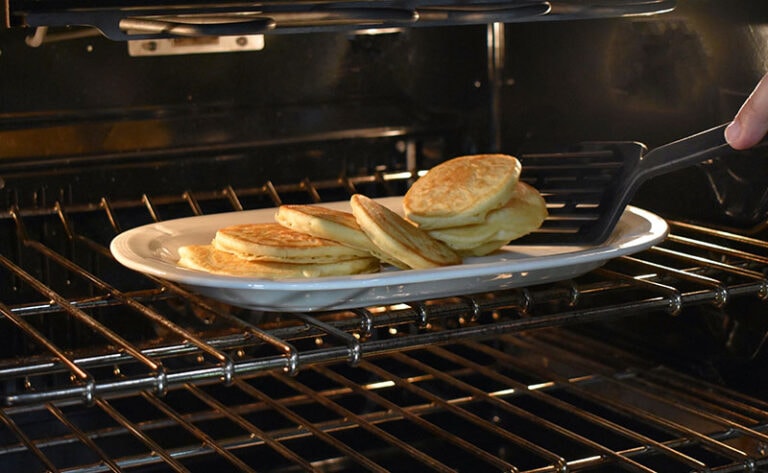
With An Oven
If you don’t have a toaster oven, then a regular oven is still an acceptable choice. You may be familiar with how to preserve your meal’s heat in the oven. However, with pancakes, things may get a bit different.
You can choose between using parchment paper or a cooling rack to retain pancakes’ quality. In this part, I will provide all the steps of both options.
Using Parchment Paper
Parchment paper is famous for its non-stick, grease-resistant feature. In this option, these papers prevent pancakes from sticking to each other, losing their shapes.
The steps below will tell you how to protect your pancakes with these greaseproof paper.
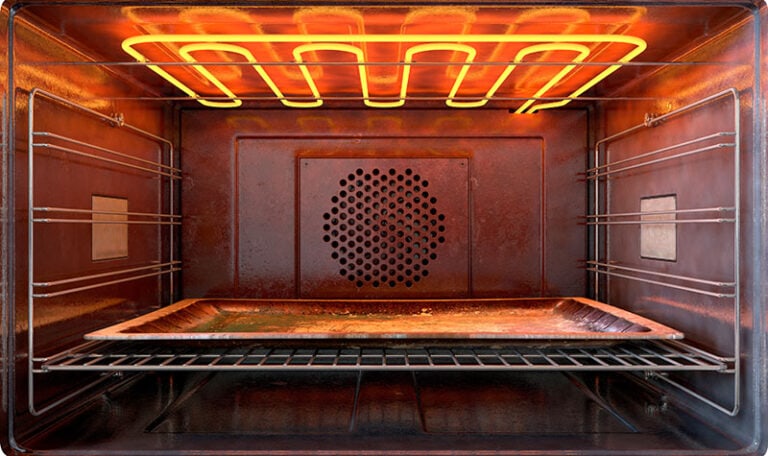
- Step 1: Preheat The Oven
Set your oven at 200°F. This temperature will make sure your pancakes are preserved perfectly without burning them.
- Step 2: Place The Baking Sheet
Set an empty sheet on the center rack. This sheet will protect your pancakes from being charred at the bottom or slipping through the oven rack.
- Step 3: Transfer The Pancakes In
Put the pancakes onto the baking sheet in the oven. Use greaseproof paper to separate each layer of pancakes.
Then, just leave the pancakes inside until you want to serve. However, make sure to take them out within an hour. Or else, they will turn dried or overcooked.
Using A Cooling Rack
If parchment paper retains pancakes’ shape, a cooling rack will preserve their fluffy texture. The process is basically the same but changes in temperature and timing, so make sure you read every step.
- Step 1: Preheat Your Oven
Set your oven’s temperature a little higher, at around 225°F. However, different ovens have various heating systems. So you should adjust the temperature a few times to identify the right one.
- Step 2: Place The Wire Cooling Rack Inside The Baking Sheet
Setting the cooling rack inside the baking sheet allows air to circulate freely, keeping your pancakes both warm and fluffy.
You should set this combination inside the oven when it preheats to warm them up.
- Step 3: Place The Pancakes
Transfer the pancakes from the skillet onto the cooling rack. Spread them all over the rack. Don’t pile them on top of each other, as this causes pancakes to lose their shape. If one shelf is not enough, you can set a second one on the bottom rack of the oven.
With this option, you’d better take out your pancakes much sooner. Let them sit inside the oven for more than 30 minutes, and you will receive a rack full of burnt pancakes.
You can see this video to know more:
Extra Tips To Keep Pancakes Warm
Sometimes, even when you follow precisely the process above, the pancakes don’t come out as fresh as expected. You may wonder, what did I do wrong? Actually, maybe you didn’t do anything wrong. You just missed some particular tricks.
Heating The Syrup
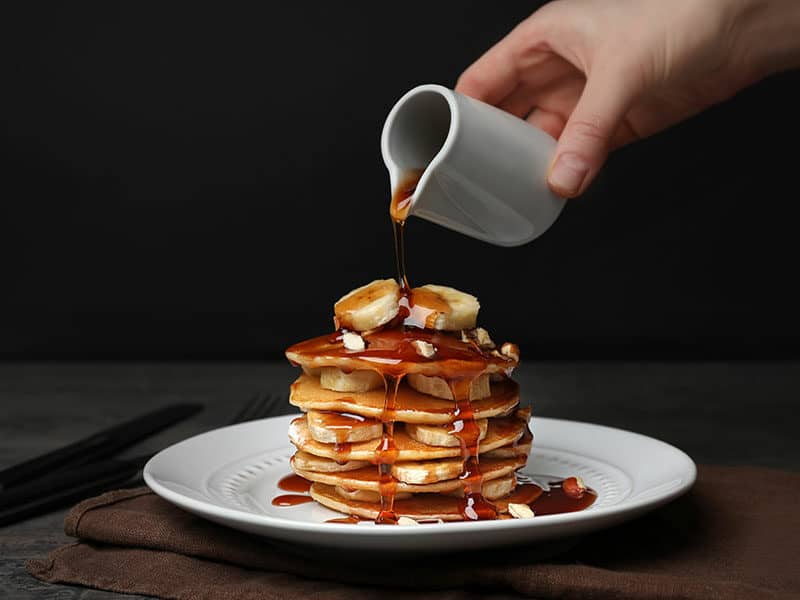
Syrup is one of the most common accompaniments to go with pancakes. However, most home chefs make the mistake of serving their warm pancakes with cold syrup. This cold, or even room-temperature, syrup can cool off the hottest pancake.
That’s why you should warm up the syrup alongside pancakes. Ensure to pour the appropriate amount of syrup into a microwave-safe/oven-proof bowl before setting it in. Never place your syrup bottle into the microwave or oven, especially when it’s a plastic bottle.
No Stacking Pancakes
A pile of pancakes looks wonderful and worths taking a picture of. Still, you should avoid stacking pancakes on top of each other if you want to preserve their quality.
When stacked, the below pancakes’ texture will be ruined under the weight of the above ones. Moreover, the steam will get condensation, causing pancakes to be wet and mushy, just like they are covered with aluminum foil.
And while stacking may keep the top pancakes warm, all the bottom ones will turn cold in no time. So, whatever method you choose, remember to spread them in a single layer. If you have to stack them up, use greaseproof paper to minimize the damage.
Picking The Suitable Ingredients
Pancakes mainly contain basic ingredients like egg, butter, milk, baking powder, and flour. However, if you mess up the ratio, your pancakes may become too runny or too thick. And that would affect how long they stay warm.
In fact, the ingredients also have a certain impact on the answer to the question “is it ok to refrigerate pancake batter overnight?” as different ingredients need different refrigeration methods.
That’s why you should use measuring tools while cooking to get the best mixing ratio. It’d be best if you got a ready-mixed batter to adjust according to your preference.
Not only the ratio but the ingredients’ freshness also matters. While egg and milk have their own expiration time, you should pay attention to the baking powder. To ensure that, you can mix one spoon of baking powder into a bowl of warm water. If the mixture starts bubbling, that means your powder is still fresh.
Getting The Right Cooking Method
When cooking, the first part you should concern about is making them all with the same shape. You can use an ice cream scoop to get a better measurement. Or, in case you don’t own one, make sure not to scoop more than ⅓ cup of batter for each pour.
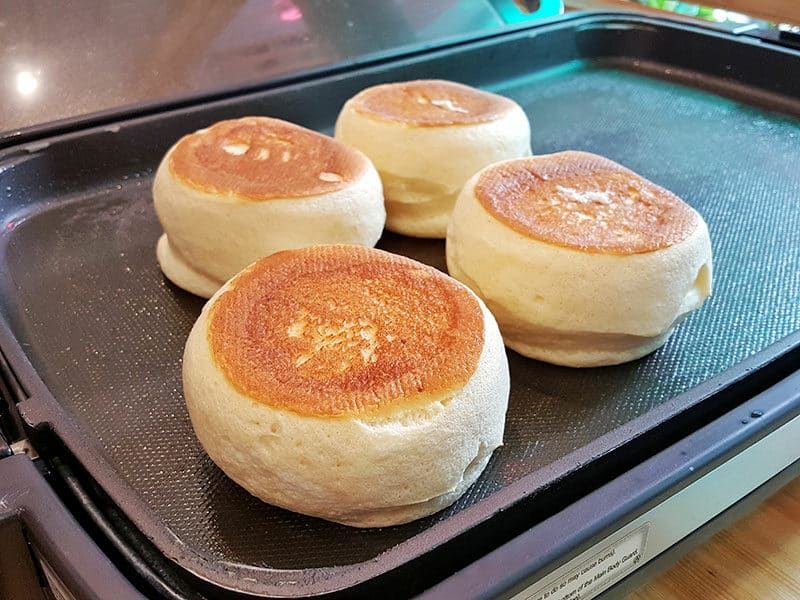
With them at the same size, the heat can spread more evenly. How they’re cooked is of the same importance. Make sure to set your stove at medium heat. Then flip when the middle of the batter starts to bubble and the edges harden.
Or else, you will get a batch of overcooked pancakes, making it hard to retain heat. Also, avoid pressing down the batter when baking to preserve the air pockets inside the pancakes. These air pockets make the pancakes fluffy.
You can see this video to know more:
How About Freezing Pancakes?
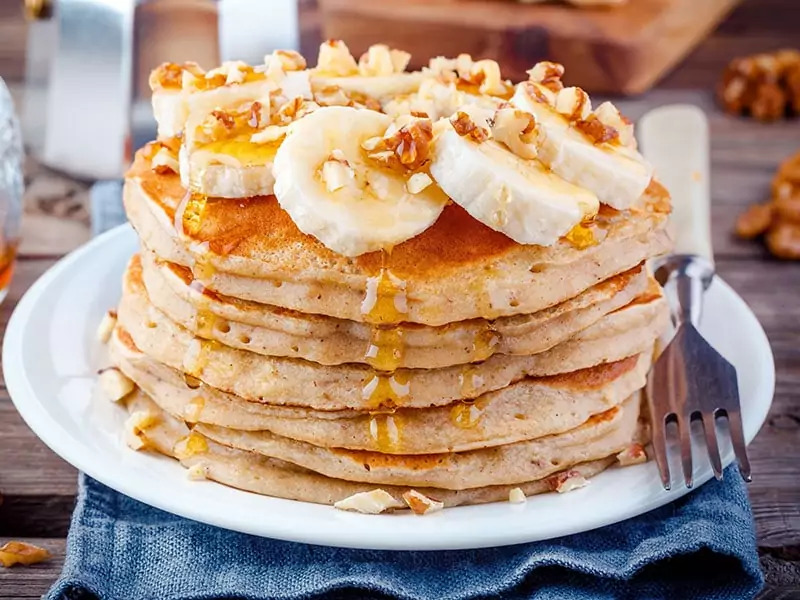
Sometimes, you make too many pancakes and can’t finish them in one go. The most suitable way to solve this is to freeze them for future use.
4 Steps To Freeze Your Pancakes
Freezing pancakes is no rocket science. You just need to comply with this simple procedure:
- Step 1: Place the pancakes side-by-side on the baking sheet to cool down.
- Step 2: Stack the pancakes into multiple piles. Remember to place parchment paper between each layer.
- Step 3: Set these piles in the freezer for 1 or 2 hours, or until all are frozen.
- Step 4: Put the frozen pancake piles in freezer-safe airtight containers.
You can use other packages like Ziplock bags, Tupperware, etc. Just make sure they are all freezer-proof. Frozen pancakes last up to 3 months. Still, for the best quality, you’d better consume them within 2 months.
3 Options To Reheat Pancakes
There are various ways to heat up your pancakes so they taste like new. In this part, I will present the 3 most common options.
Oven
Oven is an exemplary method when it comes to reheating multiple pancakes at once.
Preheat the oven to 350°F. Set the pancakes as one single layer on the baking sheet and cover them with foil. Or you can make a foil packet to bake the pancakes without the sheet. Leave them inside the oven for roughly 10 minutes, or until they are all nice and warm.
With this method, you don’t need to pre-brush the pancakes with butter to add more moisture.
Microwave
This option is perfect when you need these pancakes quickly. You just need to place 1 to 6 pancakes on a microwave-proof plate in one single layer, then microwave them.
The only problem with this method is that you can only microwave a certain number of pancakes at once, 6 at maximum.
Toaster
Toaster is the last choice when you run out of methods as it only heats 2 pancakes at one time. Put these frozen pancakes into each slot of the toaster, set at low heat, and wait for about 2-3 minutes. Make sure to keep an eye on your toaster to prevent pancakes from getting burnt.
Pro Tip:
There’s no need for you to defrost these pancakes before reheating them. These methods above have already ensured your pancakes will stay moist and fluffy.
Frequently Asked Questions About Pancakes
All the knowledge may be enough for you to keep your pancakes perfectly warm. But if you still feel confused, keep on reading. I will answer some common questions right away,
Further Tips
No matter how delicious your pancakes are, it’d be tiring eating the same dish day after day. So you can always spice things up by using your pancakes for other dishes. Pancakes can be tortilla wrap, cake base, pudding base, and many more. There is no limit on how you make use of them.
I hope this article is helpful to you whenever you need some help to keep your pancakes warm. If you have any other methods, please share them with other readers and me via the comment below.
Nutrition Facts
1 servings per container
- Amount Per ServingCalories86
- % Daily Value *
- Total Fat
3.7g
5%
- Saturated Fat 0.8g 0%
- Cholesterol 22mg 8%
- Sodium 167mg 7%
- Potassium 50mg 2%
- Total Carbohydrate
10.8g
4%
- Protein 2.4g 4%
- Calcium 83%
- Iron 1%
* The % Daily Value tells you how much a nutrient in a serving of food contributes to a daily diet. 2,000 calories a day is used for general nutrition advice.
References
- En.wikipedia.org. 2021. Parchment paper – Wikipedia
- Wikihow.com. 2021. 3 Ways to Keep Pancakes Warm – wikiHow
- En.wikipedia.org. 2021. Slow cooker – Wikipedia

