How to reheat overnight brisket in order to make it hot and juicy again for the next meal? If this is your never-ended concern in every weekend, you will definitely want to read my sharing!
Making a brisket dish can worth you a whole day of preparation. This high-required-attention dish usually comes with a big load, which can be enough for the entire family or a party coming. I know the result is worth it, but our dinner usually ends up with some leftover, delicious dish at this time but maybe too jerky for the next day.
How can you still enjoy the meat load in the following days with the same tasty taste as it was?
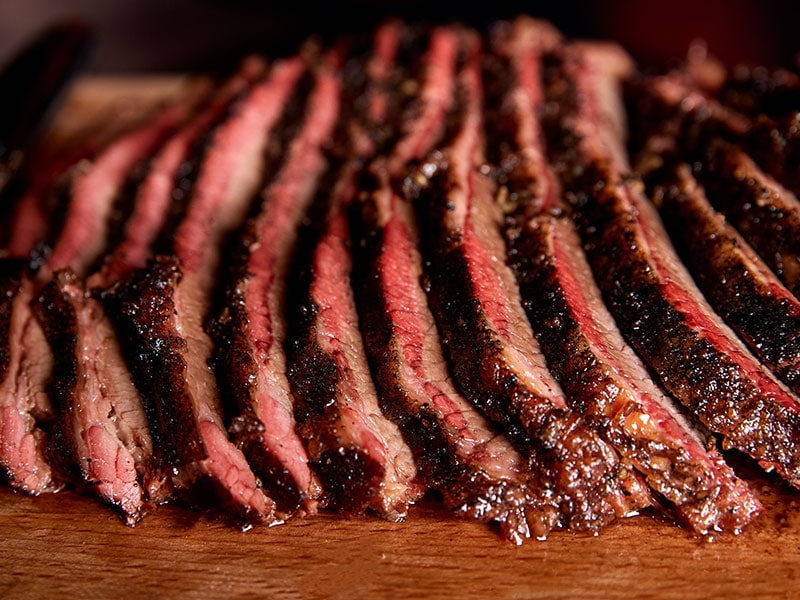
My friend, I am writing this to announce that, after times and times trying to maintain the most of brisket to serve for several days, I finally know the best ways to reheat brisket perfectly and then make it juicy and roasting on the table again!
The ways of reheating brisket will depend on your current kitchen appliance. You can do it with your microwave, oven, vide sous machine, or even a slow cooker. Each of them has a different method with its pros and cons. And all of them can leave you flavorful slices of brisket with a saber knife ( What does a useful knife mean?)
Now, let me show you the best ways to reheat brisket.
Reheat Your Brisket With The Oven
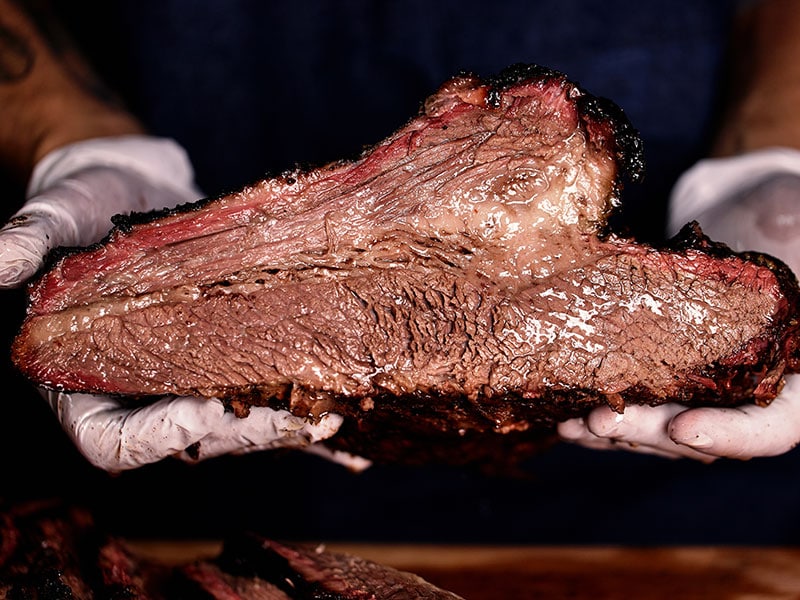
A conventional oven will be my second choice to reheat the aromatic beef brisket, especially when you have frozen your brisket as a whole.
Here are simple steps to reheat with the oven:
Step 1: Preparation
Have some preparations with your meat and the appliance. First, get the brisket out of the refrigerator and let it rest at room temperature for 20-30 minutes. This step allows the reheating process to happen entirely over the load so that the meat will not be hot outside and frozen inside.
While waiting for the meat, set your oven’s temperature to 325°F. You can proactively adjust the temperature accordingly to the size of your brisket.
Nevertheless, 325°F is a perfect level to reheat brisket. Higher heat can cause the meat to lose moisture. The result may end up with you chewing beef jerky.
Step 2: Ensure The Moist Texture
After 20-30 minutes, both the oven and the brisket are ready. Put the brisket into the cooking stray, then pour some of the reserved cooking juices over the top.
This will make the meat moist. PRO TIP: While you are roasting meat, remember to reserve all cooking juices. It will be helpful later on, particularly for reheating. Beef stock is also a good idea in this case if you do not have any leftover juices.
Step 3: Wrap It All!
Cover the tray tightly with one or two layers of aluminum foil. You have to make sure that the brisket is covered entirely. This action, to avoid stream from the meat getting away.
Another way to do this is to spread the foil over the baking stray first, then put the brisket and cooking juices onto it, and finally, wrap it. After that, send the tray straight into the oven. Be careful of the heat! The stove is hot now.
Step 4: Patiently Wait
It will take us approximately 1 hour to reheat a whole load of brisket, or up to 20 minutes if it has already been sliced. When time is up, remove the tray from the oven (please be careful, I must say again), unwrap the foil and check for the meat.
If it is still hard, put it in the oven and wait for 5-10 more minutes. A meat thermometer will be a valuable tool to monitor the internal condition of your meat. Once it reaches 140°F, then it is ready to serve.
Pros
- Can be considered as a pro-way to reheat your well-invested brisket.
- Can apply for all kinds of brisket. The temperature will vary, for example, 325°F for smoked brisket or 200°F for BBQ brisket.
- Can ensure the moisture.
Cons
- It takes at least 1 hour or more to reheat the meat.
Reheat Your Brisket With The Grill/ Smoker
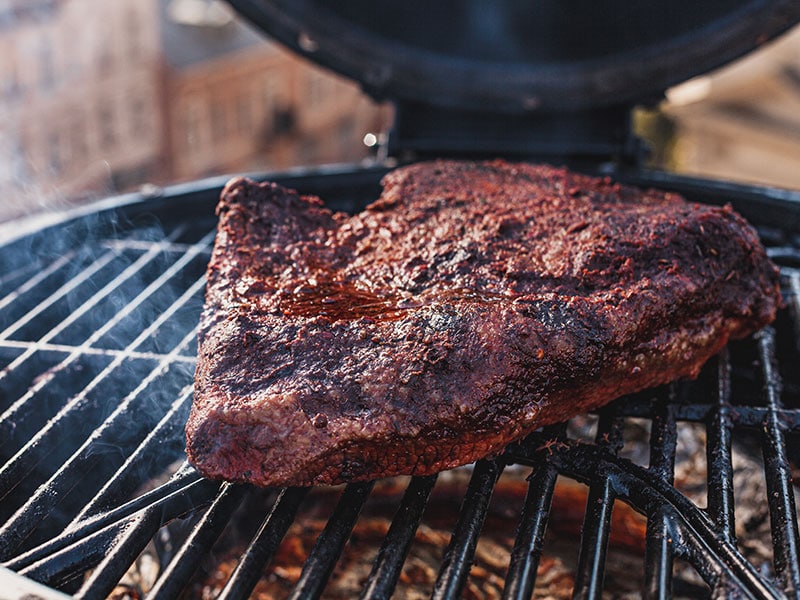
There is an advice that food should constantly be reheated the same way it was cooked. That means using a grill or a smoker will be the best way to reheat your leftover brisket.
The way of doing it is not much different from the oven method.
The result is familiar with using the oven but still ensures the smoked smell, like freshly grilled.
Here are few tricks for you:
Step 1: Defrost the brisket at room temperature for 20-30 minutes and heat your grill to 225°F.
Step 2: Arrange the heated area on your grill/ smoker. You should have two cooking areas set up. One is where you have the direct heat or above the charcoal. One is the other side with cooler temperatures.
Step 3: After defrosting your brisket, cover it with aluminum foil. Then, please put it on the cooler side and let it heat until the brisket is at 155°F.
Step 4: When it reaches the correct condition, unwrap the brisket and move it to the hotter zone/ the direct heat area above the charcoal for 5-10 minutes. Remember to turn the brisket over to ensure it will be heated on both sides. Until the meat’s temperature is 160°F, the food is ready to serve.
If you use a gas grill, set the heat level to medium to reheat the brisket.
Pros
- Give us the best result. Your meat will have a smoky smell as in the first time.
Cons
- May cause dryness when placing on the high heat area for too long.
- Take time to prepare the grill/ smoker.
Reheat Your Brisket With The Sous Vide Method
I have to say; this method is not for amateurs. If you have this fancy equipment in your kitchen, your frozen brisket is no longer a big deal.
Sous vide is a reheating method that requests no extra cooking. It means that there will be no excess stream escape from the meat. The texture remains juicy and tender as it should be. This method is like long and warm bathing for your protein load. It is the most protracted method to reheat the brisket.
However, the sous vide machine will let you do it conveniently and effortlessly, following these steps:
Step 1: Prep the brisket. Always rest the meat on the counter at room temperature for 20-30 minutes before doing anything.
Step 2: Carry the brisket into a vacuum-sealed bag.
Step 3: Lightly soak the brisket bag onto the sous vide basin with water, ensure that the water will entirely cover the bag. Just lay it there (for bathing).
Step 4: Set the machine to 150°F.
Step 5: Once the brisket reaches the same temperature as the water, it’s ready to serve.
You can see this video to know more:
The thing is, it can cause you 5 hours to reheat a big piece of meat. If you need to serve the whole load for a big dinner, consider doing the reheat from the morning.
Otherwise, slicing it into small pieces before putting it into the vacuum-sealed bag will also help speeding up the reheat.
A pre-sliced brisket can lose tenderness and moisture faster than a whole brisket. However, you do not have to worry about dryness when using this excellent method.
By staying inside a vacuum bag, the softness of the texture remains the same between a slice and a whole load of brisket.
A 1/2-inch slice can be ready to be a part of your hamburger after about 11 minutes, while 2-inch should bath in the water for 2 hours.
I found a chart that lists approximate time accordingly to the thickness and the shape of the brisket. I usually try with 0.5-inch for hamburgers and pieces of 3.5-in for Chef Salad. The water’s temperature is assumed to be somewhere between 110 °F and 175 °F.
Pros
- Enjoy how to cook like a pro.
- Remain the original taste and texture.
Cons
- Take a long time to reheat.
- Expensive gadget.
Reheat Your Brisket With A Slow Cooker/ Crockpot
A slow cooker or a crockpot (find out what is a crockpot here) will be handy for you, who is too busy to do other things for dinner. Just put the brisket into the container and wait for the machine to do its duty. You will have a plate of hot and juicy brisket after 3-4 hours.
It is not a fast way to reheat meat, but it is sure to be convenient. Here is how it is done:
Step 1: Follow the same instruction as the above methods. Firstly, let the brisket rest at room temperature for 20-30 minutes.
Step 2: Place the brisket into the pot. You can slice it into smaller pieces so that it can fit comfortably into your ceramic container.
And do not forget to pour cooking juices and all of the reserved drippings over too. Its look may not pretty, but the result is worth it.
A small tip for more aromatic and barbecued sweetness beef uses a combination of stock and apple juice as cooking juice.
Step 3: Start cooking by covering the meat and set the crockpot or the slow cooker to a low level of heating (between 185°F and 200°F).
Step 4: After 4 hours in the low heat, the brisket is ready to be eaten.
It will be even better if you move it from the container to a sheet of tinfoil, drizzle it with drippings. Then warp it up and rest for 10 minutes (or even shorter if you are hungry). The juiciness and tenderness are ready to explore in your mouth.
Pros
- Convenient. You just set the timer, then go.
Cons
- It takes a long time
Reheat Your Brisket With A Microwave
Yes, the microwave is the simplest and must-have appliance of all American families. Sometimes you may wonder between a toaster oven and a microwave, which is more popular and better. Upon that, with a microwave, you can easily and quickly reheat every kind of food. However, the microwave can promptly eliminate all of the moisture when it comes to meat and leaves the dryness and rubbery left.
However, if you only have a few minutes to prepare the dish, the microwave can be helpful. Just remember to avoid using over-temperature, and everything will be fine.
Follow my lead:
Step 1: Double-check the container that you will put your brisket in to warm it up. Some containers are not allowed to use in the microwave.
Some can be used in warming regimes only, not cooking or grilling ones. Hence, please read the container label (usually under the bottom of it) and the microwave instruction to make sure the container is microwave-safe.
Step 2: Spread the brisket evenly onto the container. You will not want to have heated and not-heated parts of the brisket. Plus, an evenly surface will make the heat easier to approach deeply inside.
You can let the brisket rest outside the fridge at room temperature for a few minutes before the reheating process.
Step 3: Use a warm-up regime or your other reheating regime, but with 20% reduced power. This step is to avoid overcooking your brisket.
Step 4: Set time up for about 30 seconds. Open the microwave to check it between each 30 seconds cycle. Depends on the amount of your brisket, this reheating process can take up to 1-4 minutes.
Small tips from me:
- Should reheat slices of brisket. A whole load will be too big for the microwave to handle and may cause a jerky touch outside with a frozen interior meat load.
- Put a plate/ bowl of water together with the brisket container during the warm-up. The water will produce more steam into the inside microwave environment, then let the brisket avoid being too dry.
Pros
- Quick. Best for someone who is in a rush
- Easy and convenient to do
Cons
- You need to find the perfect temperature (depends on your kinds of microwave and the amount of your brisket) to set up. Otherwise, it could be jerky straightforwardly.
Make Your Ways Of Reheating Brisket Easier Next Time By Storing It Properly
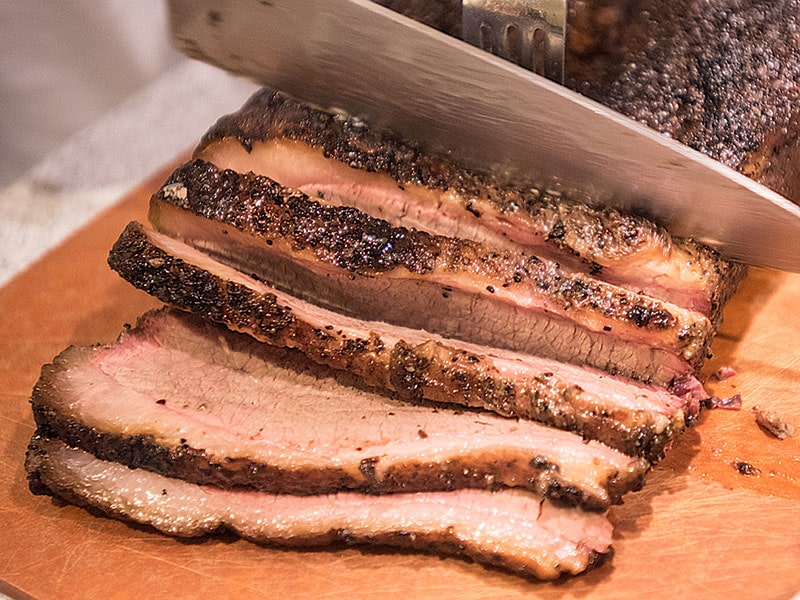
After mastering reheat the brisket, my friend, you may want to know how to store the brisket correctly next time. The way you keep the leftover brisket will make a notable difference in the taste when you reheat it next time.
Once you finish the dish for the first time, you have to decide whether you will store the leftover or not. Allow the brisket to cool down and take any residual juices that are circling the meat. Do it by placing the brisket over a big separator so that you can separate the fat from the liquids.
After that, store the brisket with a container/ bag. The important note to remember is that all from the brisket, like stream and smell, should be kept entirely in a sealed bag/ tray. A vacuum bag will be the best option. Or you can find out more about defrosting tray for long time usage.
On the other hand, wrapping your meat tightly with a layer of plastic bag, then a layer of aluminum foil, and seal it in a freezer bag is a good way of moisture preservation.
How Can You Freeze Your Sliced Brisket?
- Let the slices rest while sitting in their own juice. This step is to ensure the moisture of the meat as much as possible.
- Freeze the slices on a flat sheet of baking paper, do not let them stick together.
- Pop the frozen slices in a zip lock bag. Now you can use as many pieces as you want.
Another tip from the pros is adding a small amount of juice to the brisket before sealing it up. Be careful. It can be messy.
If you plan to use it within 2-3 days, refrigerate is fine, but if you can keep it longer, freeze the load. To defrost the meat, transfer it from the freezer to the fridge for about two days to thaw properly.
My Way Of Having Brisket For More Than A Meal
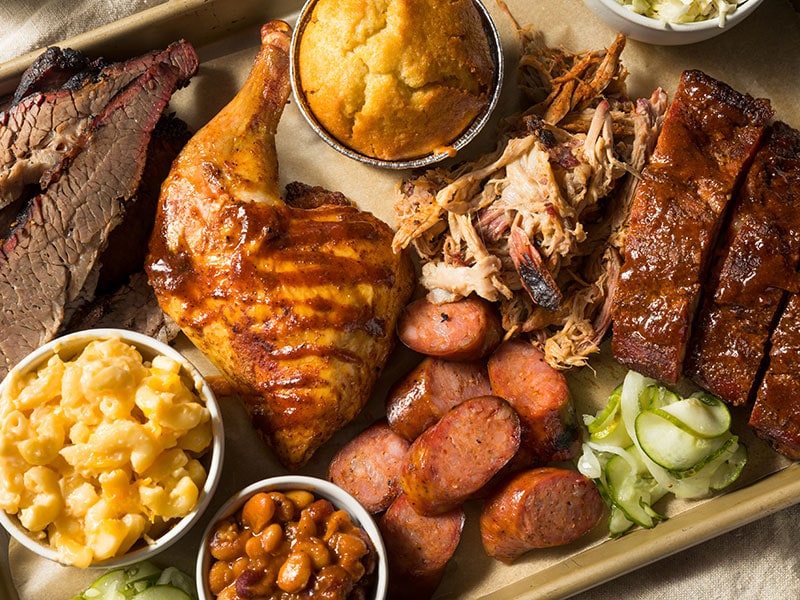
Brisket is susceptible to lose its tenderness once after serving. However, with a couple of precautions in preparation and storage, you can have the tasty taste last for more than one meal.
In my experience, I usually make a load of brisket for my family dinner and store the leftover in the freeze for the next 2-3 days.
When reheating the unused meat, I usually add salads and mashed/ baked potatoes or honey butter skillet corn to make it into a 3-course meal.
Sometimes, a traditional Ratatouille dish is an excellent choice to make the utility of the oven’s heat simultaneously. Looking at my children to grab till the last slice makes me enjoy!
Now, it’s your turn to do. If you have some other ideas that can make our reheated brisket taste better and flavorful, don’t forget to share them with me.
Reference
https://www.chefsteps.com/activities/sous-vide-a-simple-and-stress-free-way-to-reheat-almost-anything (table of temperature and time for reheat with vide sous method)

