I know it can be a little scary thinking about how to store squash for the first time. You are worried about spoilage. You are unsure which method works best. Don’t fret, I am here to give you all the knowledge you need to finish the task without breaking a sweat.
Even for the experienced green thumbs, I am sure you will discover some new tips and techniques for storing squash. So stay in your seat, and let’s dive right into the topic!

How To Tell Squash Apart?
Squash can be separated into two large groups, winter squash and summer squash. They are identified based on the thickness of their skin and the water content at the time of harvest.
Winter Squash
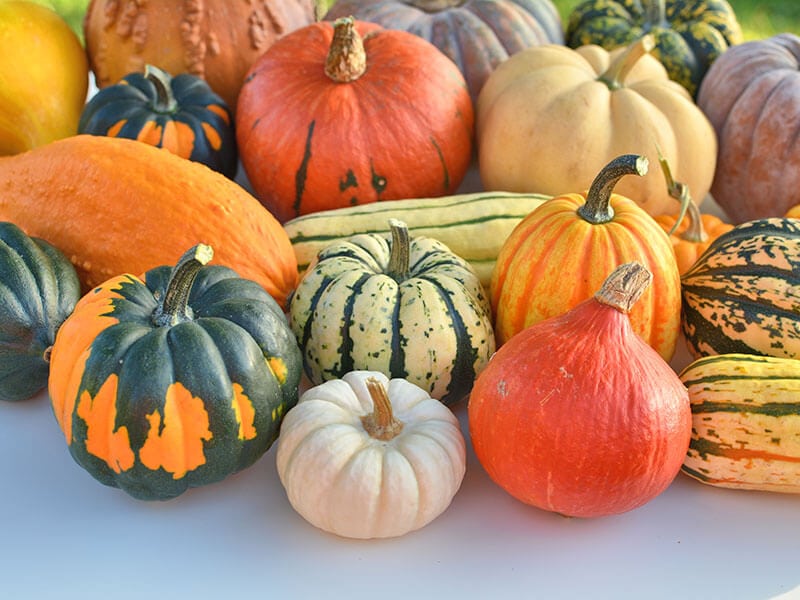
Winter squashes are determined by their hard skin and low moisture level. This fruit has a winter harvest season, or between summer and winter, hence its name. Due to its hard rind, it can naturally keep for much longer than the summer squash.
This includes pumpkins, which you often see during the holiday time of Halloween and Christmas. Other varieties include gourds, butternut, spaghetti squash, buttercup squash, delicata, turban, kabocha, and hubbard squash, etc. They have hard rinds that can be hollowed out to be used as decorations.
Summer Squash
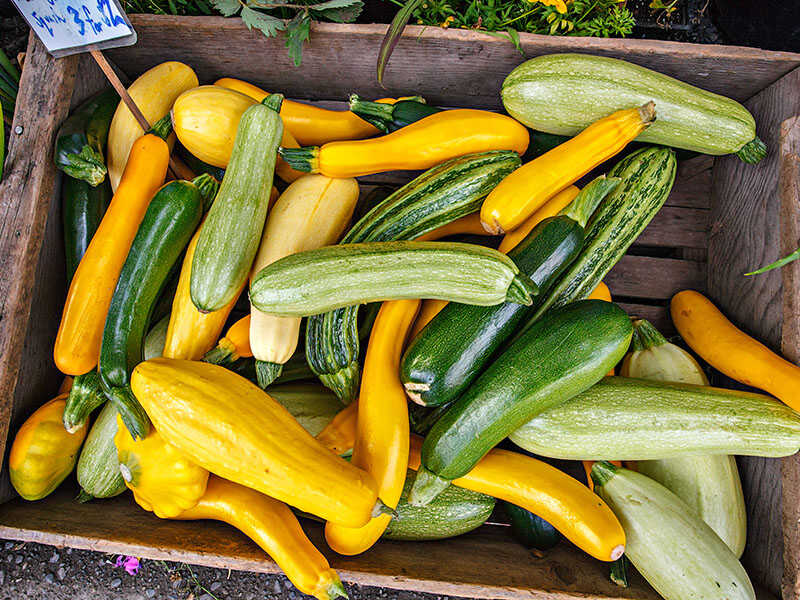
Meanwhile, this summer fruit variety has tender skin and a high moisture level. Summer squashes are often harvested before they reach full maturity, with their rind still edible and soft. They are high in vitamins A, C, and several other vitamins and minerals. (1)
Popular names in this group include pattypan squash, zucchetta, zucchini, cousa, chayote, luffa, zephyr crookneck, and straightneck squash. The skin of summer squash is edible along with its flesh, unlike its winter counterpart.
So, What Are General Steps To Storing Squash?
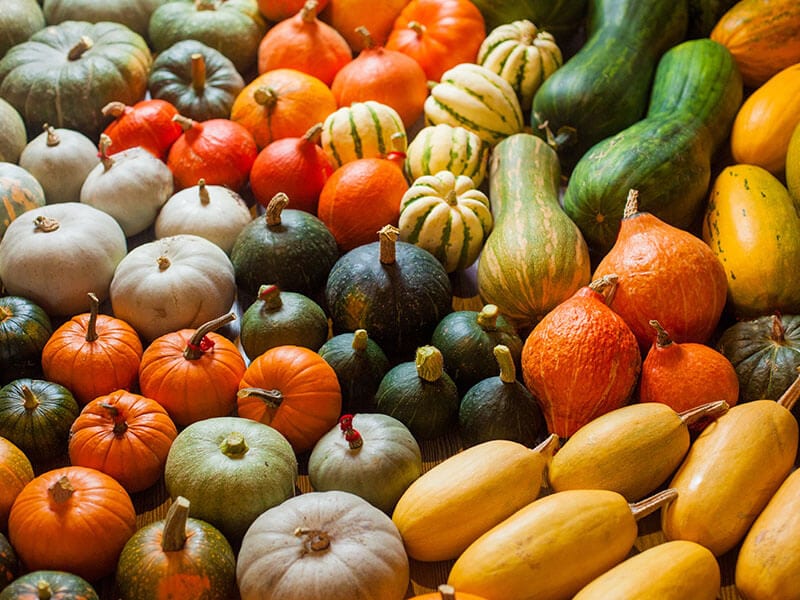
Different squashes can require other methods. For instance, the storing steps for spaghetti squash will differ from other varieties. But the main process remains the same. From a general perspective, storing squash involves three simple steps:
- Step 1: Pick the right squash
- Step 2: Cure it if necessary
- Step 3: Place it in storage
If you manage to store squash from both winter and summer, you will have enough squash to last until the next harvest. Let’s begin the process!
Pick The Right Squash For Storage
When you pick squash to use for storage, it is important to pay attention to the fruit’s quality. Damaged squash with blemish spoils much faster. With that in mind, sort out those with soft spots and dents for immediate use.
Squash without stem spoils faster. They are more useful as food and fertilizer than to be part of the storage. One bad squash can effectively lower the shelf life of a whole batch.
How To Pick Winter Squash
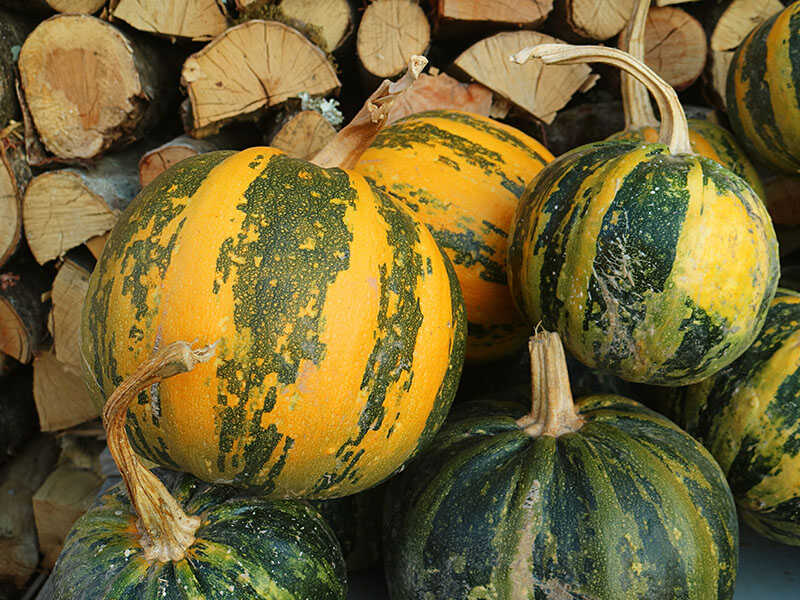
The perfect time for harvest for these squash is usually at the end of summer, from early September to early October. At this stage, look for yellow leaves and withered stems. They are signs that your squash is ripe and ready for the picking.
You can also check whether they’re ripe enough by hand. The skin should be hard enough to withstand the force of a fingernail and not get punctured all the way through. You should be looking for a small dent.
For audible signs, a fully ripe squash should allow you to perceive hollowness when given a good knock. This means that the water content is just at the right level.
Remember to harvest everything on the vine before winter arrives, even if some of the fruits still haven’t reached maturity. This prevents rot and allows more space for new squash to grow when the next growing season arrives.
Be aware that immature squash does NOT sit well in storage. Just consume them or use them as compost.
How To Pick Summer Squash
The time to pick summer squash is during summer when their skin begins to shine. Unlike winter squash, summer squash has much thinner skin and can be consumed directly after harvest.
Some summer squash varieties, like the zucchetta, can be left through summer to become a winter squash, which hardens their skin and changes the flavors.
Prepare Your Squash Before Storage
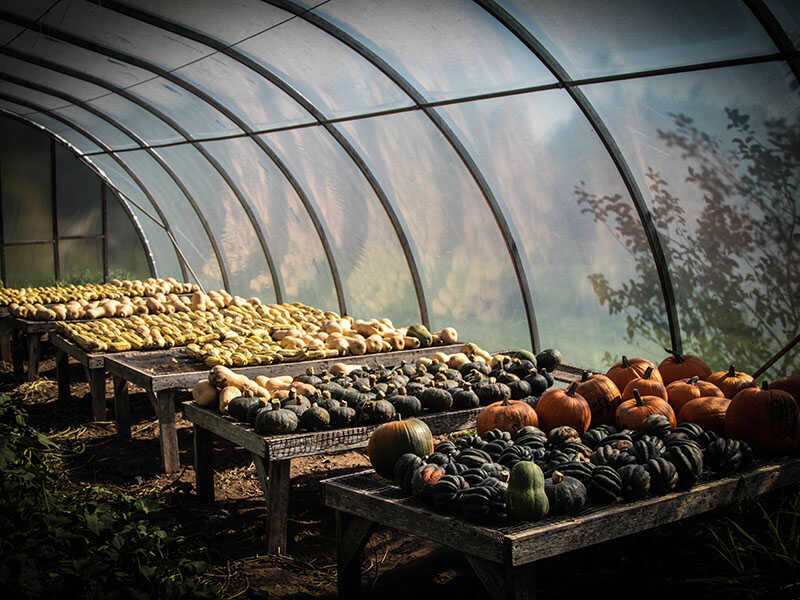
After harvest, some squash needs to be cured before they can be stored long-term. You need to carefully check again for any squash with blemishes or soft spots and remove them before the curing begins.
Winter Squash Needs Curing Before Storage
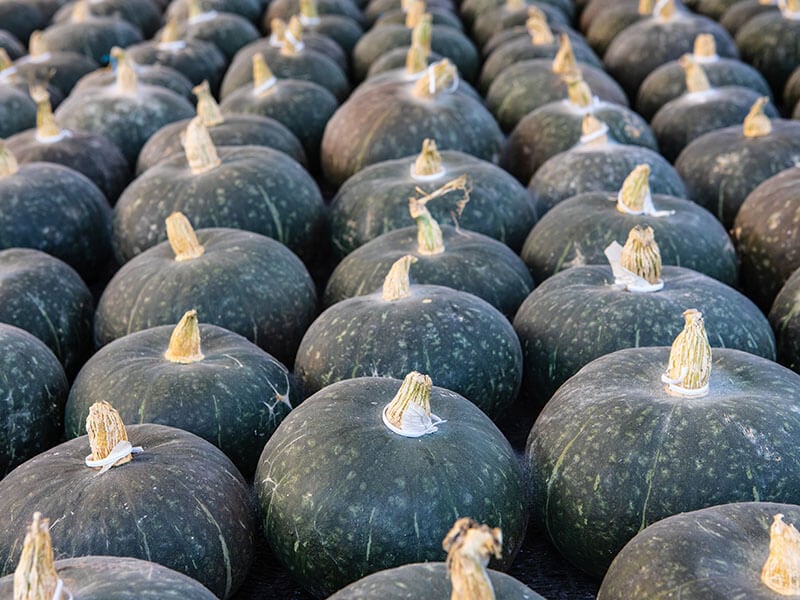
There are different storage methods for butternut squash and other winter varieties. But they mostly require a curing period before they can safely be stored. That’s because their thick skin still renders them vulnerable to mold and bacteria.
After picking the squash, you’d like to use for storage, give them a good wipe and lay them flat onto the ground or any area with direct sunlight. The preferred temperature is around 80°F.
Remember to also keep the area well-ventilated. If you’re curing your squash indoors due to the risk of rain, it is necessary to pay attention to air circulation inside the room.
In this scenario, placing your squash next to a window with a window screen is the best option. It will both provide the necessary sunlight and keep the air circulating inside the room.
This curing process hardens the skin even further, which gradually slows down the breathing of the fruit and makes them suitable for long-term storage. It also greatly enhances the flavor of the squash by concentrating all of its flavors into the flesh.
The time it takes to cure winter squash depends on the variety, but it usually takes between 7 to 14 days. For a proper cure, you need to let every side of the squash face the sun for the same amount of time. Rotate the squash every once in a while to ensure even curing.
How To Know If The Squash Is Thoroughly Cured?
The easiest way to check the squash is the fingernail test. However, you are not looking to make a dent. Because the curing has hardened the skin of the fruit, properly cured squash should only leave a barely visible mark when you push your fingernail into it.
This hardened skin has now become a true protective layer, giving the squash immunity to mold and bacteria. Your winter squash is now ready to be put into storage for an extended time without the worry of spoiling.
Summer Squash Does Not Need Curing
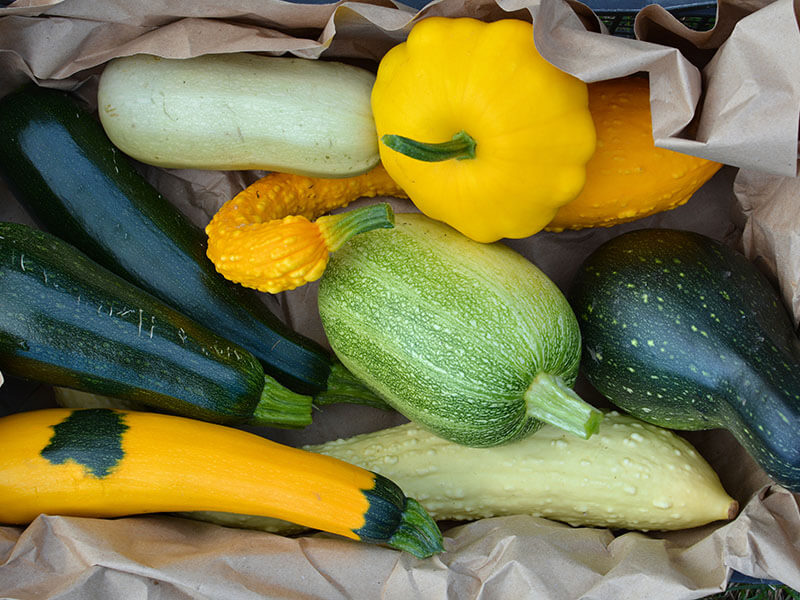
Unlike its winter varieties, summer squash does not require curing. Their higher water content is too high for curing (2), so summer squash can only last for a few days after harvest if stored naturally.
10 Different Methods To Store Squash
Different squash varieties have different shelf lives. I will run you through some of the most popular storage methods that can be used to keep squash delicious all year round.
Simple Dry Storage
This is probably the most common method to store winter squash over a long period. You need to find a cool and dry area with well-ventilated air. Place your squash neatly over the ground, with enough space in between for them not to touch one another.
It is NOT advisable to store summer squash this way because of their thin skin and high water content. Summer squash, when left in dry storage, can still spoil very quickly. Thus another method is preferred.
A low humidity level is the most important element for the squash to stay in good condition for a long time. The ambient air needs to stay dry, or mold can begin to grow on your squash.
The storage life of winter squash is the longest at room temperature. Any changes to the temperature, whether the area becomes too hot or too cold, can sharply reduce shelf life. Cured winter squash can last from 2 to 6 months, depending on the variety and environment.
Once cured, winter varieties can be stored in dry storage for up to 6 months.
Signs That A Squash Is Spoiled
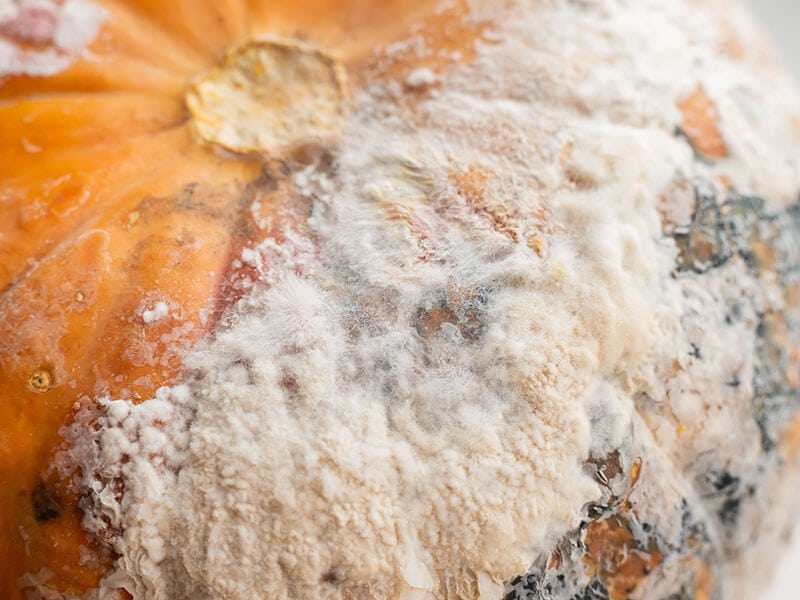
Cured winter squash can indeed last for a long time. However, you should keep an eye out for any squash that develops dark spots or white mold. They need to be separated from the bunch and discarded.
A bad squash can increase the spoiling rate of those in the area. This is why you should only place them in one layer and leave enough visibility to check for any possible development during storage.
Refrigeration
This method is suitable for all varieties of cut squash. Freshly cut squash can be stored in the fridge for 2-5 days. However, they need to be sealed to prevent moisture from escaping. The best way to do this is to wrap them in plastic or resealable bags.
Cooked squash can be refrigerated for longer. They need to be put into air-tight containers and can last for up to 5 days in the fridge. This is a good method to use when you don’t have enough time to cook during the weekdays.
Summer squash can lose moisture when they’re in the fridge. The only way to eat them fresh is to eat them quickly. You can cover the squash with a wet paper towel to maintain freshness. However, they still wouldn’t last longer than a couple of days.
Wrap a paper towel around your squash to make them last longer in the fridge.
Freezing
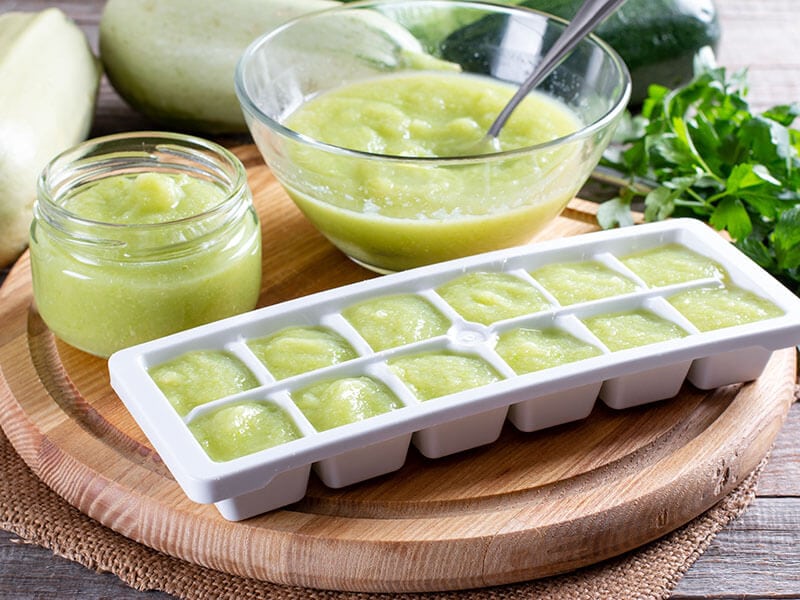
Both summer and winter squash can be stored with this method. Before freezing, the squash should be cut into smaller pieces, and winter squash should also have its skin, seeds, and stem removed.
Then you can wrap the pieces in plastic or foil and store them in the freezer. Frozen squash can be stored for up to 12 months.
To keep the original texture, consider blanching them before putting them into the freezer. To do this, boil them in water for about 3 minutes, then give them a quick ice bath. Blanching can help you retain some of the flavors that would otherwise have been lost during storage.
As for squash that has been cooked into a puree, you can make use of ice cube trays to separate them into equal portions before storing them in the freezer. This allows you to conveniently unthaw how much you would like to eat without having to unthaw the whole tray.
Dehydrating
This method is especially useful if you have a suitable dehydrator designed for foods. However, the process of dehydrating winter and summer squash can be quite different. After application, the finished product can last up to 2 months.
Winter Squash
Winter varieties first need to have their skin peeled off. Next, cut them in half and separate the stem and seeds from the meat. Cut them again into ¼ inch strips and steam them for 3 minutes.
When the strips become soft to the touch, take your dehydrator and dehydrate them at 140°F for 2 hours. Reduce the temperature to 130°F and continue to dehydrate until they’re dry and brittle.
Summer Squash
They can be cut into ¼ inch strips with the skin intact. You can directly dehydrate them at 140°F for 6 to 12 hours, depending on the variety.
Watch this video to know more:
Pickling
This is often the go-to method for many types of food. The ingredients are preserved in a brine that can extend their shelf life and even alter the flavors for the better.
Summer Squash
Pickling is a popular preservation method for summer squash. To make pickled summer squash, you need to make the brine, which consists of vinegar, salt, and sugar, then bring it to a boil.
Put the squash into a jar along with some garlic, red peppers, and peppercorns, pour in the brine, allow it to cool at room temperature, and put into the fridge unopened for 2 days. The results can last for up to 2 months.
Winter Squash
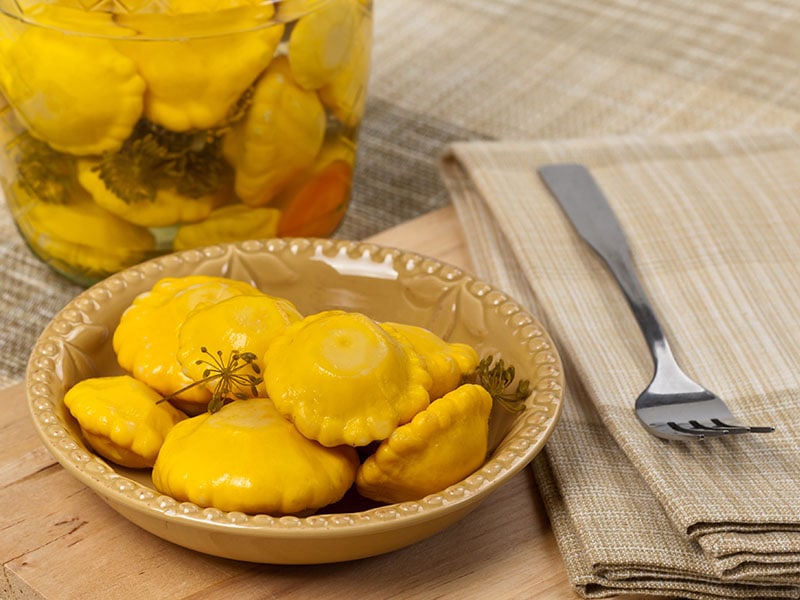
To pickle winter squash, first remove the skin, seeds, and stem and cut them into bite-size pieces. Make a brine by combining the same amount of vinegar and sugar.
Put the pieces into the brine and cook them until boil. This process is called quick-pickle. After the pot cools down, pour the content into a jar and keep them in the fridge tightly sealed.
Make sure to NOT pickle winter squash at room temperature, or you would get botulism. (3) Because they’re low in acid, it is best to refrigerate pickled winter squash and consume them as you would a fresh ingredient for as long as one week.
Smoking & Grilling
Although these methods cannot store for as long as others, they are one of the best methods to keep and even heighten the flavors of the squash.
Winter Squash
Smoking requires you to have a smoker, and can only be used for winter squash. However, it is the go-to method to give this squash variety the best flavor it can offer.
To smoke it, you first cut the squash in half and remove its seeds and stem. Poke some holes where the seeds were to allow the skin to take in some of the smoke later. Lightly season to your preferences before wrapping the whole thing in foil and placing it into the smoker.
The squash should be smoked at 225-230°F for about 2 hours. You can increase the temperature if you want the squash to cook faster. When done, it can either be consumed immediately or at most 2 days afterward.
Summer Squash
As for the juicier summer variety, grilling is the way to go. You can season the squash to your liking, then spear and grill them directly over the fire. Just like smoking, the grilled summer squash cannot last for too long.
You should see the video below:
Fermenting
This is an alternative to pickling. The process remains relatively the same, only without the brine. This can be the healthier choice if you are more health-conscious about your diet.
Winter Squash
Just like pickling, because winter squash is low in acid, I would rather you see it as a fresh food because fermented winter squash will not last for long. Winter squash needs to be fermented in the refrigerator and will cause food poisoning if not prepared carefully.
To ferment winter squash, first cut them in half to remove the stem and the seeds. Cut again into smaller pieces and put them into a jar with a fermentation lock, and pour in the brine. They can be left to ferment in the fridge for as long as one year.
Summer Squash
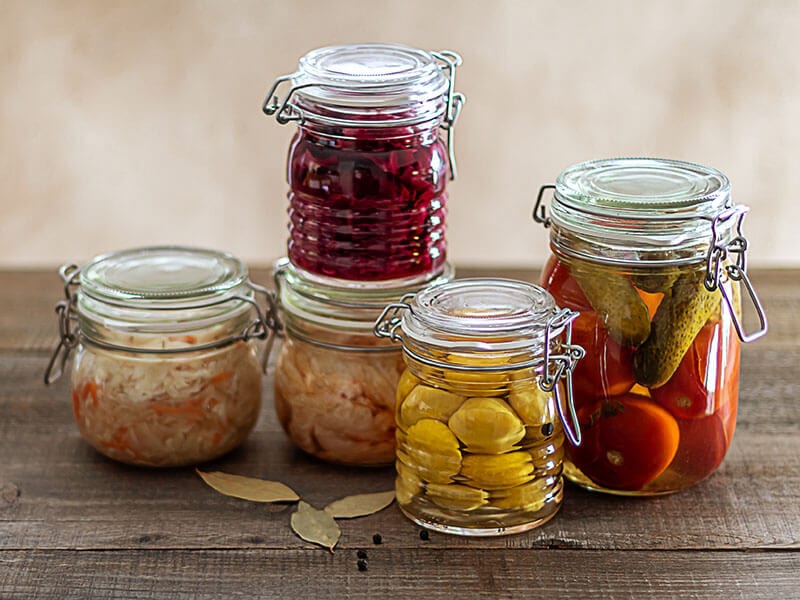
For summer squash, cut them into bite-sized pieces and cook them in the brine. Afterward, let them rest in jars with weighted tops at room temperature. Check on them from time to time to remove jars that are slimy or moldy.
After 3 to 4 weeks of fermenting, seal the jars and store them at room temperature for up to 6 months.
Make sure to only consume the fermented squash within one month after opening the jars. Let them sit for longer, and you will not be able to ensure food safety.
Canning
This method is NOT possible to use with summer squash because of their water content. Only winter squash is suitable for canning. You also need some specific canning tools which may not be readily available.
These tools include canning jars, jar lifters, a bubble popper, jar lids, and a pressure canner. It is important to use a pressure canner instead of a water bath canner because we are dealing with low acidity food.
Once you have all the tools, the process is fairly simple. Cut the squash into 1-inch cubes and blanch them for 2 minutes, then pack them into canning jars. Canned squash can last at least 3 years at room temperature, but be sure to consume them quickly after opening.
Crookneck squash and some other winter varieties can be canned to further extend their shelf life.
Freeze Drying
This method requires you to have a freeze dryer. The process of freeze-drying dehydrates your squash and freezes them in a vacuum to achieve maximum shelf life. All types of squash can be freeze-dried.
The only thing you need to do manually is to cook the squash to your liking. Then you can freeze-dry the meal according to the manufacturer. This approach is mainly used to extend the shelf life of other methods, which can last for up to 25 years.
Spaghetti squash can be freeze-dried for use in future meals.
Which Is The Best Storage Method
Here is a table for you to better grasp how long squash can last in storage based on different methods:
FAQs
I understand how hard it can be when you are trying to figure out how to store squash properly for the first time. Here are some more pieces of common information to give you an easier time with your squash endeavor.
A Whole Year Supply Of Squash
That is all you need to know to begin filling your pantry with squash. Do it correctly, and you will have enough squash for you and your family to enjoy until the next season of harvest. Your hard work will be sure to pay off.
I hope this has been a smooth ride for you. Let everyone know how you store your squash in the comments. If you manage to find out any useful tips, do share them with me and other squash lovers. Thanks for reading, and enjoy your day!
References
- Healthline. 2021. Yellow Vegetables: 7 Healthy Options, Recipes, and Benefits..
- Dietandfitnesstoday.com. 2021. Water in summer squash, per 100g – Diet and Fitness Today.

