So, to solve the question of how to store turnips. You need to know that many people choose the fastest and simplest way, which is to just put them directly in the refrigerator.
With a busy life, how can people prepare quality meals for your family without having to go to the supermarket every day? They will probably regret not knowing the methods below sooner.
The secret here is that you must know how to preserve turnips. In this article, let me reveal many secrets to keeping turnips fresh for a long time. With the information I provide below, you can rest assured because your turnip could be stored for up to 30 years.
Why Is It Important To Store Turnips Properly?
In the process of preserving vegetables, many people make dangerous mistakes. This not only spoils vegetables but also directly harms your health.
Turnips is one of the vegetables in many families’ daily dinners, lunches, and breakfasts. However, if turnips are not stored properly, they will easily lose nutrients, become hollow or damaged in a very short time. Therefore, you need to store the turnip properly.
The toxins produced by spoiled vegetables lead to the appearance of symptoms and signs of poisoning after eating. (1)
Nutrients Present In Turnips
Turnips are an incredibly nutrient-dense root vegetable. To keep them during storage, you need to follow certain methods. Turnips contain significant amounts of nutrients. Mainly vitamins (vitamin A, vitamin C, vitamin B9, and vitamin K) and minerals but low in calories.
On average, each cup (130g) of turnips roots includes the following nutrients:
| Nutrients | Amount Per Serving / % Daily Value |
| Energy | 36 calories |
| Carbs | 8g |
| Fiber | 2g |
| Protein | 1g |
| Vitamin C | 30% |
| Vitamin B9 | 5% |
| Minerals | 3% Phosphorus; 3% Calcium,… |
In addition, each cup (55 grams) of turnip leaves also contains certain nutrients such as Fiber: 2 grams; vitamin C: 37% DV; vitamin K: 115% DV, pro-vitamin A: 35% DV; vitamin B9: 27% DV; Calcium: 8% DV. (2)
How To Choose Turnips For Better Use And Storage?
Turnips are one of familiar ingredients for my favorite winter salads. It’s also a nice addition to your next meal. If you have not cooked turnips much, it will be difficult to choose fresh turnips. So please refer to the features below to equip yourself with useful tips:
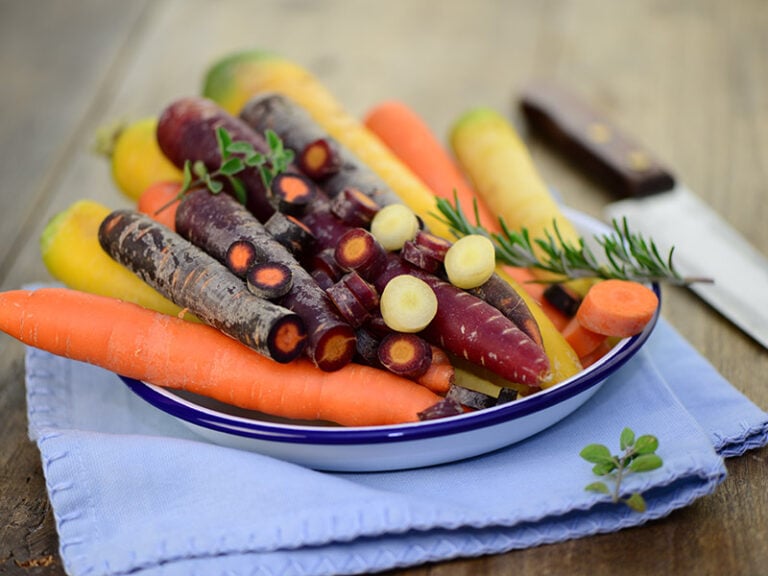
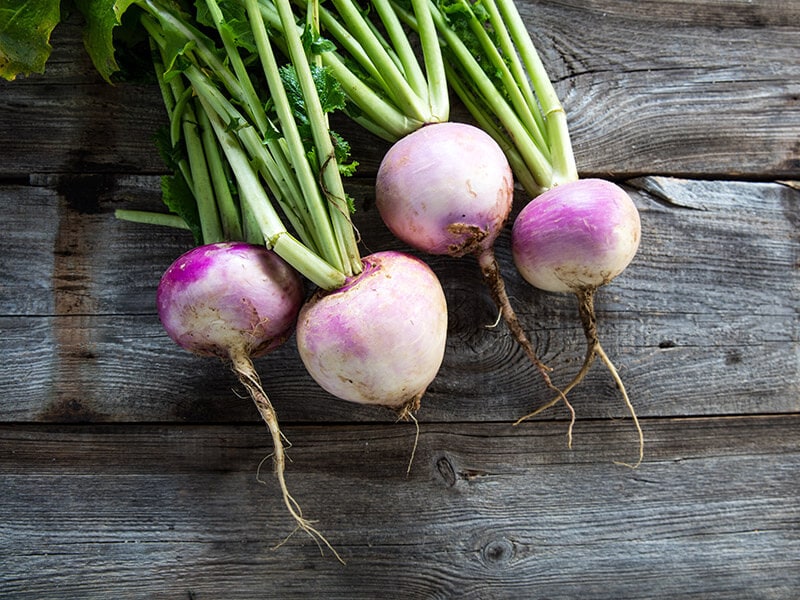
The leaves need to be fresh green and have a crispness at the petiole. You should look for turnips that are bright and vibrant in color with creamy white bottoms and purple around the root tips. Some turnips may not develop their purple tops and look like radish.
In the fall and spring, you should buy turnips with leaves attached to ensure they are harvested fresh. In the winter, turnips will come from the seller’s storage, so their leaves will be discarded. You should choose hard and heavy turnips to ensure flavor and freshness when cooking.

Most Effective Methods To Keep Your Turnips Fresh
Even though turnips are smaller than other cabbages of the same family, they have completely different values. Turnips are a root vegetable that grows in temperate climates, scientifically known as Subsp Brassica Rapa.
Turnips have two main parts: Turnip roots and leaves. So the methods to store these parts are also different. In addition to choosing delicious turnips, how to store turnips is also very important.
Storing Method With The Leaves Part
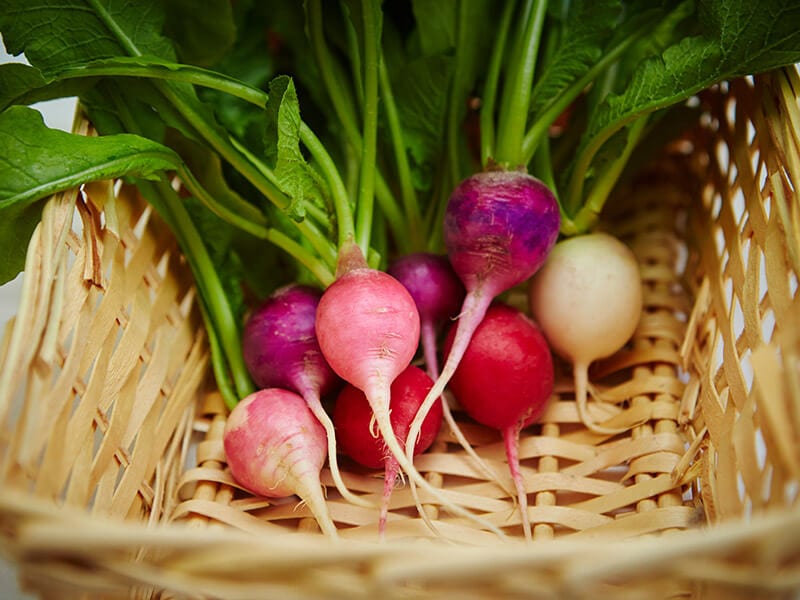
Turnip leaves grow directly from the upper ground of the base. They have a green color, bitter taste, slightly pungent smell, are average, and contain many essential nutrients. In addition, turnips leaves have a lot of nutrients and many good effects for health such as:
- Improve immune system
- Weight loss
- Beneficial for the skin and hair
- Detox
- Maintain the health of blood vessels
- Diabetes management
- Improve eyesight
Refrigerating Turnip Leaves
To ensure that the turnips are always fresh without having to throw them away when they are damaged, you should buy a sufficient number of turnips for a certain period of time. Do not buy too many to store in the refrigerator at once.
The refrigerator compartment should be maintained between 1° and 4°C when storing the leaves. The bacteria often thrive when leaves are stored above 40°C, making leaves more susceptible to damage. But if the temperature is too low, the vegetables will freeze, affecting the quality of the food.
Preparation
- Cold water
- Salt
- Plastic bags
- Dry tissue
Step 1: Separate The Turnip Leaves From The Roots
Remove the leaves from the roots by using your hand or a knife.
Step 2: Wash The Leaves
Break the leaves into each branch, leave it under running cold water for a few seconds to remove all the parasites, then repeat for the other side.
Wash the leaves thoroughly to remove bacteria and chemicals, because if there are any remains left it will quickly spoil the vegetables.
Note: Remember to be gentle so that the vegetables won’t be crushed for a longer storage time.
Step 3: Soak The Leaves In Salt Water
Dissolve the salt with the right amount of cold water to make a saline solution. Soak the leaves in dilute salt water for about 5 minutes.
Note: You should not soak leaves in salt water for too long. They will lose a large number of vitamins and minerals.
Step 4: Wash The Leaves Again With Cold Water
Rinse the leaves with clean water to remove the salt clinging to the leaves.
Step 5: Use Dry Tissues To Absorb The Water
Place the leaves between 2 paper tissues and then gently press with your hands to absorb the water. This is to prevent water logging due to too much water on the leaves.
Step 6: Wrap The Leaves With Another Dry Tissue
Use another piece of dry tissue to wrap the vegetable. Paper tissue wrapped around leaves is responsible for absorbing water to help leaves retain moisture better, avoiding viscous and wilting conditions.
Step 7: Store Leaves In The Fridge With Plastic Bags
Put the leaves in a plastic bag of the right size so that the leaves are not crushed. Place the bags in the bottom drawer of the refrigerator with a temperature of 32–40 °F (0–4 °C).
Applying this store method, the leaves are still very green, without wilting or bruising after 5 days.
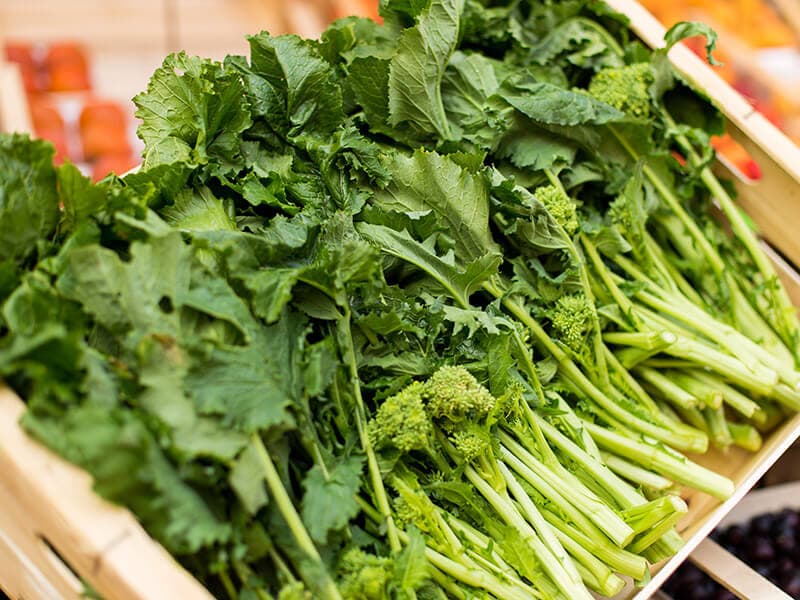
Note: You can wrap the leaves with a damp cloth instead of a dry paper towel. If you do it this way, you don’t need to use dry towels to absorb the water on the vegetables, but you can directly wrap the still wet vegetables with a damp cloth.
Storing Method With The Roots Part
Turnips are developed from the roots, forming a tuber, about 0,4 – 2,3 inches in size, white skin, protruding from the ground. Therefore, the part of the tuber that is exposed to the sun becomes red, white, purple, or green. The flesh inside the turnips is white.
Turnip roots sometimes weigh up to 2,2 pounds. Their size changes with the growth of the plant. They have a sweet, slightly spicy, bitter, non-toxic taste.
The roots have the effect of curing cough, expectorant, diuretic, stimulating digestion, protecting the stomach, etc. Turnips are also used medicinally in both dried and fresh forms.
Method 1: Storing Turnip Roots With Moist Sand
The sand environment is ideal because of its texture. The sand is breathable and has a stable temperature when kept in a bucket. Using moist sand will help maintain succulence and root stiffness by retaining moisture.
Preparation:
- Buckets
- Moist Sand
Note: Do Not Wash turnip roots with water.
Step 1: Fill The Buckets With Sand
Pour a layer of sand about 3,9 – 4,7 inches thick on the bottom of the bucket. The weight is calculated as follows: take 0.5 m3 of sand for 2,2 pounds of roots.
Note: To moisten the sand mixture, take 1 liter of water for 10 liters of sand. When squeezed, the sand does not crumble and does not leak water. It can be used.
Step 2: Put The Turnip Roots In The Sand Buckets
Drill a hole about 5cm deep and then stick the pointed end of the turnip roots down.
Step 3: Put The Buckets In the Ideal Place
Put the pot in a cool, dry place and dark environment. Turnip roots can be stored for up to 6 months. Regularly check the quality of turnip roots during storage. If the surface of the sand layer is found to be dry, spray clean water to moisten it.
Note: When customizing the humidity of the sand, you need to consider the humidity level in the room at that time. If the humidity in the room is low, then water needs to be added to the sand.
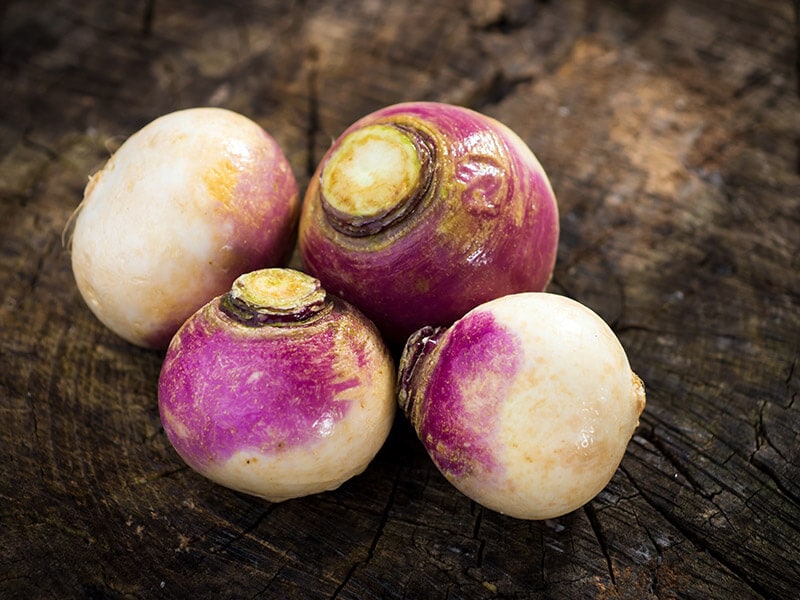
Method 2: Freezing Turnip Roots
Turnips can be frozen in the refrigerator. You should briefly blanch turnips through the hot water and then freeze it, and it will make it easier for you to defrost and process. This helps vegetables keep their bright colors and prevents enzymes that cause degradation.
Turnips should be frozen when they are most ripe. Roots that are already crispy will never turn soft when frozen. Roots should be stored in a freezer bag and pressed as much air as possible. If you regularly freeze roots or other vegetables, you can invest in a vacuum sealer.
Preparation:
- Zig bag
- Dry tissue
- Boiled water
- Ice bucket
Step 1: Wash And Peel Turnip Roots
Rinse turnip roots with cold water. Cut off the damaged areas, peel, and cut them into small cubes.
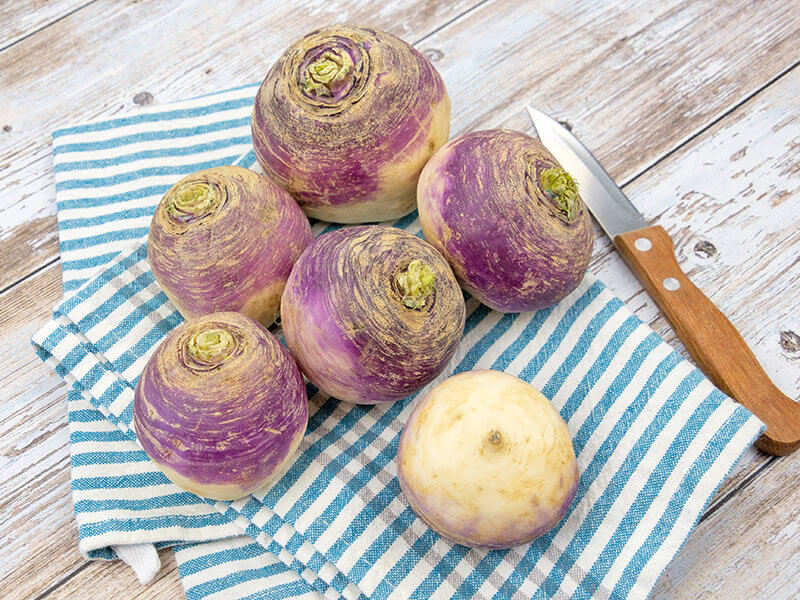
Step 2: Blanch Turnip Roots In Boiling Water
Boil a pot of water. Put the turnip roots in, cover the lid and wait for about 2-3 minutes.
Note: Blanching in boiling water is helpful with most vegetables before freezing. This process cleans dirt and bacteria from vegetables.
Step 3: Soak Turnip Roots In Ice Bucket
Take the turnips out of the pot. Immediately put them in a bucket of ice water. The cold temperature of the ice bath will “shock” the roots and stop the ripening process.
Step 4: Dry The Turnip Roots
Take the turnips to the basket. Shake or pat them to remove any excess water. Pour the root into a large tray covered with dry tissue.
Step 5: Put Turnip Roots In The Freezer
Divide turnips into small zip bags for each serving and put them in the freezer.
Note: Divide turnips into small zip bags for each serving and put them in the freezer. Frozen bags should be labeled with the date and month when storage began.
This is a simple but extremely effective way to preserve beets to keep their nutrients intact and last longer. If vegetables are frozen and stored properly, they can last for 8 months to a year in the freezer but still be safe and full of nutrients.
Cutting turnip into small pieces makes it easier to freeze.
Method 3: Make Turnip Pickles
Turnips pickles, which are fermented with salt, will help support the growth of probiotics in the gut, making digestion smoother and more efficient.
Turnips pickles can help strengthen the body’s immunity. Vinegar-soaked turnips can help protect against many common inflammatory diseases like colds, flu, or sore throats.
However, if you eat too much salt, you will face the risk of high blood pressure, which can lead to strokes and heart attacks. The older you get, the higher your risk of developing high blood pressure.
Preparation:
- Water
- Vinegar
- Sugar
- Salt
- Garlic
Step 1: Preliminary processing
Peel the roots. Cut the roots into your preferred shape and size. Cut garlic into thin slices.
Note: You can use half a beet to create beautiful pink color for the pickle.
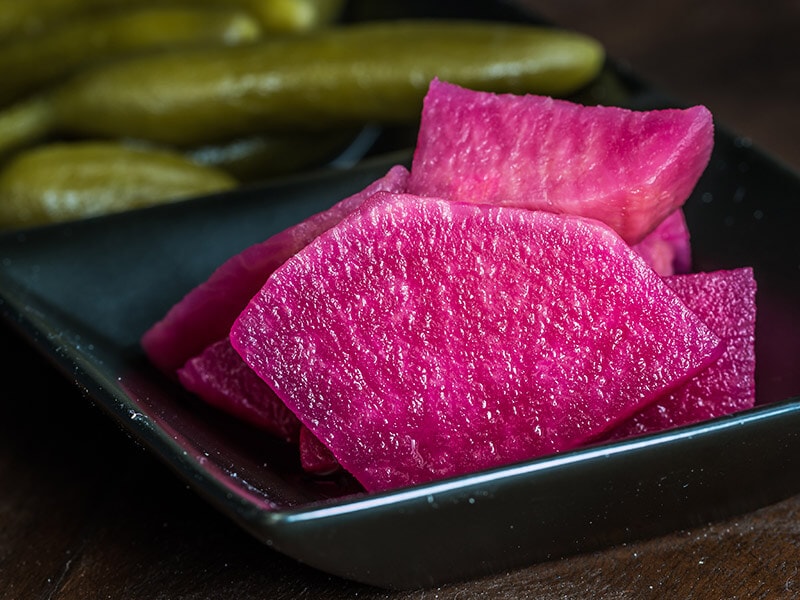
Step 2: Soak With Salt
Soak the sliced roots in salt for about 1 hour to remove the pungent taste. Take the roots out and wash them with water several times. Squeeze out the water to make the turnips crispy.
Step 3: Marinated The Roots
Mix the sugar and garlic into the roots to infuse the spices.
Step 4: Make The Brine:
Mix the water and salt in a large jar. Add some vinegar to the mixture depending on your taste, then stir.
Step 5: Soak Roots With The Brine
Add the roots into the brine, continue to mix well. Make sure the roots are fully immersed in the brine.
Note: Soak the roots in a plastic or glass jar and cover the jar tightly.
Step 6: Put The Jar In A Suitable Place
Cool down the jar. Place the jar in a dark place at room temperature. Avoid direct sunlight.
Note: Try to make your own turnip pickles instead of buying ready-made products to ensure absolute health for you and your family. Pickles will be edible after about a week.
Watch this video to know more:
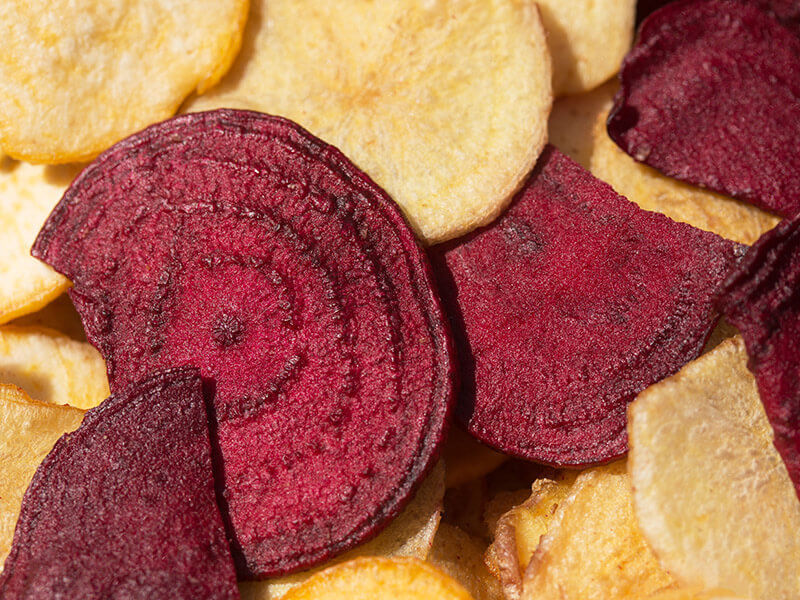
Method 4: Dehydrate Turnips
Regular use of turnips in a moderate amount will help you promote health, strengthen the immune system, improve digestion, prevent cancer, lose weight, etc.
Fresh turnips will add more water to your body, while dried turnips retain their nutritional value when used. Therefore, dried turnips are a typical vegetable product that should be used.
Note: Choosing quality turnips is an important first step that determines the efficiency of preservation. During the purchasing process, you need to carefully select the turnips that are fresh, large, and not damaged or crushed.
Preparation
- Salt
- Dryer machine / Oven
Step 1: Preliminary Processing
Leave the peel on and wash the roots with water. Cut into bite-sized pieces.
Step 2: Soak Turnips With Salt
Mix roots with salt. Leave for about 30 minutes for the roots to absorb the salt and release water.
Step 3: Rinse With Water
Rinse the roots with water. Put the roots on the tray and wait for them to drain.
Step 4: Start The Drying Process
Spread the prepared roots evenly on the trays and put them in the dryer. Adjust the suitable temperature for roots (400C – 500C). Drying time is from 4 to 8 hours, depending on the thickness of the roots.
Step 5: Preserved Turnips
Put the dried turnips in a zip bag or food container, cover them. Store it at outside temperature or in the refrigerator for about 3-5 years.
Drying turnips is a simple way that anyone can do.
Method 5: Freeze Drying Turnips
Turnips are soft, contain a lot of water, and are low in fiber, so drying to have a beautiful appearance cannot be an easy thing to do. If hot drying at high temperature will cause turnips to shrivel and discolor, freeze-drying will avoid protein modification and keep the quality.
Therefore, freeze-drying is preferred for drying nutritious and high-value vegetables and fruits while preserving natural colors, flavors, and nutrients.
Preparation
- Hot water
- Freeze Dryer
Step 1: Preliminary Processing
Peel the roots. Cut the roots into your preferred shape and size. Rinse with cold water.
Step 2: Blanch Turnip Roots In Boiling Water
Put the turnip roots in a pot of hot water. Cover the lid and wait for about 2-3 minutes.
Note: Turnip can be freeze-dried in any state, raw or cooked. However, you should boil them briefly to preserve freshness and texture.
Step 3: Soak Turnip Roots In Ice Bucket
Take the roots out of the pot. Immediately put them in a bucket of ice water.
Step 4: Start The Drying Process
Spread the prepared roots evenly on the trays and put them in the Freeze Dryer. Adjust the suitable temperature (200C -300C ). Freeze Drying time is about 4 to 8 hours, depending on the thickness of the roots.
Step 5: Preserved Turnips
After completing the freeze drying process, put the roots in a nylon zip bag for storage. After this freeze-drying process, turnips can be preserved for 25 to 30 years. That’s an amazing number.
Note: If freeze-dried turnips encounter moisture from the air, they will lose water and cannot be stored for longer.
Freezing dry turnips makes them more delicious than ever, be careful because you can get addicted.
How Long Can Turnips Sit Out?
The table below will clearly show you the difference between the methods that I mentioned above. Based on this table you can choose for yourself the methods that are suitable for the conditions and time you have.
How To Tell If Turnips Have Gone Bad?
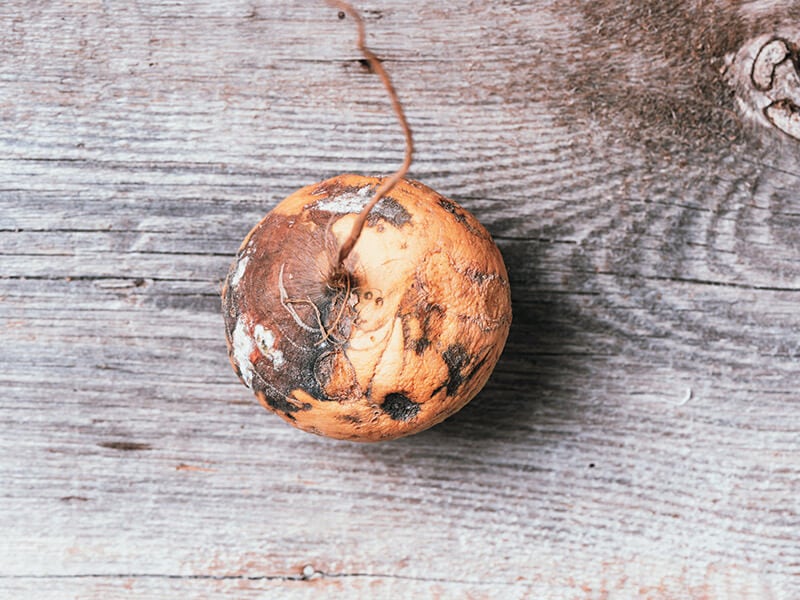
You need to avoid eating turnips that are soft or mushy, or have brown, moist spots, which are signs of rot. If ingested, it can be poisoned and affect your health.
In addition, when you check the intestines of turnips after they are cut. If the intestines are spongy or cracked, your turnips are spoiled. In case when you press the turnips, if it feels soft and soggy, they can’t be used anymore.
If the turnips you encounter have no leaves or the leaves have turned yellow, they are not edible. Turnips leaves have been harvested long ago or are hollow and blackened. When encountering these two types of tubers in general, they also need to be avoided.
Common Turnip Storage Mistakes
No matter how well you take care of turnips. Then sometimes, you will still have to make unexpected mistakes. To give you more information, I list some common mistakes when storing old vegetables as below. Hope this information will help you to solve the problems.
Put Wet Turnips Leaves In The Fridge
Many people often wash turnips leaves before storing them in the refrigerator without draining, so the bacteria will multiply and cause the vegetables to wilt faster.
A good rule of thumb is to let the vegetables drain and then put them in the refrigerator. This also keeps vegetables fresh longer.
Leave The Turnips Outdoors For Too Long Before Refrigerating
Leaving turnips outdoors for too long will make them decompose and produce pathogens that are harmful to human health.
Set The Wrong Temperature For Your Fridge
When storing turnips in the fridge, if you turn the temperature too cold or too hot, it will also cause food to spoil.
Not Categorize Each Type Of Food
If you don’t sort all kinds of food, especially the vegetables, and just put them all in the fridge, when just one kind of vegetable goes bad, it will lead to other vegetables spoiling as well.
One way to avoid this is whenever you store vegetables in the refrigerator, put each vegetable separately in different bags for preservation.
Overpack In The Fridge
If you put too much food in the fridge, the cold air will be “stuck” and not be able to circulate easily. It will make the food that is left outside will not be cold enough to preserve then spoil.
The best way is to arrange food neatly and create gaps in the compartment so that cold air can spread throughout the refrigerator easily.
FAQs
After reading the article, I’m sure that you still have questions. So I have compiled the frequently asked questions about turnips. Hope you get your answer.
Storing Turnips Is Not Difficult At All
It’s not difficult to preserve turnips, right? “A picture is worth a thousand words” – If you are wondering about how to store turnips, let’s try the above methods right away. You won’t regret following those instructions.
Our health and that of our families is something we always put first in life. Food is what we absorb every day, so preserving it in the best way is indispensable.
I hope that the knowledge I have shared can help you preserve vegetables more easily, and do not hesitate to leave a comment below to discuss with other users about this issue.
References
- healthline.com. 2012. What You Need to Know About Food Poisoning, Its Causes, and Treatments.
- Fdc.nal.usda.gov. 2019. Turnips, raw
- sciencedirect.com. 2022. Effect of oxygen on thermal decomposition of nitric oxide at high temperatures

