How to tell if ribs are done? I’ve been really stumped on this question for a long time. This is what prevents me from making my own ribs, even though I really love them.
When thinking of a BBQ party, it is impossible not to talk about grilled ribs. Crispy yellow ribs with a glass of beer will make your barbecue party better than ever.
Although I tried to cook ribs a few times, I was unsuccessful, even when I made a meal with leftover ribs. Not because the marinating seasoning wasn’t good enough, but because I couldn’t tell when the ribs were done. But after many failures, I have learned valuable experience.
Surely you don’t want to have to eat those ribs with blood inside, right? It’s terrible. Don’t worry, I’m here with you and save you from that trouble by my own experiences.
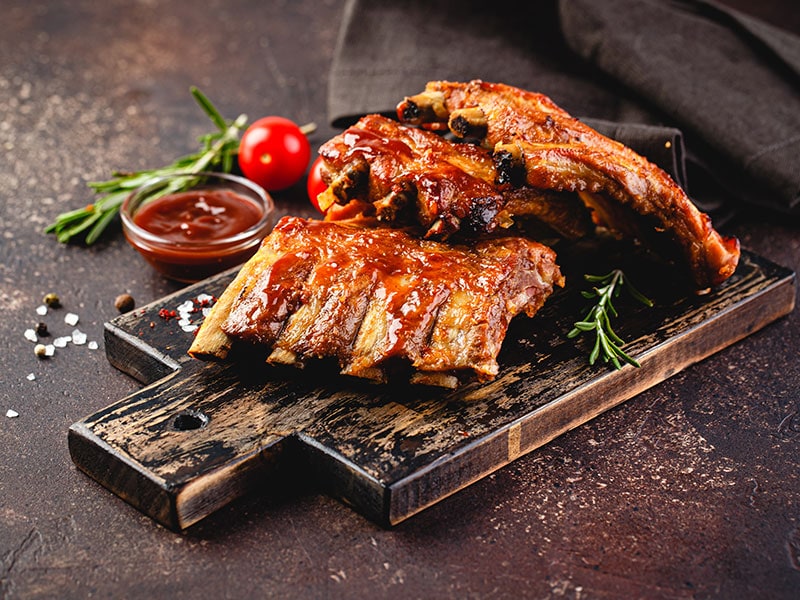
How To Tell If Ribs Are Done Perfectly Or Not?
To cook the ribs well and just right, you should maintain the temperature at about 225°F. If you cook the ribs in the oven, you can easily control this. However, grilled ribs are a more popular choice.
To check the exact temperature, you can just use a wireless thermometer for meat. But unfortunately, the ribs are usually pretty thin, so that this method won’t work. So, I will suggest to you 7 ways to check if ribs are done effectively without the electronic device.
1. Time Test: Vary the cooking time for different ribs to make sure it’s cooked and delicious.
2. Toothpick Test: Use a toothpick to skewer the ribs and see if the ribs are cooked
3. Pop-Up Test: After a while of cooking on the grill, the ribs will shrink. You need to observe the protruding bone to a specific size to determine whether the ribs are cooked or not.
4. Flexibility Test: Use a light force to twist the ribs, feel the separation of the rib meat from the bone to determine
5. Bend Test: Use tongs to clamp in the center of the rib and lift. Observe cracks on the surface of the rib.
6. The Peek-A-Boo Test: Cut a small piece from the rib and observe the color inside
7. Taste Test: Tasting a small piece of rib meat is the most direct way to determine if the rib is done or not.
Pork Ribs Vs. Beef Ribs
There are several different criteria for classifying ribs. In this article, I will talk about the two most popular types, which are beef ribs and pork ribs. They have certain similarities and differences. Let’s take a look!
Pork Ribs:
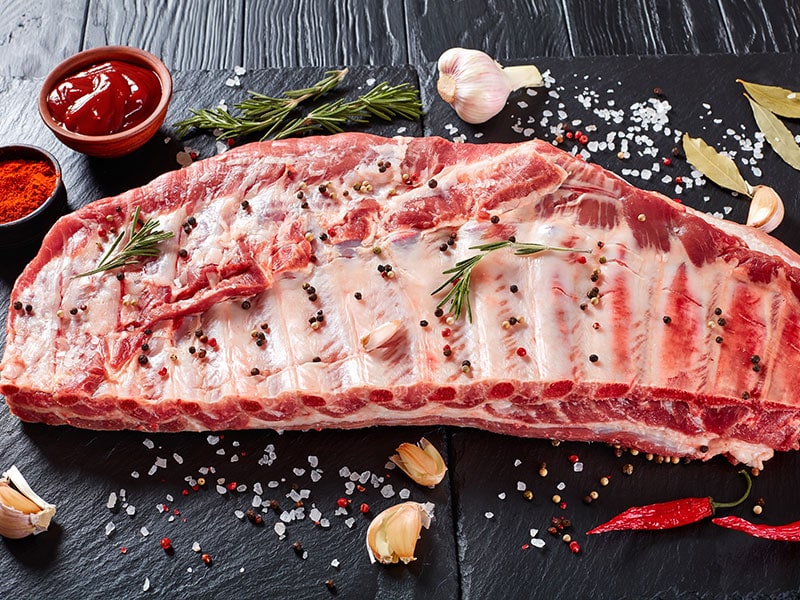
Pork ribs are cut from the pig, of course. There are different ways of cutting to create pork ribs with different names, such as back ribs, baby back ribs, and spare ribs.
Pork ribs are much more common than beef ribs, and most of the ribs you find in supermarkets are pork ribs unless you have special requests.
In terms of taste, pork ribs usually have no special flavor. But this is not considered a disadvantage. On the contrary, it is an advantage of this type of ribs. You can easily season it to taste or dip it into a meat sauce once it’s cooked.
If you want to start cooking ribs, pork ribs are the best choice. They are both cheap and easy to find, what could be more convenient than that?
Beef Ribs
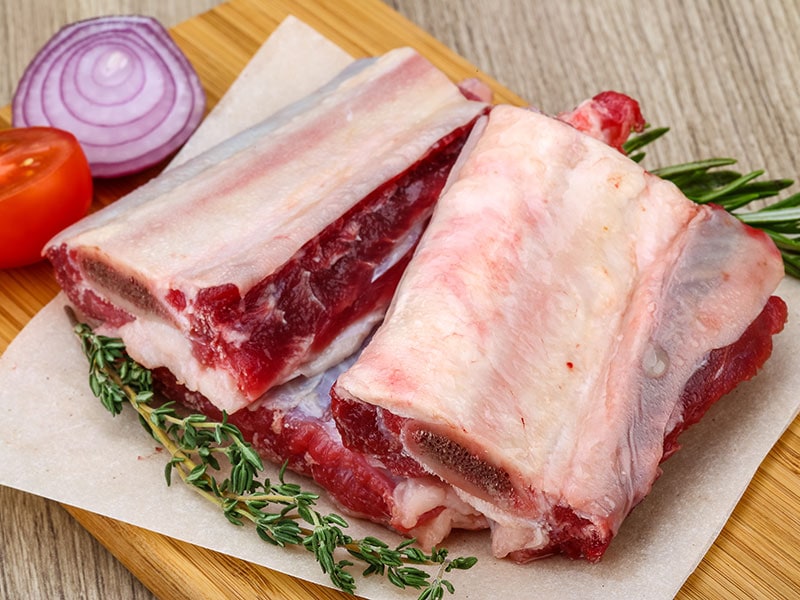
Beef ribs are cut from cattle, and this is why it is more expensive than pork ribs. Like pork ribs, beef ribs are also classified according to the cut on the beef, divided into beef back ribs and short ribs.
Pork ribs don’t have much flavor, but on the contrary, beef ribs are the place where the typical flavors of the cow are concentrated. If you can tell the difference between pork and regular beef, it’s even easier to tell the difference between beef ribs and pork ribs.
The amount of fat in beef ribs is really huge. If you are on a diet, I think you should stay away from this. But if you still want to give it a try, the good news is that the fat content of beef short ribs is much lower in cholesterol (1) than the rest.
7 Easiest Methods Ever To Check If Ribs Are Done
If you are a professional chef, you can look at the color and tenderloin of the meat and a few other signs to tell if the ribs are cooked or not. But of course, you are not because you are finding the answer here. There should be specific and simple methods for you to test.
1. Time Test
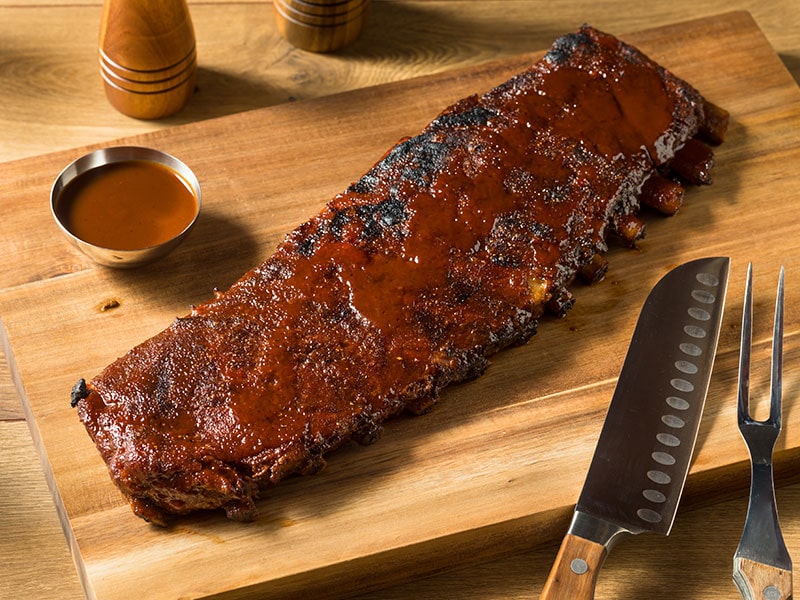
The most common method of measuring the ribs’ doneness is to measure the time at a certain temperature with your precise kitchen timer. Here, the ribs are recommended to be cooked to 225°F to gain balance and be evenly cooked on both the inside and the outside.
When you place the ribs on the grill or in the oven, at 225°F, it will take 3 to 4 hours to cook the baby back ribs.
Cooking time will vary depending on the type of ribs. For example, for St Louis ribs, the time required to cook on the grill is 5-6 hours.
But that’s just so that the ribs are “cooked” without any spices in them. So here’s the important step, pay attention! After the cooking time specified above, you need to cover the cooked ribs with the sauce and continue to keep the heat for about 5 minutes for each side.
In this way, the spices in the sauce will completely penetrate your ribs. As a result, you can eat perfectly cooked ribs without even dipping in the sauce.
Although it is easy to follow, this method also has certain limitations. Not all ribs are the same size and texture. Therefore, it will not be possible to have an exact time for you to determine whether the meat is cooked or not. Stay tuned for other methods below.
2. Toothpick Test
If you can’t control the exact temperature when cooking ribs, here’s another way that’s simpler and doesn’t involve a lot of technical elements. It’s a toothpick test.
When you have a feeling that the ribs are cooked but still not sure, use a toothpick to poke the ribs. If you can skewer it easily and without much resistance, your ribs are edible.
In the same shape as ribs, there can still be thick and thin parts. So to make sure your whole rib is cooked through, try skewering a toothpick in different places.
The toothpick is tiny, so you can rest assured about the aesthetics. Your ribs will still look perfect. If not looking closely, no one will be able to spot the microscopic holes in it.
3. Pop-Up Test
As a general rule, when exposed to heat for a certain amount of time, the meat on the ribs will gradually shrink. You will perform this method by looking at the bony end of the rib.
Cook the ribs on the stovetop until the meat is contracted and the bones are about 1/4 inch out. This is a sign that your ribs are cooked enough.
However, this method is relatively subjective and does not apply to all cooking temperatures. If you put the heat too high in the first place, the meat will shrink faster, resulting in inaccurate results.
Or if you keep the temperature too low (below 250°F), when the bone sticks out 1/4 inch, your ribs are overcooked and not tasty anymore.
So, let’s go to the next way to know how to handle this case.
4. Flexibility Test
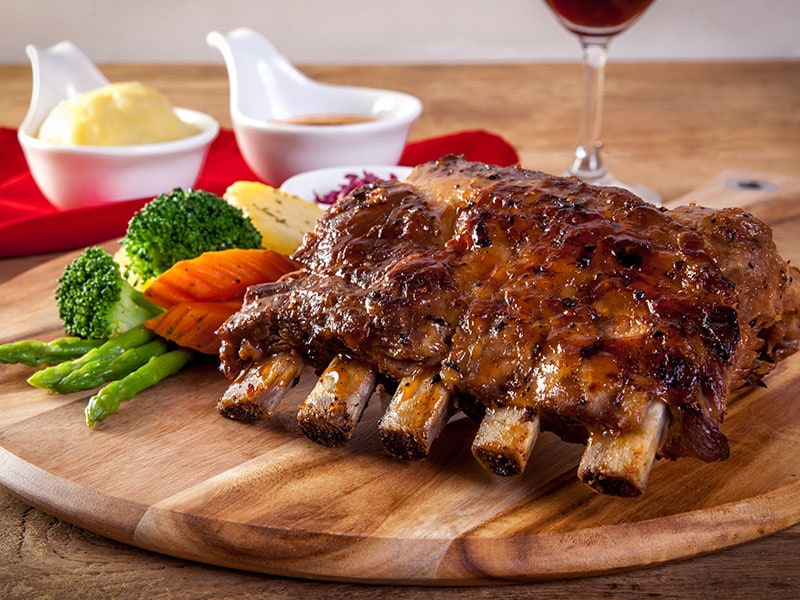
When the ribs are cooked, the meat should be able to move smoothly away from the bone. This is a principle you can apply to this flexibility test.
To do this method, you need to use tongs with the highest-quality materials to remove the ribs from the grill. You will then observe a portion of the bone sticking out of the rib. Gently twist this bone with your hands.
Feel that if you feel the meat can easily separate from the bone, it means your ribs are cooked. Be careful not to burn yourself. Make sure to take the ribs from the stove before doing this.
Wait… Remember that you should only use light force when twisting the ribs. Feel the gentle movement between the flesh and the bone. If you apply too much force, even raw ribs will have the same phenomenon. As such, this method no longer makes sense.
5. Bend Test
True to the name of this test, you need to bend the rib and observe what happens to determine if your ribs are cooked.
First, you use tongs to pick up the ribs right in the middle. Then, use the light force of the wrist to try to bend the rib. Look at the surface of the ribs for cracks.
Next, you continue to use the tongs to lift the ribs. Remember to put your tongs at the center. If two ends of the steak tend to be downwards and separate from the center, your ribs are cooked enough.
If you only see a very small crack during the test, then I suggest you keep putting the ribs back on the grill for a little longer.
This method requires a certain technique, or maybe it is practical experience. After a few times of cooking with ribs, you will feel it.
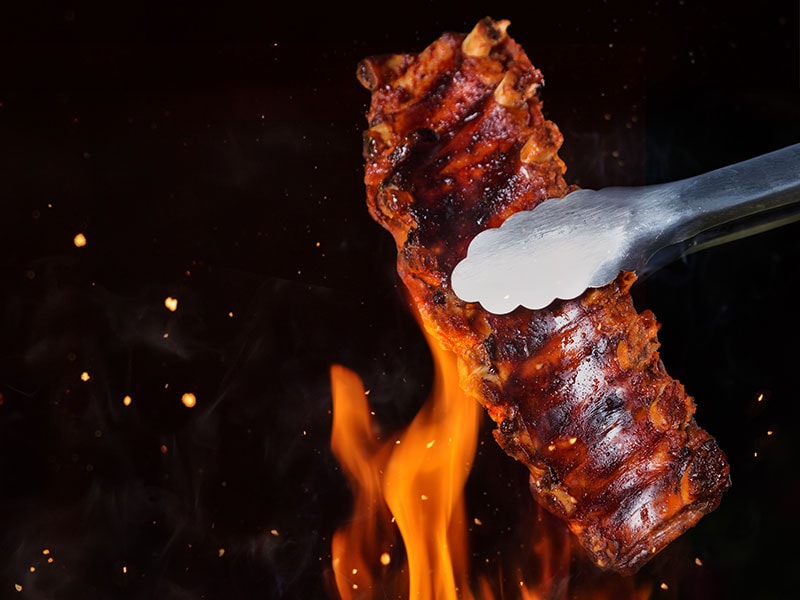
Let’s check how the bend test works. You can see this video to know more:
6. Peek-A-Boo Test
Suppose you have tried many ways but are still not sure that your ribs are cooked. Then just try it this way.
Try a small slice of the rib and take a quick look. If the middle of the meat is still pink with blood, you should continue to put it on the grill and continue cooking.
The color in the center of the rib should be white or slightly tanned. If you still see pink color and a little juice, it means the ribs are undercooked.
However, there are still cases where the ribs are cooked but still have a pink color on the edges of the ribs. That’s when you use the smoke method to cook the ribs. Remember, it’s pink on edge, not the middle of the rib!
7. Taste Test
The last way and also the way to ensure the highest accuracy is to taste —no more keeping track of time, temperature, or observing anything. You just need to taste it directly.
After a while of cooking, if you believe the ribs are done, make it more certain by removing one end of the ribs and tasting. Ribs that sit in your mouth are the best proof that the rest on the grill is ready. Let’s get the party started!
You can see this video to know more:
The Key Things To Keep In Mind When Cooking Ribs
Determining whether the ribs are cooked or not is very important in your health and safety. But to get delicious and attractive ribs, there are many other factors that need to be added.
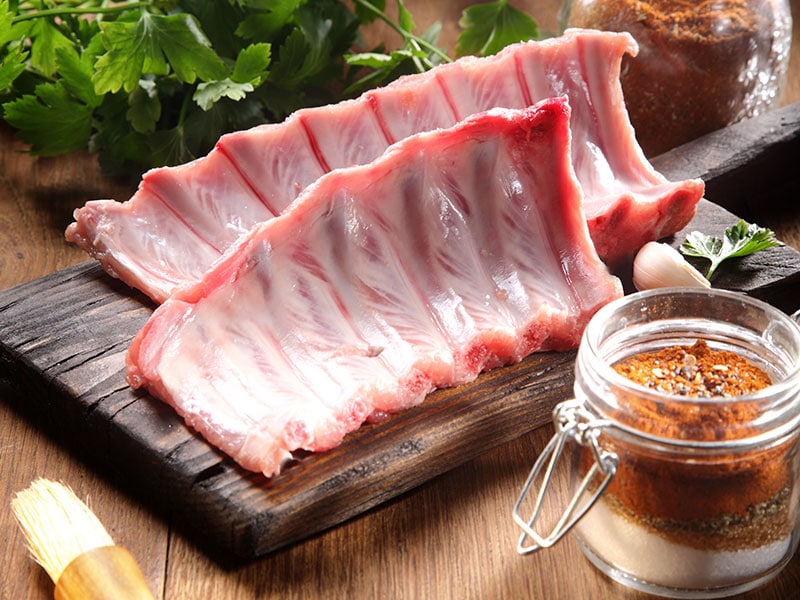
1. Remove The Transparent Membrane Underneath The Ribs
When you buy ribs from the supermarket, you will see that they have a membrane underneath. If you leave this film alone and leave it untreated, your ribs will be tough and chewy. So, remove this film before you start preparing the ribs.
First, turn the ribs upside down for easier manipulation. Next, sharpen your knife with your favored honing steel and use that very knife to peel this membrane off the rib meat. Start from one end of the meat, then use your hands to separate easily.
As such, you can rest assured that your ribs will be very tender once cooked and seem to melt in your mouth—no more uncomfortable chewy feeling when chewing.
2. Pour The Sauce Over The Ribs At The Right Time
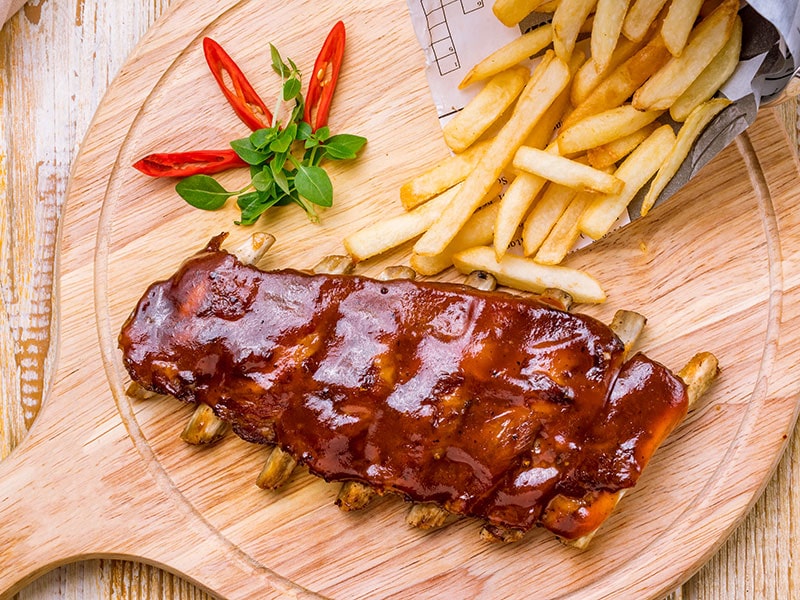
You often pay a lot of attention to making the sauce to eat with grilled ribs but made the mistake of choosing the right time to pour the sauce over the ribs.
If you pour the sauce over the ribs on the grill too soon, it can burn when the sauce falls on the embers below. But if it’s too late, maybe the sauce won’t soak into the ribs enough. So when is the right time?
The answer is that you should pour the sauce about 10-15 minutes before removing the cooked ribs from the grill. This time is just enough for the ribs to absorb the spices from the sauce and, at the same time, not to be burned because of fire.
3. Pay Attention To The Heat
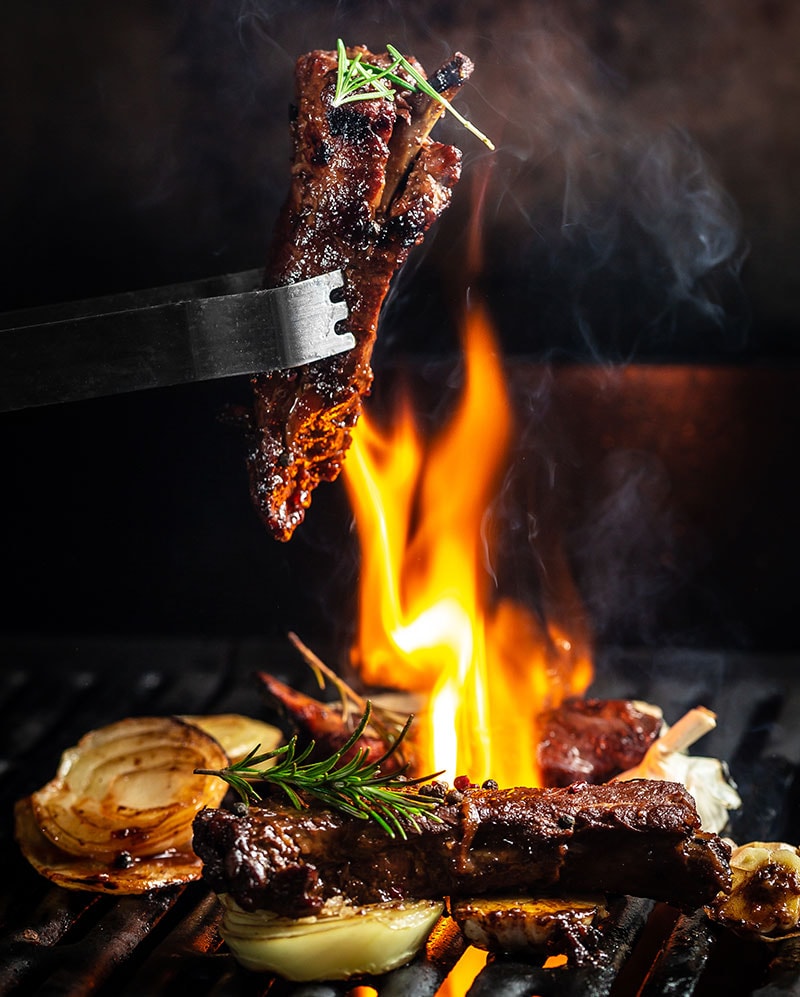
Temperature is always a significant factor when cooking any dish. So are the ribs. It takes a long time to cook ribs, so maintaining the right temperature is very important.
When grilling ribs on the griddle, you need to consider the position of the ribs with the layer of fire coals below. Too much fire can burn the outside of the ribs while the inside is still undercooked. The best way to make sure the ribs don’t burn is to keep the heat at a moderate level of 220-225°F.
FAQs
With these tips, I hope you can grill your ribs deliciously with full flavor. But who knows, the frequently asked questions below with answers will help you discover new things. Do not miss it!
Immediately Apply The Above Tips To Your Ribs!
Ribs are always an indispensable dish that I absolutely love at barbecue parties. After many failures, now, I am always the one chosen to make this dish every time friends gather.
Do you want to be as honest with this rib as I am? If yes, then immediately apply the above tips for ribs at the upcoming party. Good luck.
If this information is useful to you, why don’t you share it for others to know? Thanks a lot!
References
- Cholesterol. [Online] Available at: https://www.health.harvard.edu/topics/cholesterol.
