How to use bread lame correctly? It is a question many people are wondering.
For those who love making traditional bread or sourdough bread, bread lame is helpful in scoring or slashing the top dough’s top layer.
In this article, I will show you how you can easily use the bread lame. After this article, I’m sure you will be able to create creative and artistic patterns with this handy ktichen tool.
What Is A Bread Lame?
When making bread, you need a bread lame to make bread have a more airy texture. This process is scoring or slashing the dough. Besides having a standard recipe, a premium bread loaf pan to hold its shape, and high-quality ingredients, scoring also plays an important role.
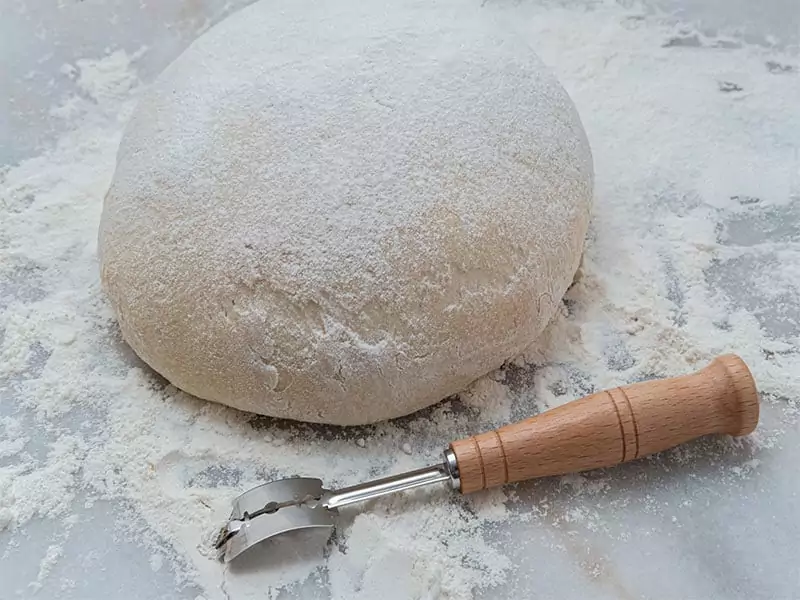
Bread lame is a tool to score the surface of the dough before putting it in the oven to bake. The purpose of scoring is to make the dough expand better and beautifully after baked (well-aerated bread).
People use a special bread lame to score the dough surface, which not all knives can do. You can buy bread lame in specialized bakeries, buy online, or order at the workshop as required.
You can choose a bread lame at reputable, branded stores to ensure its quality. A poor quality bread lame will affect the aesthetics and be harmful to bread.
Bread Knife Vs. Bread Lame
If you can not distinguish between bread knives and bread lame, you can find out in this section:
Bread Knife
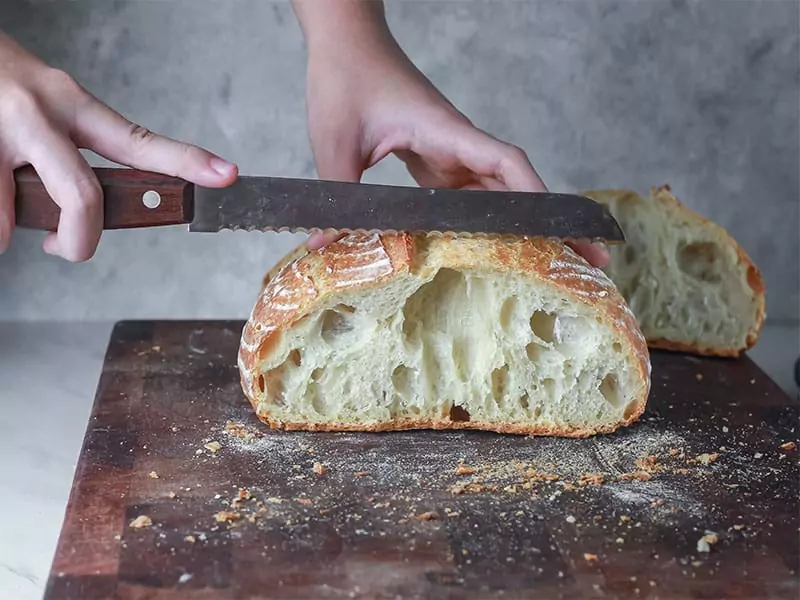
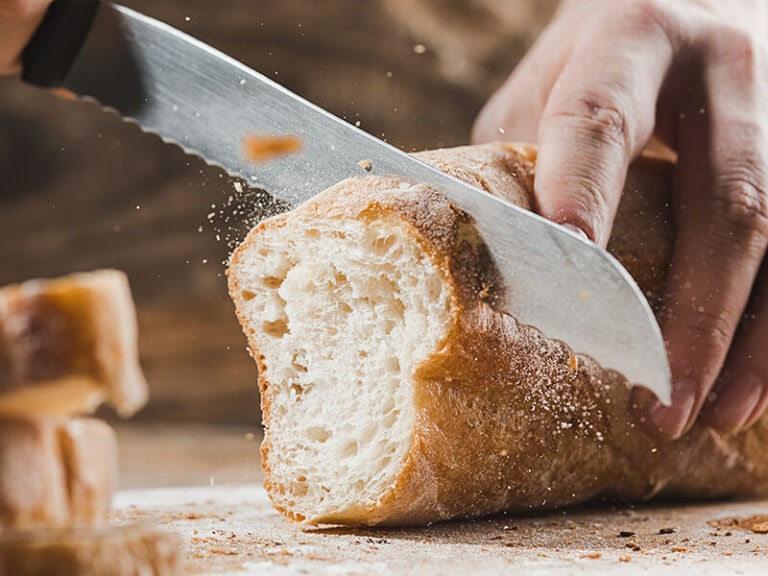
The bread knife has a long and flat blade used to cut bread or cake. The bread knife blade is serrated or non-serrated, sharp enough to cut through the bread without breaking it.
The serrated knife has blade lengths that vary from 6 inches to 14 inches (15-30cm) to cut small, large bread or cakes conveniently. Bakers use the serrated knife to cut bread, cream cake, or cake to make the cutting surface smoother, without crumbles, creating fine lines.
Bread Lame
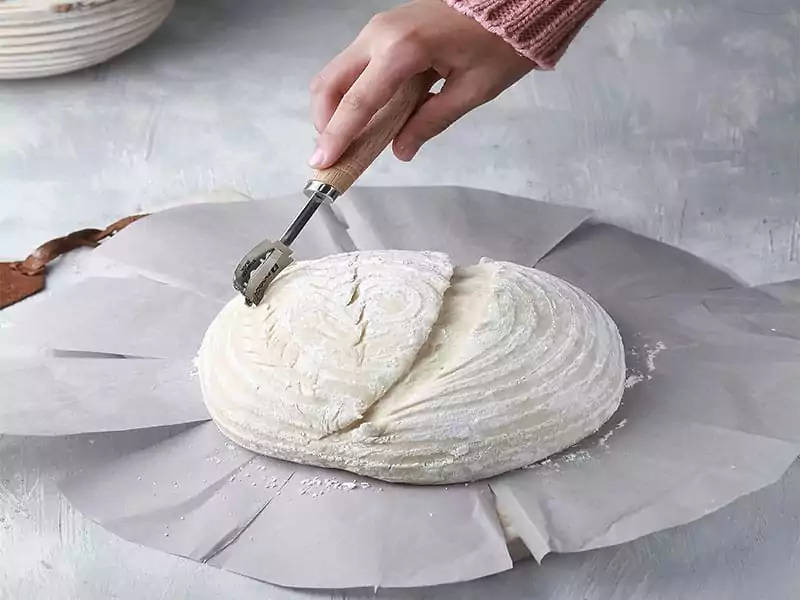
A bread lame usually has an iron or steel sharp, thin, light blade with a compact plastic/wooden hilt (stick) to help you hold comfortably. The blade and hilt of the bread lame are removable, easy to change.
Bread lame is a knife just for scoring the dough that does not have the slicing or cutting function like a conventional knife. This lame will help you create patterns for bread with attractive and eye-catching decorative lines.
Some bread lame has a thin serrated blade which makes it easy to cut different types of dough. The bread lame is commonly cheaper than a bread knife.
When To Use The Bread Lame?

Even though the intended use for paring knife and single-edge razor blade also includes slashing and scoring most bread, but sometimes you’ll need a tool called bread lame for the unusual sales on certain rustic bread.[1]
Bakers use the bread lame to score the dough just before baking. Scoring dough before or during the brewing process will make the cut less sharp, less obvious, and not beautiful when baking.
When scoring, be careful not to press down, but make an action like slashing a lame on the surface of the dough. Pressing the blade will make the bread flatten.
It will be best if you score two times by the bread lame. First, you make a light score on the dough. Then, you score deeper.
When making a score, you should angle the lame at about 45 degrees to make the cut skew and get under the bread crust, not upright.
The score should be about 0.2-0.5 cm deep so that when the bread fully expands when baking, the score will tear itself to form a better edge.
Benefits Of Using A Bread Lame
If you are making decorative patterns for the bread, use the bread lame to design any templates you want.
Score Bread Dough
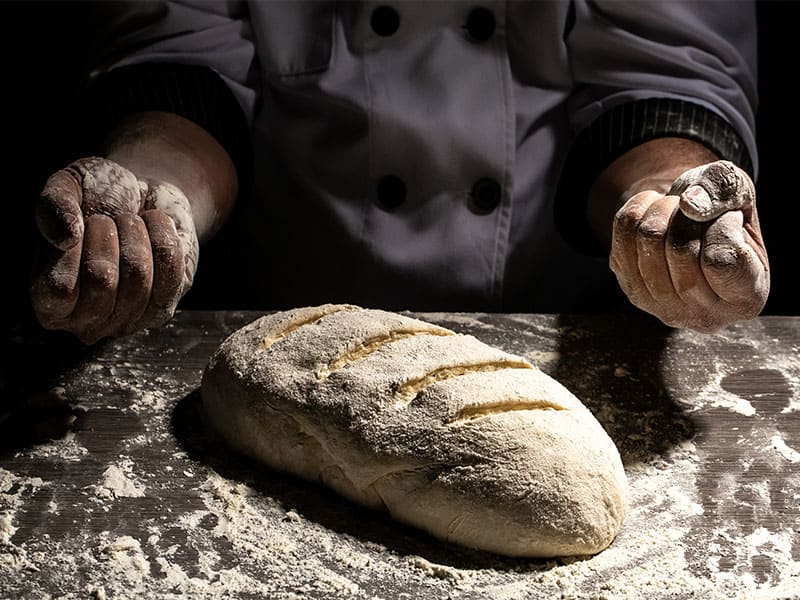
Bread lame has many benefits in the bread-making process. The best advantage is to create a vent to help the dough swell well, a beautiful enlarged crumb, have “ears” and be rounded evenly. If you do not cut the dough before baking, the bread will become distorted, the shell and the bread-crumb will become thick.
If you don’t score the bread, there will be ugly cracks and explosive, uneven bumps, which will lead to an unattractive loaf. It is ideal to use a bread lame, a razor, or a very sharp small knife to score the bread. [2]
Create Patterns For Bread
To create many beautiful designs for bread and satisfy your artistic needs, you must use the bread lame.
Today, making bread is not only satisfying food needs but also art. Any difficult customer will be satisfied if you create unique, non-monotonic bread.
A bread that attracts customers is not only delicious but also beautiful. A delicious bread must cover the bread aroma, have a cracked crust, spongy gut evenly.
Although the crust scoring technique is difficult, it is crucial to know how to do it. If you love and often make bread, a bread lame is an indispensable tool to design bread.
Scoring Bread Problems
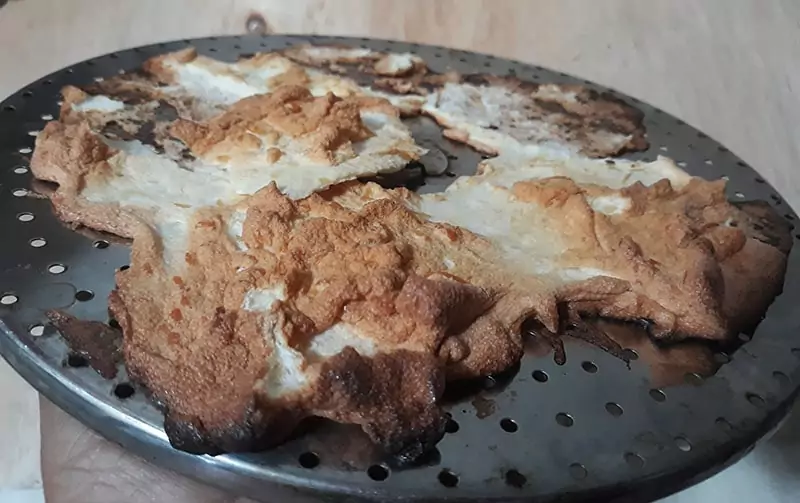
After reading the above section, I am sure you have already figured out what a bread lame is. Before taking a deeper look at the bread lame types, let’s review the common mistakes you often have in bread scoring, especially for bread lame beginners and less inexperienced in making bread.
The Score Has Wrinkles:
The blade may not be sharp enough, so you need to score again and again. In this case, you need to replace the lame blade or sharpen and clean it before you use it. The too old lame also affects cake quality.
The Dough Sticks On The Bread Lame:
If you use a razor, it may be because the back part of the blade sticks to the cake surface, creating wrinkles. It feels easier to score bread when plugging the blade, and it won’t be wrinkled.
Uneven Patterns:
Everyone has different talents. You can’t become a scoring expert right away. All you need to do is practice using bread lame skillfully so that you can create smooth lines.
My advice is you should splash out to buy a good bread lame. Also, you can practice scoring with the templates. I think this is true for first-time bread lame users. Cheap bread lame is not off limits, but it can be difficult to handle, or the blade might be not stable to the stick.
Don’t be discouraged and throw away the failures. They may look unsightly, but flavor-wise, they’re good. Cut the bread into small pieces and use them for recipes with leftover bread. No one will be able to tell the bread origin, and you get a chance to practice. It’s a win-win situation.
Common Types Of Bread Lame
What kind of lame for the bread scoring? Well, depending on your goals and experiences, you can choose a suitable bread lame.
Curved Bread Lame (Razor Blade)
Some bakers find that the curved blade cuts more easily under the dough surface than the straight blade.
This blade is thinner, suitable for design bread, especially French bread and sourdough bread. You can create pattern bread with intricate motifs using the curved lame.
The curved blade allows for smooth and fast action, score deeply, and score off the top layer of dough without damaging the bread before baking.
Tips For Using A Curved Bread lame
Many professional bakers prefer to use the curved bread lame because they have a lot of slashing to do on the dough.
When using the curved lame, you should remember:
- Moisten the dough with water, cooking oil, or flour to soften the dough surface, and the curved lame blade can glide over the skin easier.
- Choose a pattern: only use the curved bread lame for a small, detailed pattern. You can angle the curved lame to your liking and control the cut.
- Make sure you feel comfortable holding the curved bread lame. Use your thumb to hold the hilt and the index finger to deflect the cut.
Straight Blade Lame
Using the straight blade lame requires technique and expertise. The blade can be serrated or not, for making the long clear score, not as slender as the curved lame. This type of lame is more durable, lasts longer, detachable, or not.
The straight blade lame has a hilt that is more fixed and firmed than the curved lame. However, it is difficult to make small, complex, and circle details with straight lame.
Tips For Using A Straight Bread Lame
If you like a simple, easy-to-clean lame, try the straight blade, practice, and execute without hesitation.
- Retract the hand, fingers slightly curled into the palm, and place the fingertips on top, hold the dough firmly and perpendicular to the blade.
- Keep the thumb as the pivot point and rotate the wrist by the direction of the blade movement.
- When slashing, move your finger back and keep the position. Not only will this position help protect your fingers, but you can also press the blade against the straight edge of the fist (created by four folded fingers) to align the straight blade more precisely when needed.
How To Use A Bread Lame Like a Pro
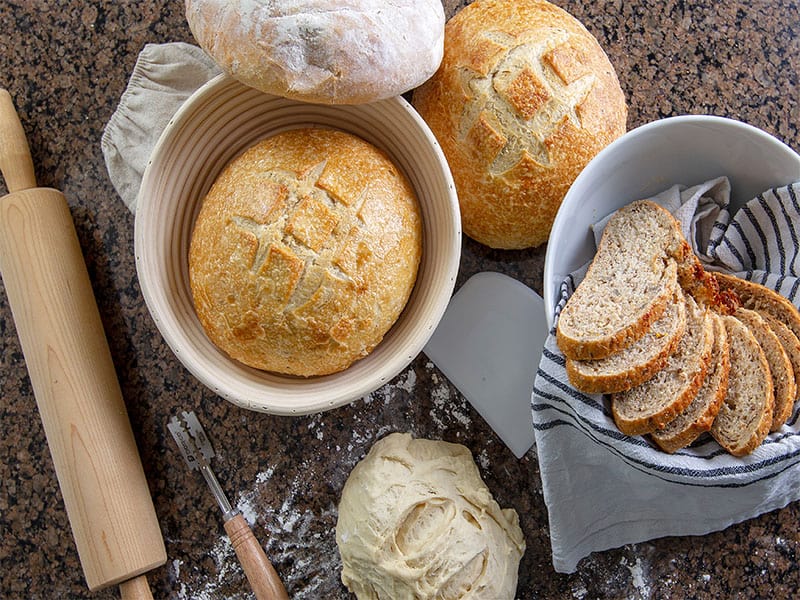
Bread lame is almost the “indivisible object” of every baker when making bread. Learning how to use a bread lame properly will not only improve bread making, it will also make bread look eye-catching.
However, not every baker knows how to manipulate the lame safely, especially the newbie baker. I will share eight steps of using the bread lame you can apply.
Step 1: Identify The Swelling Of The Dough
After dividing the dough into equal blocks, you mold each small powder into spheres with a smooth surface. It is also the shape that allows the dough to bounce best during the rest period before baking.
Each round ball of dough will be allowed to “rest” for 10 – 20 minutes. Put the dough on a non-stick board for pastry so that it’ll be easy to remove it later. Use a saucepan, pot, or box to place the dough in place.
The dough surface should be firm, making it easier to use bread lame than a bumpy surface. Therefore, the dough needs to be incubated at 24 degrees to make it more sturdy and easy to score.
Step 2: Select The Suitable Bread Lame
When you choose your bread lame, you should choose one to create the shape, depth, and length you want. Some people with big hands will choose a long half bread lame while some people like to use only short lame or without half. Some people are used to using curved lame, and some prefer straight lame.
The most important considerations when choosing bread lame are the depth of the cut and the rigidity of your lame.
Step 3: Check Out The Blade’s Sharpness
When using, make sure that your knife is sharp and well sharpened, enough to cut ingredients neatly without much effort.
With a simple tool that is a sheet of paper, you can check the sharpness of the blade by panning the knife to cut a piece of paper. The sharper the knife, the smoother the cut.
Step 4: Attach The Razor Lame To The Hilt
To prepare to use the razor lame, insert the razor lame over one end of the bread lame. While slightly flexing the blade, push the blade through the final opening of the blade. When properly fitted, the razor blade will have a slight curvature.
Step 5: Spray The Lame With Cooking Spray, Cooking Oil Or Water
You can apply oil or butter on the lame blade before scoring to make sure the dough doesn’t stick to the lame. After scoring, spray the dough soaked in water, especially spray a lot of water on the score to make it expand well during baking.
Step 6: Turn The Lame At An Angle Of 45 Degrees
To score bread properly, you need to hold the incision blade at 45 degrees and score quickly and decisively on the dough. Tips for an accurate score, you can use a special cooking pen to draw a pattern on the surface of the dough and score follow the drawings.
Step 7: Make A Bread Scoring
In this step, you sprinkle the flour on the dough surface, then move the lame from one end to the other of the dough. The outer dough cut off will make a shallow cut.
The position of the bread score will depend on your preference. You can make a score in the middle, or inch to one side a little, or make two parallel lines on the dough surface.
Step 8: Finish And Clean The Bread Lame
Remember, after using the bread lame you must wash it immediately with mild soap. To remove powder sticking to the lame, you can wash it gently with mild soap and rinse. Never soak your lame patch in water, and do not wash it in a dishwasher.
Avoid prolonged contacting the bread lame with leftovers and rubbing with abrasive products or rough fabrics. You have to replace the lame every 6 to 12 months, depending on the number of bread you score.
You can keep the bread lame in a protective holster when not in use.
Watch this related video for the bread lame using:
How To Design Sourdough Bread By The Bread Lame?
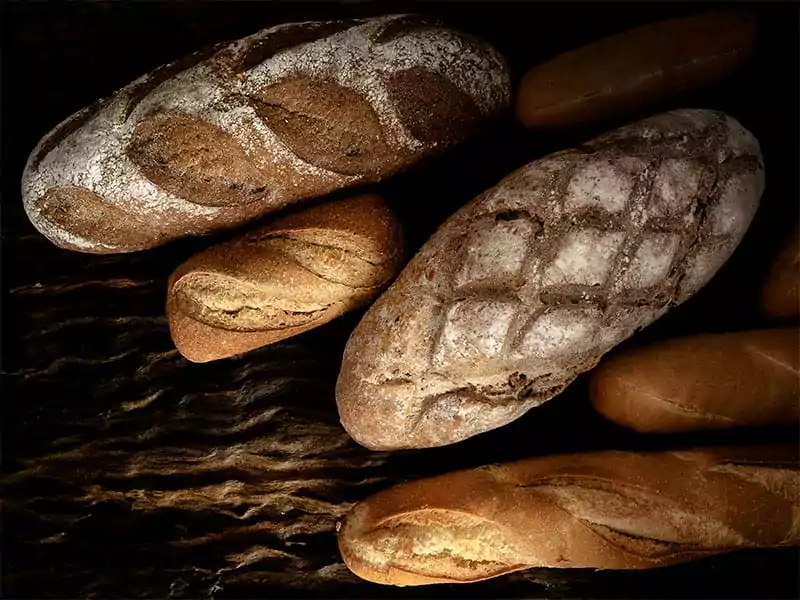
A beautiful design bread pattern to be successful must go through the following steps:
Step 1. Determine The Layout
In this step, you need to study the shape of the dough to find a suitable layout. When applying the layout, you need to pay attention to the large and small arrays that change dynamically, not too big, not too small.
You can have your own layout rules such as repetition, interlacing, overlapping, axial symmetry, or irregularity then you can do it again and again for the next dough.
Step 2. Score From Simple To Complex Detail
The line, circle, and curve score technique require concentration. Let your hands relax while holding the bread lame, focusing on the simple lines first instead of trying the perfect lines.
Break long lines into short segments.
Score fast lightly on the dough, don’t put too much pressure.
Step 3. Practice As Much As Possible
Practice is a crucial part of improving your scoring skills. Some people may possess a natural ability to be more skillful than others. However, you can improve your scoring with regular practice in holding and moving bread lame to score a correct line.
Different Cut Patterns
Here are a few patterns that may make bread look lively:
Cross Pattern
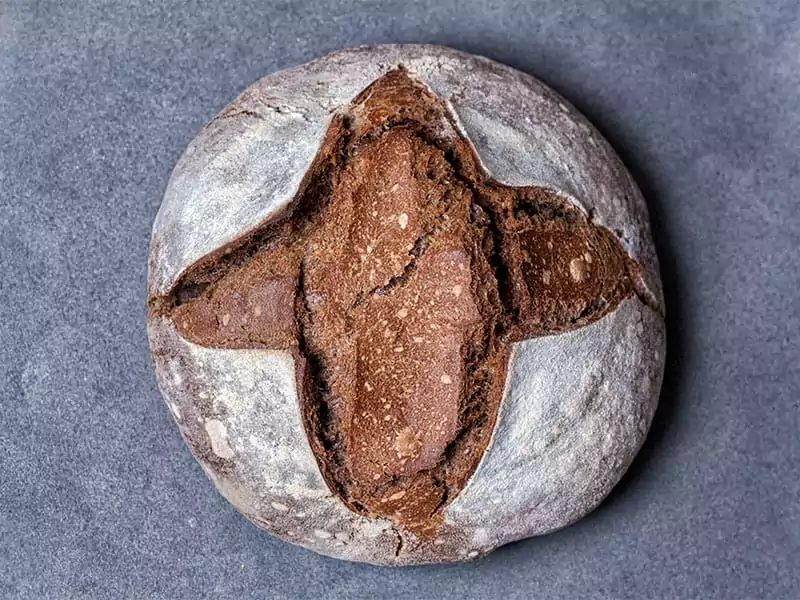
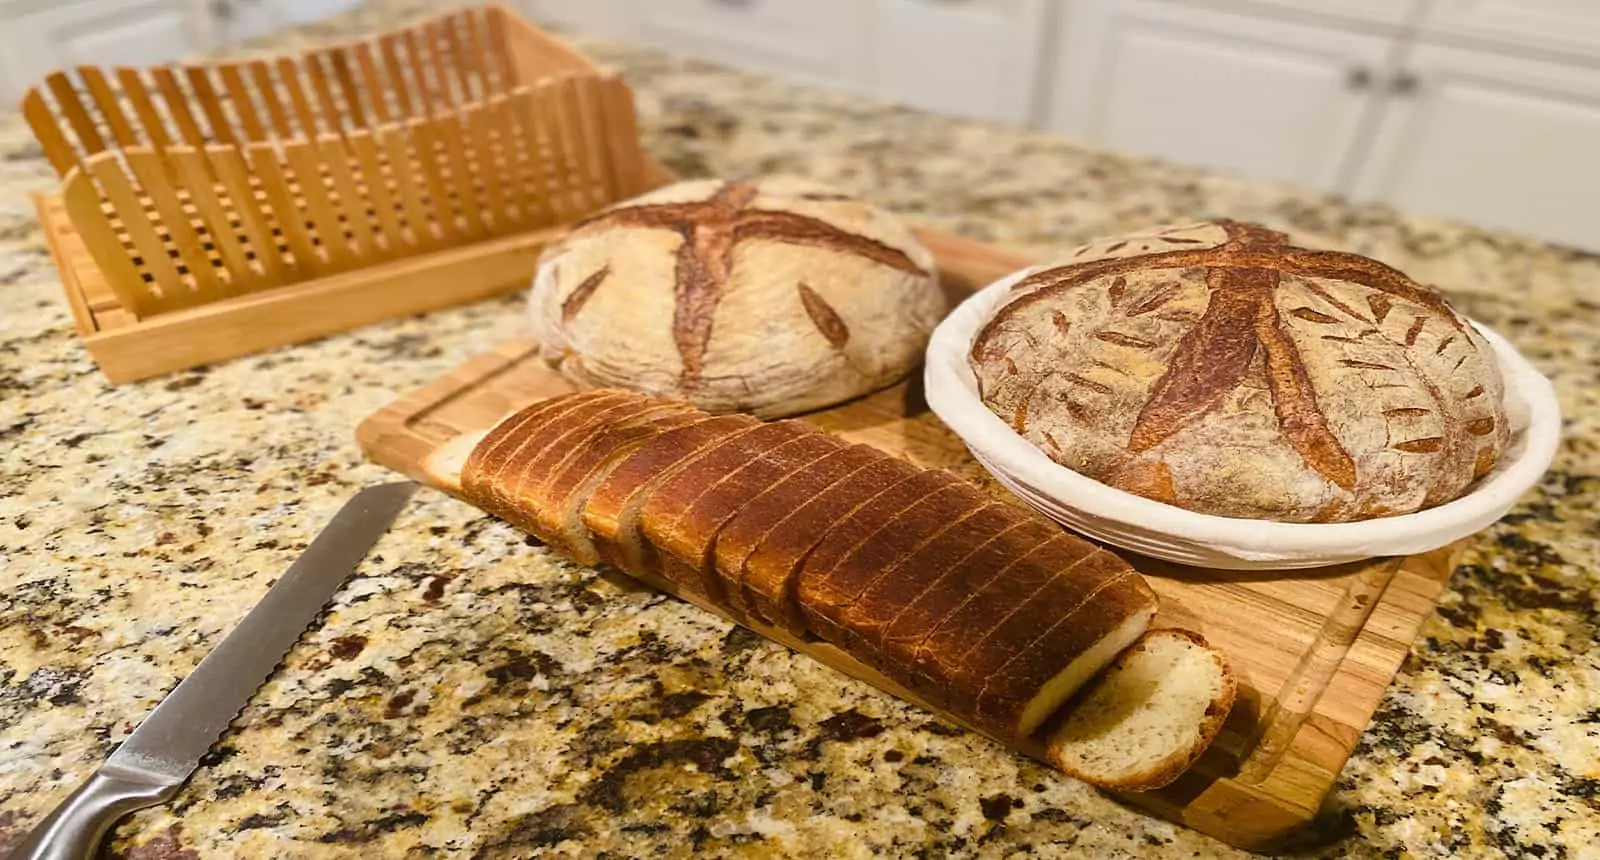
A cross pattern is a figure with two perpendicular or diagonal lines that divide one or both of them into two equal parts. The classic cross is always a popular motif when you want to create accents for bread.
Diamond Pattern
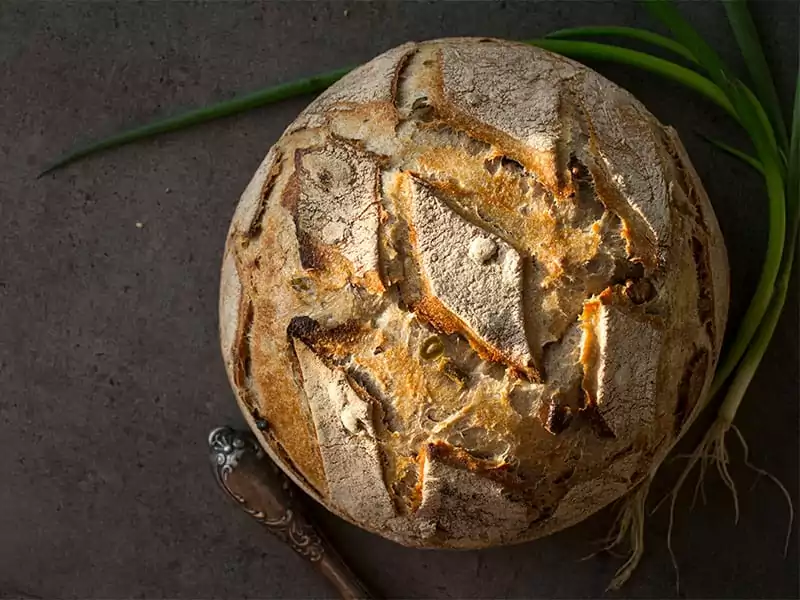
You can decorate the bread with diamond style. The diamond pattern, in this case, has the shape of a circle or oval, sometimes a polyhedron.
Leaf Pattern
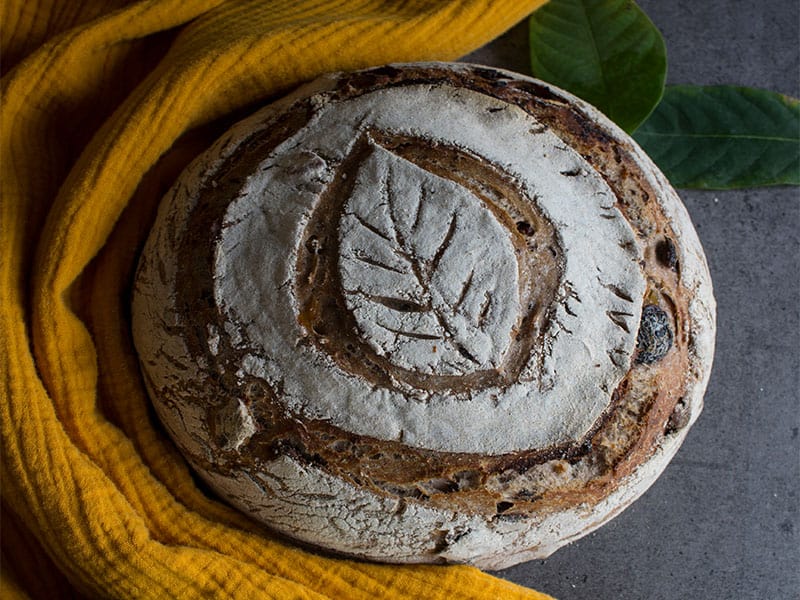
You can make a leaf pattern by using a series of curved lines. Note that the lines vary in length, and they meet at the sharp and jagged points. Cut the longer lines to form lobes or sections of leaves.
Spiral Pattern
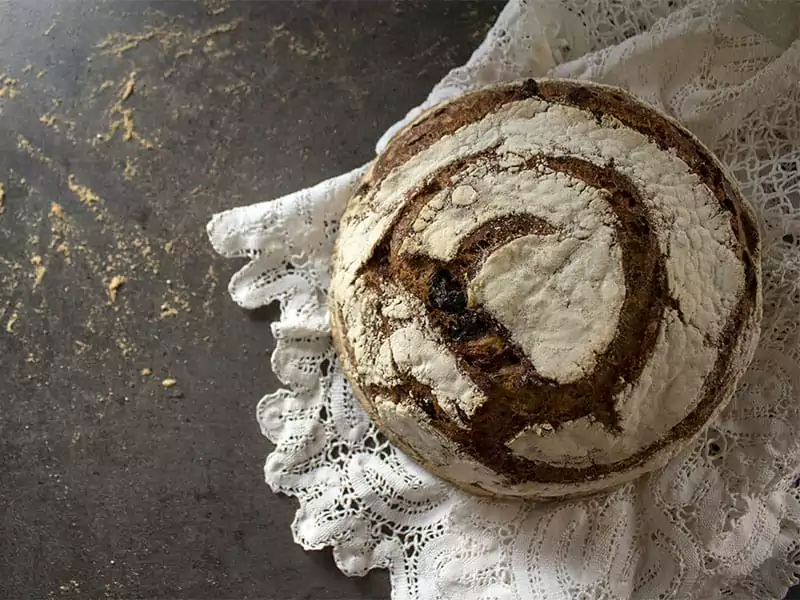
To create a spiral, you cut the circles that move in a curve around a point or vice-versa. If you want a thicker spiral, just cut deeper into the curves. These curves are not necessarily as compact as the circle. There may be a slight deviation depending on the shape of the dough.
You can learn other patterns with this video:
Extra Tips For Using The Bread Lame
Know anyone who loves bread or a professional baker? Give them a premium bread box to keep their bread fresh, and a bread lame to help them create beautiful “works of art”. Tools such as these are a must-have for beginners and seasoned bakers alike.
Admittedly, using a bread lame is an art. Know your current level and take the time to practice frequently. Patience and persistence is the key to becoming a master in using this kitchen tool.
Using bread lame is not as difficult as you might think, but getting a good score takes a lot of practice. You can set a personal goal for the bread lame lesson. A goal is a motivation to help you stay focused and practice using the bread lame regularly.
Sometimes you will find it is difficult to angle the bread lame correctly. This is the hardest part of using the bread lame. Ask your instructor as soon as possible. He or she will explain the difficult part of your problem of using the bread lame. Remember to take notes and make time to practice your skills!
Give It A Try!
How many times have you failed using the bread lame? Well, as you might know, there’s no panic for failure. But just you’ve not used the bread lame correctly doesn’t mean you should stop practicing it.
Please leave me a message, like, or share this post if you like this content. I love how this sharing button turns good posts into the community, and people have a chance to know using the bread lame.
Nutrition Facts
1 servings per container
- Amount Per ServingCalories265
- % Daily Value *
- Total Fat
16.1g
25%
- Saturated Fat 2.1g 10%
- Sodium 250mg 11%
- Total Carbohydrate
27g
9%
- Dietary Fiber 1g 4%
- Sugars 2g
- Protein 5g 10%
- Calcium 20%
- Iron 2%
* The % Daily Value tells you how much a nutrient in a serving of food contributes to a daily diet. 2,000 calories a day is used for general nutrition advice.
References
- The Editors at America’s Test Kitchen.(2016). Bread illustrated: a step-by-step guide to achieving bakery-quality results at home. P.92 [ebook]
- Sarah Black. (2016) One dough, ten bread: making great bread by hand. P.30 [ebook]

