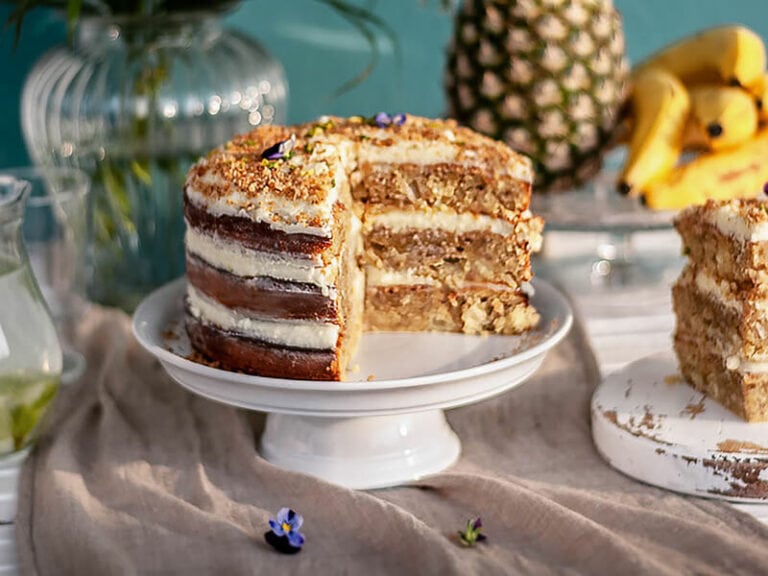
Scone vs. biscuit? If you are not a native American, you will likely make a mistake in describing scones and biscuits. The lapse comes from cultural differences where people call them by other names.
When you go to a restaurant in the US and order biscuits, you would probably expect to receive freshly baked cookies. But instead, the only thing that comes to you is something that looks like scones. This can be a big deal to some people.
So, why don’t you read this article first and find out what American scones and biscuits are? What’s more, through this post, you can learn how to make them right at home and a few tips for preserving them.

General Knowledge About Scones
Maybe you are already accustomed to scones as a part of a breakfast sold at coffee shops or restaurants. But little do you know, the original version of scones differs much from what they are in America today.
History Of Scones
The ancestor of scones links to the United Kingdom. The first scones appeared in Scotland in the early 1500s. In 1513, they were first mentioned in print preference by a Scottish poet.
The original ingredient of scones is oats with round and flat shapes. People use oats to form a large round shape, then cut it into several wedges before baking it on the griddle over an open fire.
Its name, on the other hand, derives from the word “schoonbrood” in Dutch or “sconbrot” in German, which means fine white or beautiful bread.
American Scones
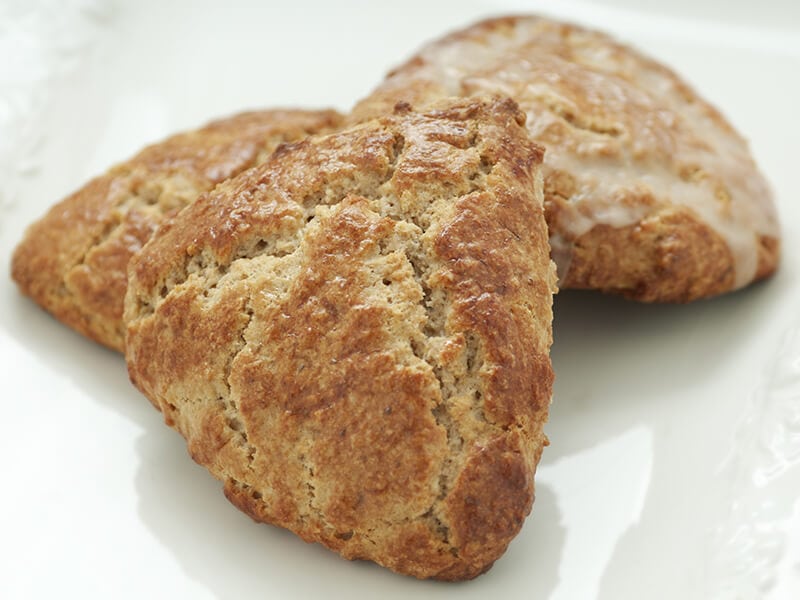
Scones are baked goods that contain wheat flour or oatmeal, baking powder, or baking soda as a leavening ingredient (1). British scones are round and tall with a light and fluffy texture. They also have a slightly sweet or savory flavor.
Authentic scones are not for breakfast. They often associate tea as a light snack in the middle of the morning or the afternoon. Despite originating from overseas, American scones have changed to adapt to the palates of natives.
American scones have the same ingredients as their overseas cousin, but people often enrich them with eggs and extra butter (or cream). They are dry and crumbly with a denser, sweeter flavor than British scones.
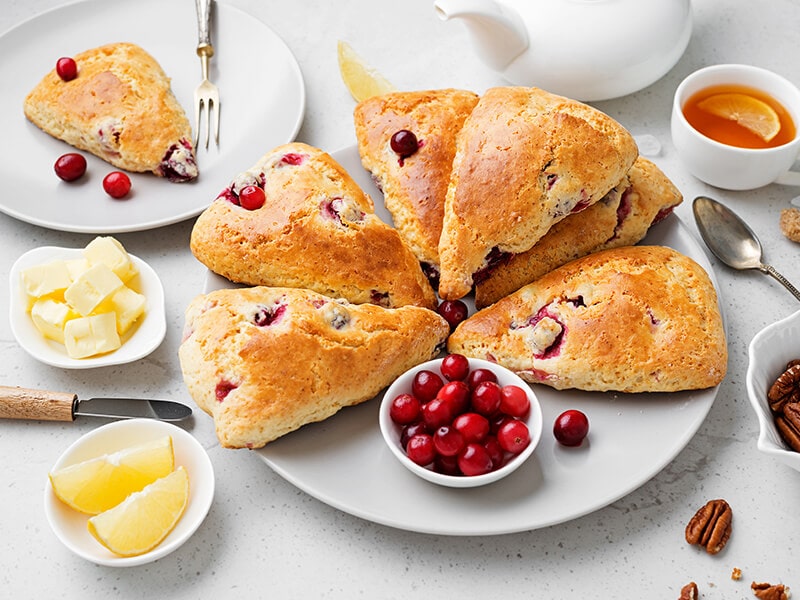
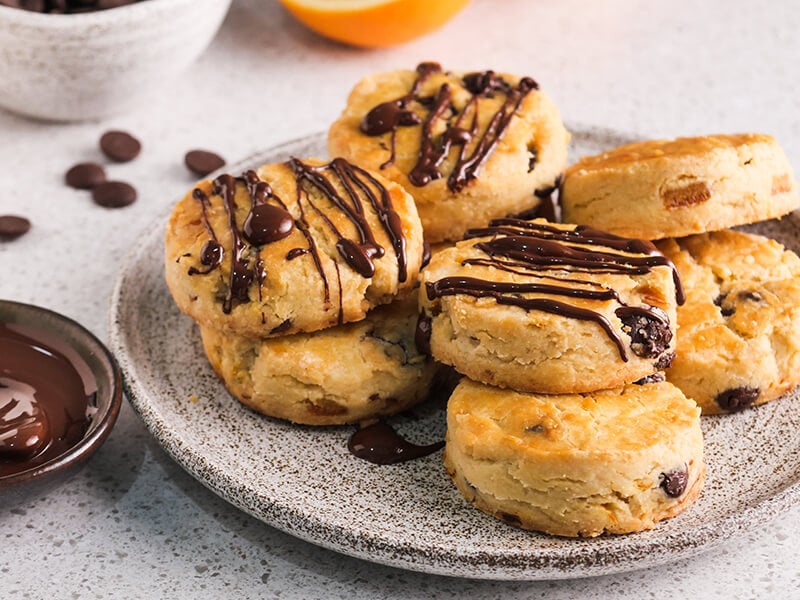
American scones can be savory, but mostly, they appear in sweet versions with chocolate, nuts, and fresh / dried fruit.
How To Enjoy Scones In The American Way
British scones usually go with jam and cream. However, the American version of them is more diverse with other stuffings and toppings. In addition, scones in America don’t have to be served with other foods. They are a mini-meal themselves.
You may add some additives to make your sweet scones stand out, such as fresh or dried fruits, whipped cream, chocolate, or lemon curd. As for the vanilla extract, you can use the almond type or grated citrus zest.
You can serve scones with cheese, herbs, salmon, scrambled eggs, or cured meat for a savory profile.
What You Need To Know About Biscuits
Biscuits are a popular staple food that gains a lot of love from Americans. However, for people who live in other parts of the world, there might be some confusion about them. Therefore, this section is here to give you detailed explanations.
Biscuits In America Are Not Cookies
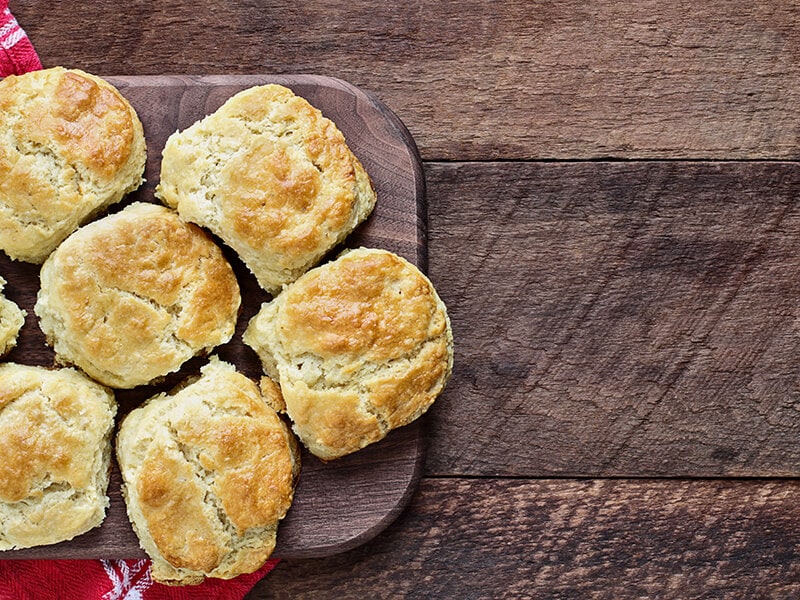
If you live in the UK, you will likely relate to this awkward circumstance. As a matter of fact, biscuits in the UK are cookies in America. But little do you know, America does have biscuits of its own.
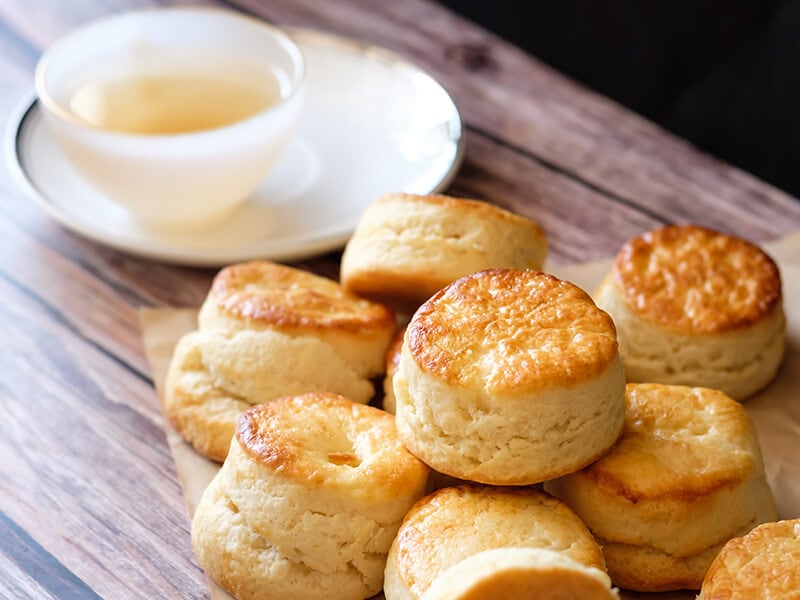
The appearance of biscuits in America looks similar to traditional British scones. These baked bread are dry and firm on the outside, while the interior is crumbly and soft.
The ingredients for American biscuits are flour, butter, salt, buttermilk, and a leavening agent. While they can be a snack with jam or cheese, biscuits usually appear as a side dish for any meal in American households.
What To Serve With American Biscuits
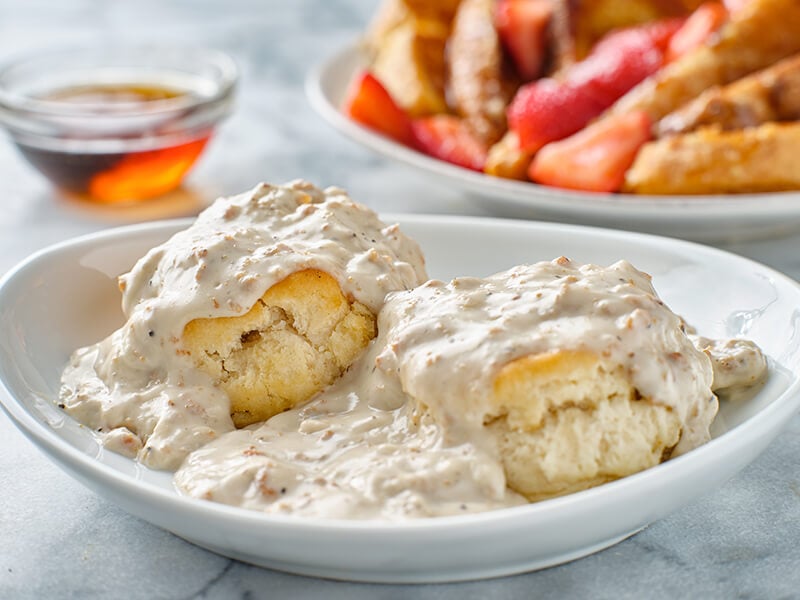
American biscuits are often accompanied by butter, jam, or gravy. Or, you can use biscuits to substitute English muffins for breakfast. But the most interesting thing about American biscuits is that they can pair with anything savory.
If you want a nice breakfast that can energize you, serve them with eggs, sausage or gravy. Biscuits are also one of the best side dishes for dinner. For example, you can dunk the biscuits in the broth of chicken noodle soup, beef stews, or chili.
Learn to make country gravy for your biscuits with this easy recipe.
Scone Vs. Biscuit – A Comprehensive Comparison
Both scones and biscuits are quick bread. Their recipes require flour, leavening, fat (usually butter), salt, milk, and sometimes sugar. Scones making process is similar to biscuits, including cutting fat, pouring the liquid, rolling, and baking.
And these are all things that biscuits and scones have in common. To see how different they are, take a look at the table below.
Ingredient, Texture, And Flavor
Scones and biscuits have different ingredient ratios and mix-ins. The most obvious dissimilarity between them is the addition of eggs. In America, scones are often enriched with eggs and cream, while biscuits contain no eggs.
For this reason, they are denser and more crumbly than flaky. Moreover, the higher sugar content in scones creates a more crunchy exterior. On the other hand, biscuits have more butter and acidity than buttermilk. This results in extra fluffy and flaky baked goods.
Plain scones are extremely creamy and give off a hint of sweet tanginess, whereas biscuits tend to be more buttery.
How Scones And Biscuits Are Served
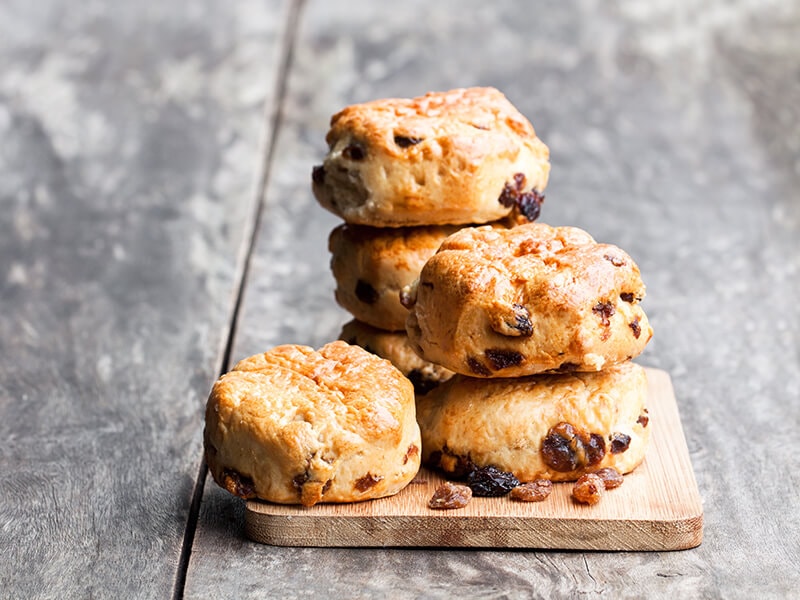
The way people enjoy scones and biscuits partly depends on their ingredients. Scones are sweet and dense, so you can serve them as standalone bread for breakfast or a coffee break.
Scones are delicious whether they are warm or at room temperature. They are also more versatile in the additives that you serve along with them. Sweet scones can pair with jams, honey, fruits, and clotted cream, while a savory version can go with cheese and herbs.
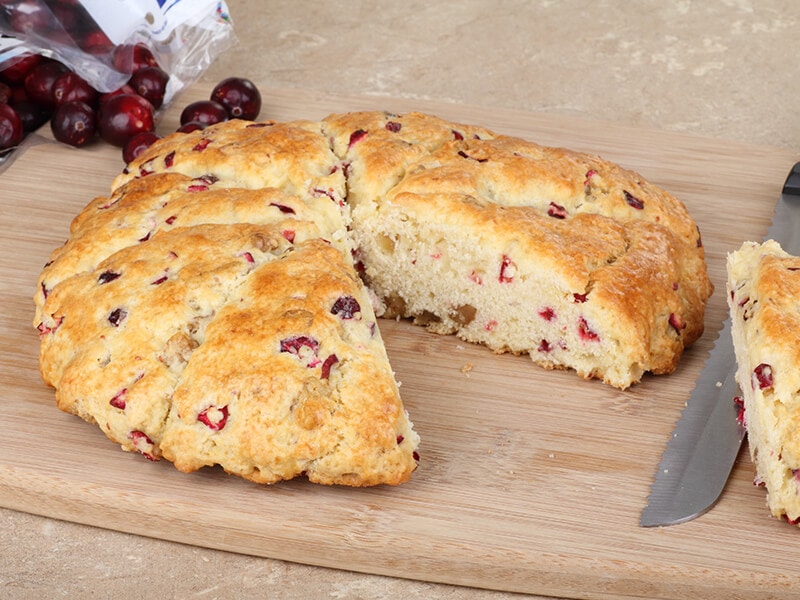
They are typically larger than biscuits too. When preparing, people often make scones in round shapes for easier preservation. But before baking, they are divided into wedges. Biscuits can be square, rectangular or triangular, but the most common shape is round.
Mostly, biscuits are a savory food item. Sometimes people add a little sugar to balance the flavor, but it’s rare and is not a part of traditional recipes.
Biscuits are light and airy, perfect for a side dish on any meal. Feel free to add more butter or dip them in sauces and broth. They are often at room temperature when served on the table.

Delicious Homemade American Scones Recipe
Who wouldn’t fall in love with a batch of freshly baked scones? Make your own scones at home so you can customize them to your liking. You only need some common ingredients that are always available at grocery stores.
- 2 cups (257g) all-purpose flour (you can add more if needed)
- 1 tbsp (15g) baking powder
- ⅔ cup and 1 tbsp heavy cream
- 1 egg (large size)
- ¼ cup (50g) granulated sugar
- ½ tsp (2g) kosher salt
- 2 tsp vanilla extract
- 1 tbsp coarse sugar
- 8 tbsp butter (1 stick, frozen)
Although making scones requires a little bit of your effort, the result is worth it. Don’t worry because the detailed directions below will help you as much as you need!
Step 1: Line The Baking Sheet
Cut or tear a sheet of parchment paper and place it onto the baking sheet. Make sure to measure the size of your baking pan so the sheet can fit in perfectly.
Step 2: Prepare The Ingredients
- Dry ingredients: Add the flour, baking powder, sugar, and salt to a large bowl, then whisk the mixture.
- Wet ingredients: Pour ⅓ cup of heavy cream into a bowl. Add an egg and vanilla extract. Save the remaining cream for later steps.
Step 3: Prepare Butter
Use the large holes of a box grater to grate the frozen butter onto the prepared baking sheet. Then, chop the nub into small pieces.
Grab the corners of parchment paper and slide the chopped butter into a bowl of dry ingredients. Toss the butter until it has an even coating. Put the parchment paper back in place.
Step 4: Create The Dough
Drizzle the wet ingredients over the dry mixture. Gently use your hands (or a fork) to mix them. Add ⅓ cup of heavy cream and continue combining until you see a clumpy yet cohesive dough.
Step 5: Shape The Dough
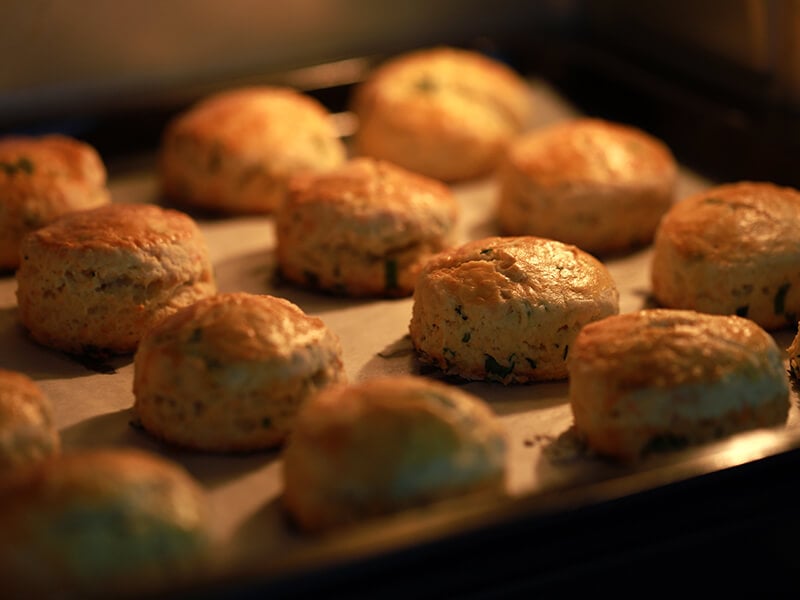
Sprinkle some flour on a work surface. Pat the dough into a round shape, about 1 inch in height and 8 inches in diameter. Take a sharp knife or bench scraper and cut the dough into 8 wedges.
Place them separately on the previous baking sheet. Make sure to spare space of about 1-2 inches between scones.
Step 6: Bake
Preheat the oven to 400°F (200°C). Brush the scone with the rest of the cream (⅓ cup) and sprinkle some coarse sugar. Bake for 18-22 minutes until the cakes turn brown.
Step 7: Serve
Let them cool for 5 minutes, and then serve.
You can break apart a small piece of scone or use a knife to cut it in half. Then spread clotted cream or jam onto your scone. It’s delicious and extremely convenient!
Here is a more detailed tutorial on how to make American-style scones!
Tips For Scone Fans
If you find the scone fairly tricky to deal with, these tips will help you ease the process. Moreover, learning about how to store your scones is never a waste.
How To Make Perfect Scones
You should freeze the butter before cutting. Cold butter makes the scones rise (by letting off steam during baking) for a light and airy texture. For the best result, use a box grater to grate the butter. This will lower the risk of melting butter in your scone while preparing.
Overusing flour will stiffen your scones. If you want a moist and light texture, don’t measure flour by volume, weight is more accurate.
Don’t over-mix your dough. To combine the ingredients, you can use a pastry cutter instead of a food processor or a blender. But it’s better to use your hands to mix the dry and wet elements. In addition, the more you press and knead it, the harder your scones turn.
Cut the dough into triangle shapes. Just press the dough to form a circle and use a knife to cut it. This also prevents overworking the dough.
Only use a moderate amount of buttermilk to bind the ingredients. Too much dairy can result in tough scones. Once the scones start to brown, take them out of your oven, or they may become hard.
How To Store Scones Properly
It’s best to serve scones while they are still warm or at room temperature on the day you bake them. Nonetheless, if you have made so many scones that it’s impossible to finish them in one sitting, here are some storage tips for you.
For baked scones, place the scones on a baking sheet lined with parchment paper and start freezing them. After freezing, transfer them to freezer bags and continue storing the scones in a freezer. Your scone will be safe for up to 3 months.
To thaw them, take them out and let them at room temperature overnight. Then, you can reheat the scones in an oven at a temperature of 400°F.
If you are yet to bake them, don’t add cream or coat your scones with sugar. Use the same technique to freeze them.
When you need to bake the scones, remove them and give them a nice cream brush or sugar coating. Remember to increase the baking time to a few more minutes.
Southern Biscuits For A Light Breakfast
Biscuits are extremely tasty for eating alone or as a side dish. And the best thing is that you can make your own biscuits at home with these simple ingredients. Give it a try!
- 2 cups flour
- 1 cup chilled buttermilk
- 4 tsp baking powder
- 2 tbsp cold butter
- ¼ tsp baking soda
- ¾ tsp salt
- 2 tbsp shortening
Now that you have all the ingredients you need. Follow the instructions below, and you will have buttery and fluffy biscuits to enjoy in no time.
Step 1: Make The Dough
Add all-purpose flour, salt, baking powder, and baking soda to a mixing bowl. Then combine the mixture with butter and shortening before whisking them well.
You should make it fast to prevent the butter from melting. At this time, you will expect your dough to be crumby. Then, create a well in the center and pour the buttermilk in. Mix until it forms a sticky dough.
Step 2: Shape The Dough
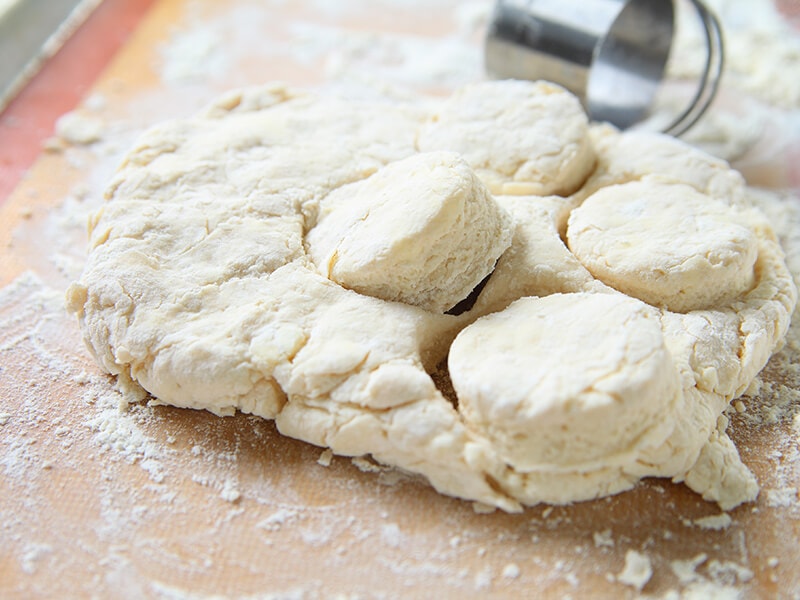
Transfer the dough to a floured surface. Sprinkle a little flour on top and fold it over 5-6 times. Press it into a 1-inch thick round shape and use a 2-inch cutter to cut out the dough.
Step 3: Bake
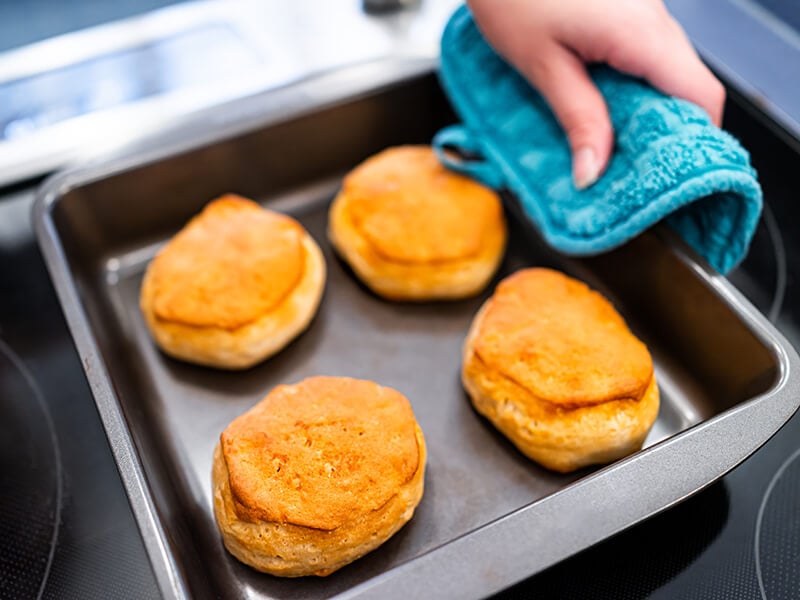
Preheat the oven to 450°F (230°C). Line your baking sheet with parchment paper and place the biscuits on it. Bake your biscuits for 15-20 minutes until they rise and have a light gold color on top.
NOTE: You can put your biscuits in the fridge while waiting for the oven to preheat.
Step 4: Serve
Take the biscuits out and let them cool down before serving.
Of course, you can try other recipes for biscuits as well. They are available in many versions, including biscuits without milk, baking powder, or even butter.
Are you wondering how to perfect your biscuits recipe? Look no more because the answer is here!
A Guide To Handle Biscuits
Handling biscuits can be hard, especially for people unfamiliar with baked goods. Don’t let that discourage you! Knowing these simple tips, you can master your biscuits with great ease.
Tips To Make Perfect Biscuits
If you want your biscuits to be flaky, use cold butter. When baked, the butter will melt and create air pockets inside the biscuits, which makes them flaky inside.
You may want to use fresh baking powder – a leavening agent that helps your cakes rise taller. If it’s not so fresh, the effect will not likely be as you expect.
Mix a teaspoon with a quarter cup of water to test whether your baking powder is still active. The powder is fine if it bubbles or fizzes.
If you measure your flour with a cup, be sure to fill the full cup with flour. Then, use a knife to level the flour. A more effective way is measuring by weight.
The baking sheet can still be warm when you remove it from the oven. This increases the risk of your biscuits getting overcooked. So, transfer them to a cooling rack as soon as possible. In addition, biscuits will cool down faster if you place them on a wire rack.
Don’t roll the dough too many times. This may cause the butter to melt and, even worse, develop gluten, making your biscuits tough and chewy.
Store Your Biscuits Properly To Extend Their Shelf Life

You need to store your biscuits in an airtight container and remove the excess air inside the containers as much as possible. Otherwise, the biscuits will dry out rapidly. It’s best to use plastic bags since they allow you to get rid of the air more effectively.
Biscuits with perishable ingredients like cheese or cream cheese must be stored in the fridge. Normally, biscuits can last 1-2 days at room temperature and a week in the fridge.
You can keep frozen biscuits for up to 2-3 months by wrapping them with cling film, foil, or freezer bags (2).
If you want to keep the dough fresh, cut it into pieces and use plastic wrap to cover them entirely. Freeze your dough for 3 hours and place them into resealable containers such as freezer bags.
To reheat frozen biscuits, you need to bake them in the oven at 350°F for 15-20 minutes. Placing a sheet of foil over the biscuits will prevent over-browning.
Your biscuits will last up to 3 months if you keep them in this manner.
FAQs
When it comes to scones and biscuits, there is always something to ask. That’s the reason why you should not skip this section. Keep scrolling to laern more about them!
Can You Tell The Difference Between Scones And Biscuits Now?
Scones and biscuits are popular bread in America. However, due to the similarity in their appearance, many people often mistake them for each other.
The differences between biscuits and scones come from their ingredients and how people serve them. While scones are usually served with tea or coffee for breakfast, biscuits are a delicious side dish to supplement your meal.
Do you think this post is clear enough? Well, don’t just think. Write a comment and let me know how helpful it is to you. Everybody has a friend who is a big fan of either scones or biscuits. If someone’s name pops up in your head, share the post with them immediately.
References
- Scone (2022) Wikipedia. Wikimedia Foundation.
- Hall, A. (2019) How to store cakes, biscuits and Cookies, Baked In. Baked In.

