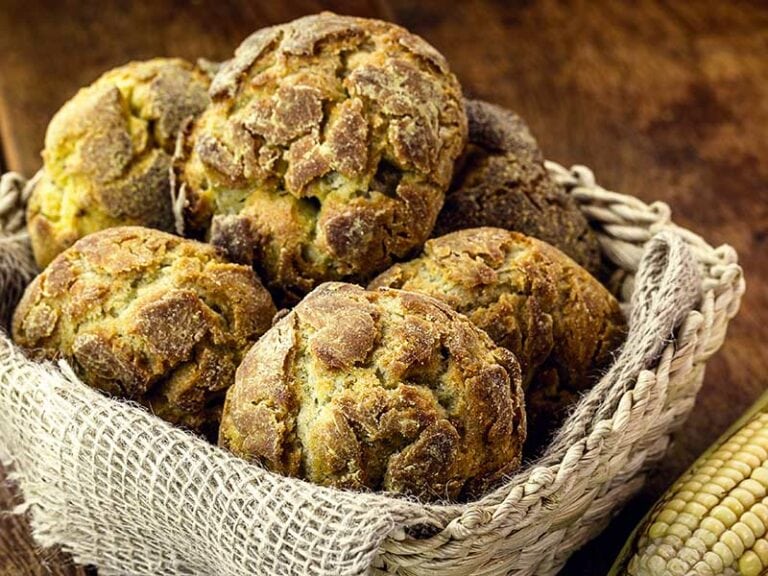
I think most of us have failed tragically at least once in making bread and then asked ourselves: “Why is my bread so dense?”. If you haven’t, congratulations, because I’m sure you’re a certifiable cooking genius.
Making bread can look so innocently simple at first and make you think you can do it easily, but it’s a trap. There are so many things that can go wrong during the process, so mistakes by inexperienced home cooks are more common than you think!
That said, it’s important to break down the issues and see where the problem lies so that you can do better next time. In this post, I will address the problem of dense bread, why and how it happens, and how to fix it.
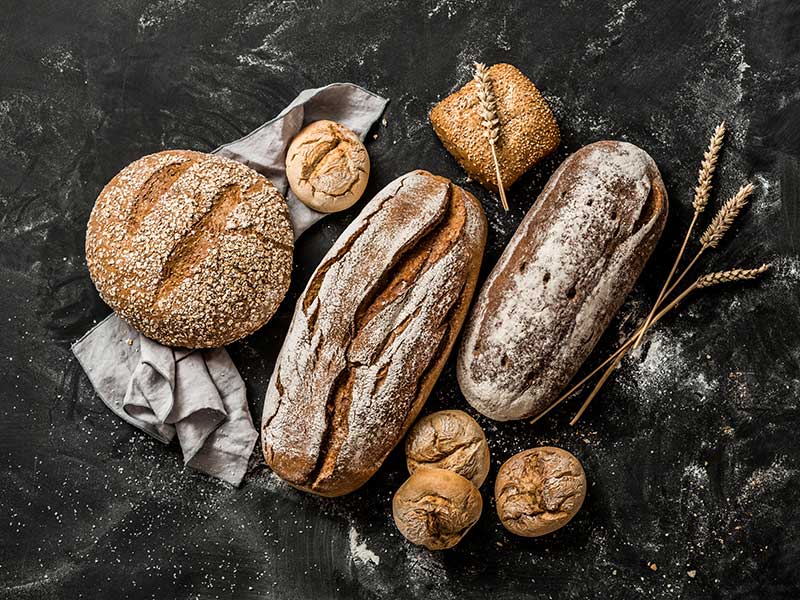
The Proper Way To Make Bread
Before discussing what might have gone wrong with your bread, it’s important to go over the right way first. So here are some quick instructions on how to make bread.
The Ingredients
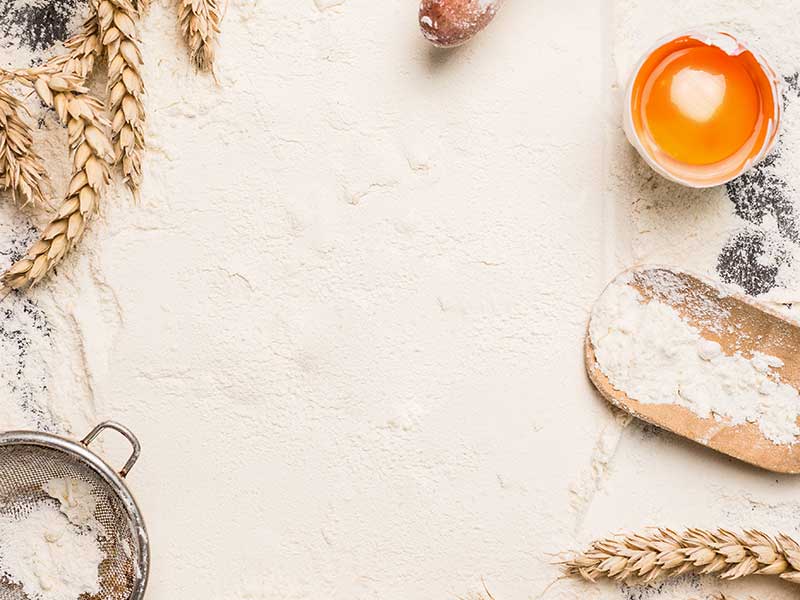
Depending on the type of bread, the ingredients can change. But I am talking about the most basic type of bread here with nothing extra, so here’s the list of ingredients you’ll need:
- 4 ½ to 5 cups of flour (or 600 to 700 g flour)
- 1 tbsp (15 grams) of sugar
- 2 ¼ (roughly 11 – 12g) tsp of instant yeast
- 2 ½ tsp (roughly 12g) of salt
- 1 ⅔ cups (400g) of lukewarm water
The Steps
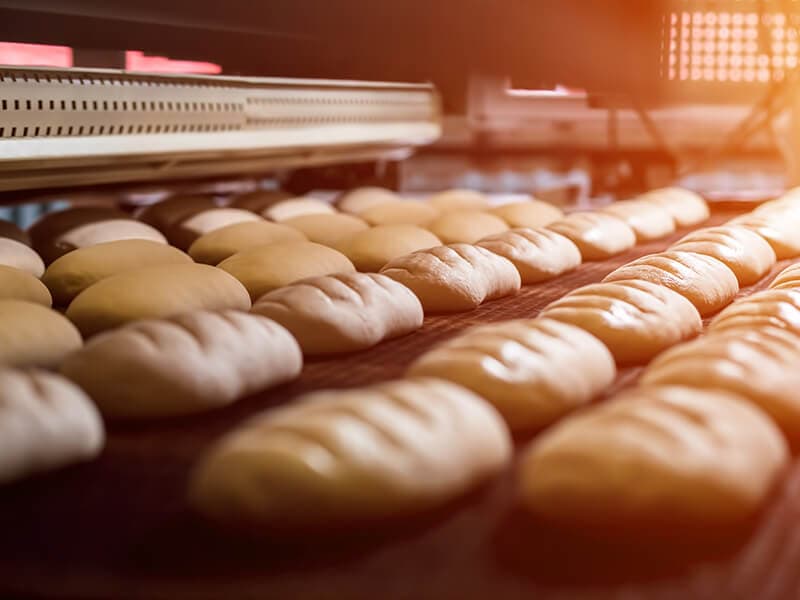
Once you’ve got all the ingredients, it’s time to start!
- Step 1: Measure and sift the flour carefully to ensure no clumps.
- Step 2: Mix all the ingredients until everything is blended into a thick and rough dough consistency.
- Step 3: Knead the dough. Lay it on a surface covered by a thin layer of flour. Use your hand to fold the dough and press down, then rotate the dough. Repeat this process for about 20 minutes.
- Step 4: Place the dough in a bowl and cover it with plastic wrap. Let rise for 1 – 2 hours until the dough grows to twice its original size.
- Step 5: Take the dough out and cut it into roughly 6 x 8 rectangles. Roll the pieces into small ovals of dough.
- Step 6: Let the loaves rise for about another 45 minutes. Once they’re done rising, coat them with a light flour cover and cut shallow diagonal lines on the dough’s surface. This prevents the bread from cracking open in unorganized directions.
- Step 7: Preheat the oven to 450F.
- Step 8: Place the loaves in the oven after spraying the baking sheet with oil.
- Step 9: Bake for 20 – 25 minutes until the outer crust is golden brown. If you are unsure, do a little test by tapping your fingers lightly on the bottom of the bread. If it sounds hollow, then the bread is perfectly baked.
This is how you make bread like a pro.
The Reasons Why Your Bread Is Dense
Many things can go wrong and make your bread denser than it should be, starting from the ingredients. In this part, I will pinpoint some of the most common reasons for unusually hard bread.
Remember, these reasons are not mutually exclusive, and you can make several mistakes at the same time. It’s important to follow the instructions to the T, at least when it comes to bread.
Problematic Ingredients
I think everyone can agree that ingredients can make or break a loaf of bread (or any dish, for that matter). Especially in the case of bread, as even the slightest change in ingredient can make a huge difference.
Before I talk about the details, let’s look at the quick tables of some common mistakes and how to fix them:
| Issues | How to fix |
| Wrong flour | Pick flour with 12 – 14% protein content. Check if the flour has gone bad. Use bread flour instead of all-purpose flour. |
| Yeast | Store yeast under good conditions. Check if the yeast has gone bad before using it. Mix yeast with warm water before use. |
| Salt | Add a moderate amount of salt. |
| Water in dough | Add water in small amounts until satisfied. |
| Too hot ingredients | Check the ingredients’ temperature carefully before adding. |
Wrong Flour
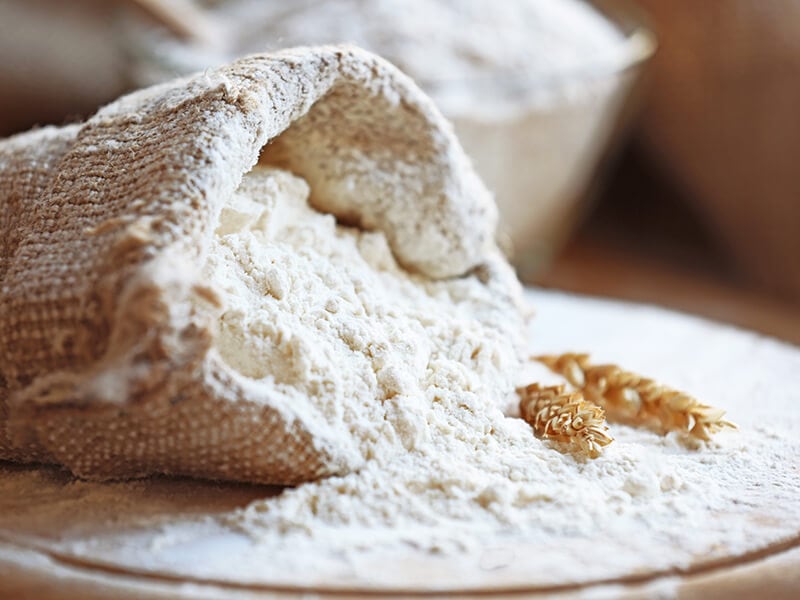
Needless to say, everything starts from flour.
First thing first, it’s important that you use bread flour and not all-purpose flour. This is because bread flour has a higher protein count, which creates elasticity and softness for the bread. This is something that common all-purpose flour can’t achieve.
Check the flour’s protein content first before buying. An ideal flour would land somewhere between 12% – 14% in terms of protein content. If less, your bread would turn out hard, thick, and dense, like a sad loaf of brick.
If you check your bread and see that it’s particularly dense at the bottom, chances are you picked a type of flour that is too low in protein.
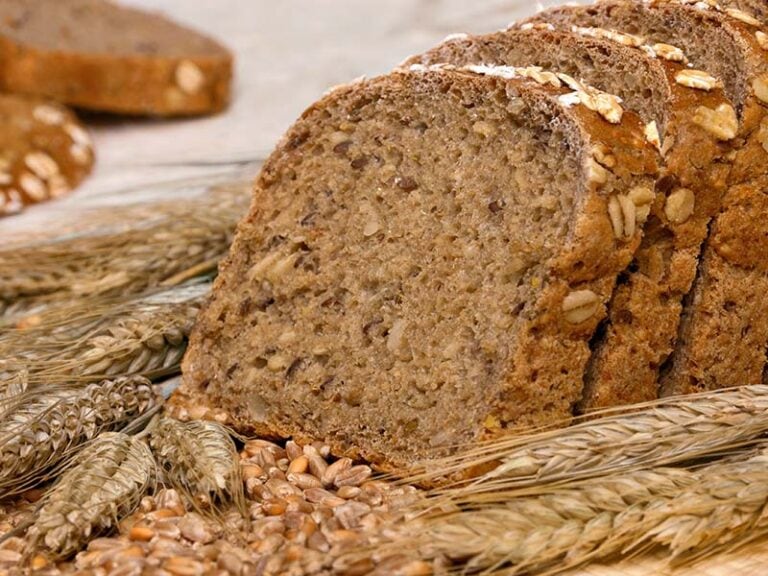
The bread’s texture after baking reflects the flour’s texture. If you use flour with a dense, thick texture like whole wheat flour, the bread will end up thick and dense too. So use flour with a light texture, like white flour, to ensure your bread is light and fluffy.
This last note should be obvious but check before baking to see if the flour has gone bad. All-purpose and bread flour have longer shelf life than whole wheat flour and rye flour, but they would still last for 3 – 8 months (1) . To extend the flour’s lifespan, store it in an airtight container at low sunlight, humidity, and temperature levels.
Yeast
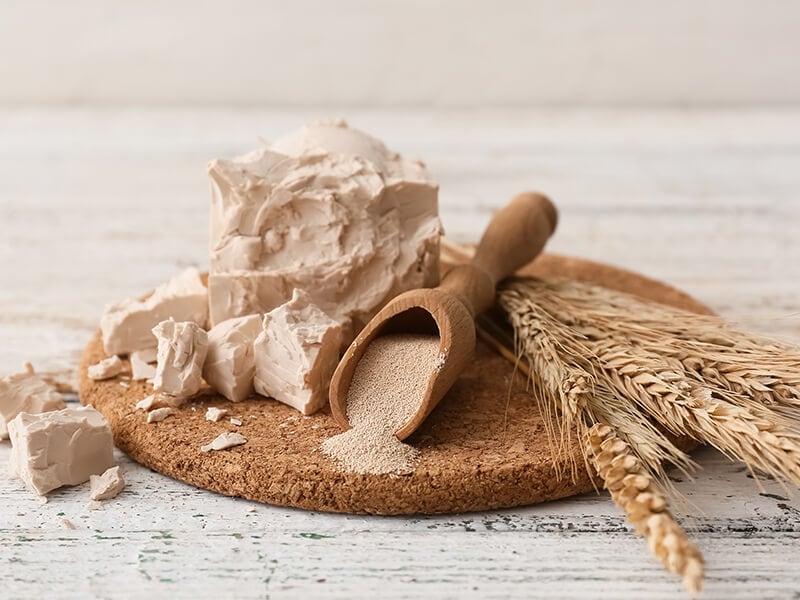
It’s common sense that yeast is an indispensable ingredient in bread-making.
Using yeast has two uses: One, it helps the dough rise, which gives bread its fluffy texture. Second, it supports the dough and strengthens it. So, without yeast, your bread would likely just turn into a dense clump of flour.
One reason causing dense bread is expired yeast. The yeast won’t activate and help your dough rise properly when it has expired. You can guess how this ruins the texture of your bread completely.
To store unopened yeast, you only need to keep it in a dry, cool place that can last up to two years. However, if you have opened your bag of yeast, keep it in the fridge. Opened yeast can last from 4 to 6 months.
You should also be careful in the process of activating the yeast. Measure the degrees carefully before mixing.
You need to mix yeast with warm water before using it. A temperature of 95F would be ideal for yeast to develop, while proofing requires the optimal temperature to be between 105 – 110°F. Either too hot water (over 110°F) or too cold (below 100°F) will not work.
Salt
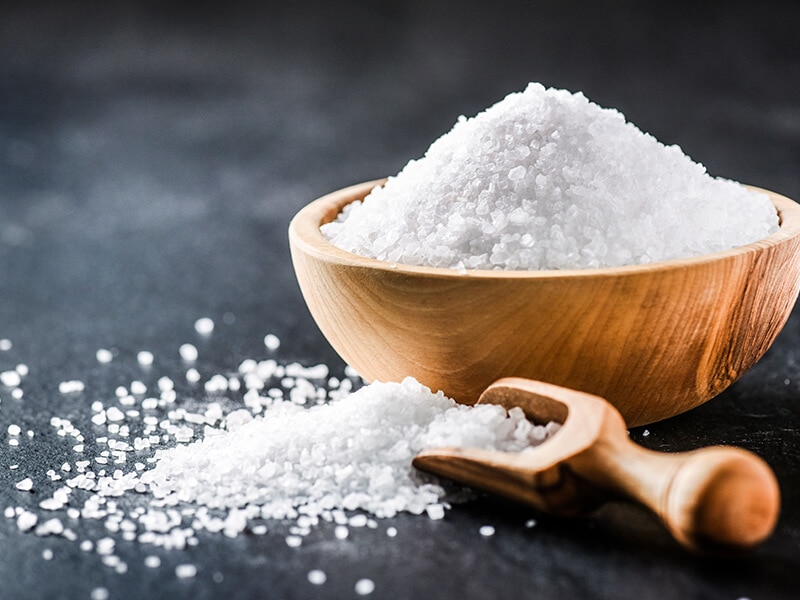
Activating yeast is important to make bread rise, but salt also plays a vital role. Salt is not just added to taste; it is there to deter the dough fermentation process.
But wait, shouldn’t you encourage instead of deterring the fermentation of the dough?
Well, the answer is you should do both. While yeast helps the dough rise, the dough might rise too quickly before collapsing into itself. If you don’t add salt, the yeast will just consume all the sugar in the dough.
That is where salt comes in. It slows down the process of fermentation and thus prevents the dough from collapsing.
However, adding too much salt is not good either, as it will block the fermentation process. Ultimately, you end up with a dense and salty loaf of bread.
The trick here is moderation. You should include salt, but not too much and not too little. Follow the recipes carefully and if you have to, reduce the amount of salt, not discard it completely.
Lastly, unless the recipe specifies otherwise, sea salt and table salt are the safest bets.
Water Level In Dough
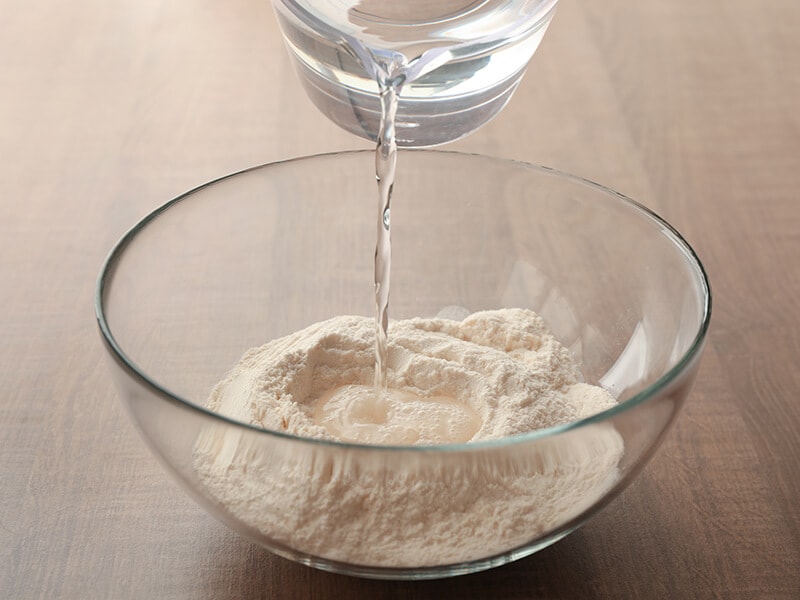
Managing the water level in your dough is tricky, but it needs to be done. Generally, the rule of thumb is this: The more water there is in the dough, the softer the dough will be.
This is because as the water level rises, the more open the crumbs in the bread will be, which leads to a softer, more tender texture. The soft dough usually results in a flat and dense loaf of bread.
However, like everything else with bread, it’s not that simple. You can’t add as much water as you want and call it a day, as a watery dough is extremely hard to handle and rise properly.
So to manage the correct amount of water, you need to work your way up slowly. Adding the water in small amounts repeatedly until you are satisfied with the dough’s smooth texture would be the way to go.
There’s another thing to be noted: You shouldn’t use chlorinated water with bread. Chlorine also prevents the fermentation and rising of your bread. You should use spring water instead if your tap water is highly chlorinated.
If you can’t get access to spring water, let chlorinated water sit for about 24 hours so that the chlorine will dissipate. Then you can use this water on bread.
Too Hot Ingredients
As I’ve said above, the temperature is important. Too hot ingredients like butter or hot liquids can kill the yeast, prevent it from activating, and the bread won’t rise.
So make sure you carefully monitor the ingredients’ temperatures before adding them to the dough. A temperature of 120F – 140F (or 40 to 60C) can make it hard for yeast to survive, and anything higher than that will kill off yeast completely.
Something Goes Wrong In The Bread-Making Process
Even if you’ve chosen the right ingredients, all that would go to waste if something goes awry in the cooking process. Here are some common mistakes people usually make that turn their bread dry and dense.
| Issues | How to fix |
| Adding too much flour | Add more liquid ingredients to the mix if you’ve added too much flour. Sift the flour carefully to avoid clumps. |
| Under-kneading | Use a danish dough whisk. Use tests to check if the dough is ready. |
| Over-kneading | Let it rise a bit longer. |
| Improper shaping | Fold and tuck the dough properly. |
| Under-Proofing/ Over-Proofing | Let the dough rise 2 – 3 times (depending on the type of dough). |
| Cutting too deep | Cut quick, shallow cuts right before putting the dough inside the oven. |
| Not letting the bread rest after baking | Let the bread rest until barely warm. |
| External conditions (height, temperature) | Adjust the temperatures & ingredients carefully. |
Adding Too Much Flour
You can spend all day searching for the perfect flour and then ruin your whole batch of bread because you added a cup of too much flour.
Follow the recipe carefully and avoid adding too much flour. Once there’s too much flour, your dough will turn dry and crumbly, which in turn prevents the yeast from rising.
A trick to tell if you have added too much flour is to check the texture of the dough. A well-mixed dough will feel slightly sticky and have a tender, soft texture.
If you have added too much flour, don’t panic. You can easily fix it by adding a bit more liquid ingredients to the mix, and you’d be fine. They can be water, fat, or egg; any of these ingredients will work.
On the other hand, if you have added too little flour, the dough will feel too soft and overly sticky, and you can’t knead, shape, or mold it properly.
When this happens, you should start kneading the dough a bit first and see if it is still too sticky after a while. If it is, add some more flour and knead again.
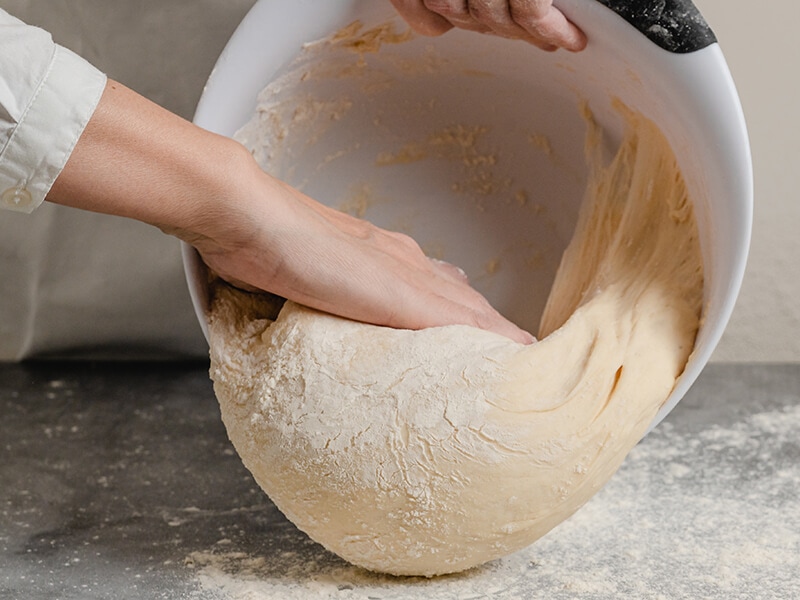
Clumpy flour might be another reason why your bread is dense. This is rather a rookie mistake that everyone can make.
When there are still clumps in the flour, and the grains stick together, the dough won’t mix well with other ingredients like yeast or salt, which can be a problem. A clumpy dough can not rise properly and make bread with an uneven, hard texture.
To avoid this, sift the flour carefully before making the dough to ensure the grains are separated and loose. When you do this step right, the bread will turn out fluffier and lighter.
Under-Kneading
Under-kneading bread is one of the most common reasons for dense bread. This is because sometimes people find kneading exhausting (and it is), but the bread would turn out dense without the kneading process.
Kneading is the process of forming a gluten network to trap carbon dioxide and form little pockets of air, making bread light and fluffy. If you under-knead the dough, those little air pockets won’t appear, and the bread will have a dense texture.
You should knead the bread for 10 – 20 minutes. It may sound tiring, but anything for good food, right?
You can also get some assistance by using a danish dough whisk, which helps you save energy in kneading bread.
To tell if your dough has been properly kneaded, there are two ways to experiment:
- The poke test: You just need to form your dough into a ball and gently use your finger to poke it. If this makes a hole in the dough, continue kneading. A dough is well-kneaded when it recovers its shape right away.
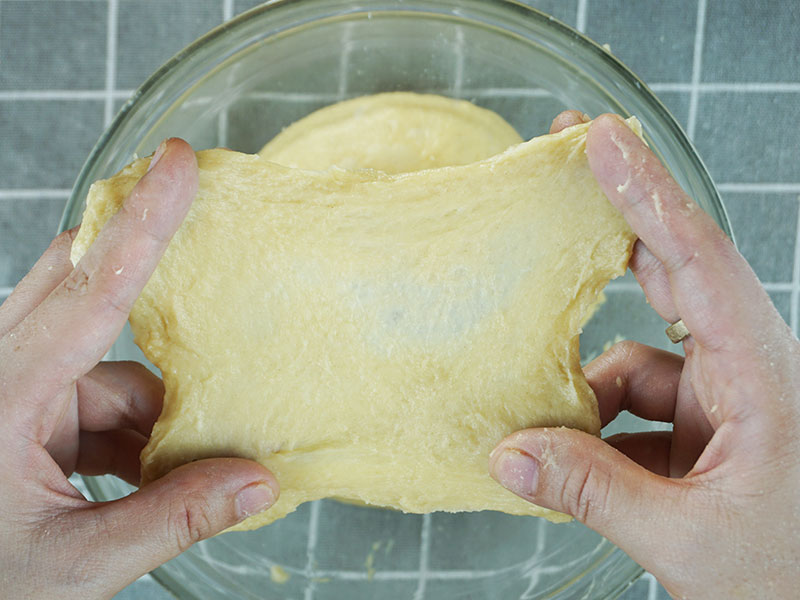
- The windowpane test: You might have seen people do this in cooking videos. Pinch a piece of dough and use your fingers to stretch it as much as possible. A well-kneaded dough should be able to stretch until it’s paper-thin.
- The shape test: Shape your dough into a ball and see if it keeps its shape. If the dough flops and flattens out, you should knead more. A well-kneaded dough should be able to hold its shape.
Check out how to knead your bread dough correctly.
Over-Kneading
Too much of anything is never good, at least when it comes to making bread. In this case, over-kneading can be as much of a problem as under-kneading.
Of course, when you knead the dough by hand, that can hardly happen, but those who use a mixer for kneading can easily make this mistake.
When over-kneaded, the dough’s gluten network is overly stretched and easily broken down. This means the dough’s texture becomes dense, stiff, and easily torn out.
When cooked, the over-kneaded dough will become pitiful dry bread with a hard, chewy crust and crumble when sliced.
If you think you’ve over-kneaded your dough, you can let it rise for a bit longer. This won’t fix the problem, but it can chase away part of the stiffness.
Improper Shaping
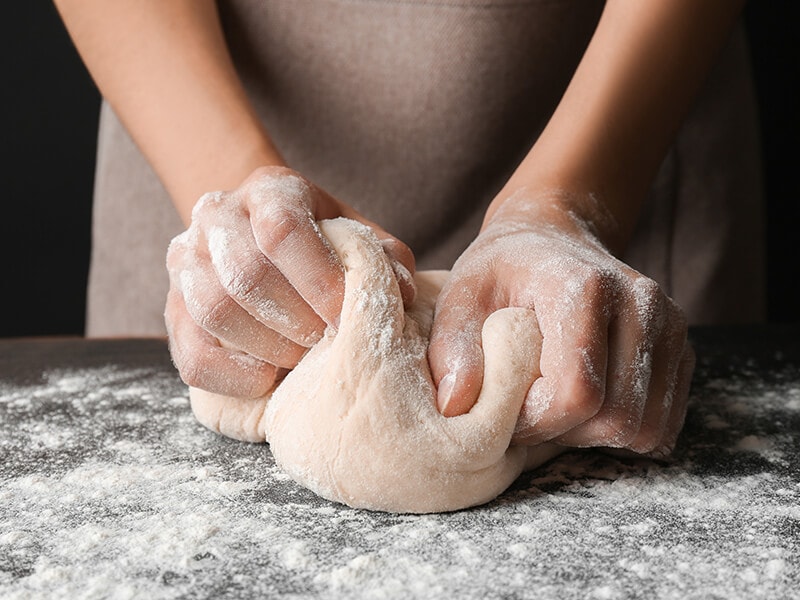
Some people think you can just roll the dough into a small ball and be done with it, but that’s far from the truth.
You need to fold the dough and tuck the outside in the middle. This will stretch the outer layer of the dough and make it crusty after baking. If you don’t do this, your bread will not be able to rise properly and will end up dense and dry.
Under-Proofing/ Over-Proofing
One thing you need to know is that giving your bread either too much or too little time to rise will end up making it too dense for your liking. Isn’t that just great?
(I’m being sarcastic, of course).
Bread usually needs to rise twice, although some types can require three times. On average, it takes the dough from 1 – 3 hours of proofing for the best result. Any more or less than that, the dough will collapse into itself.
Cutting Too Deep
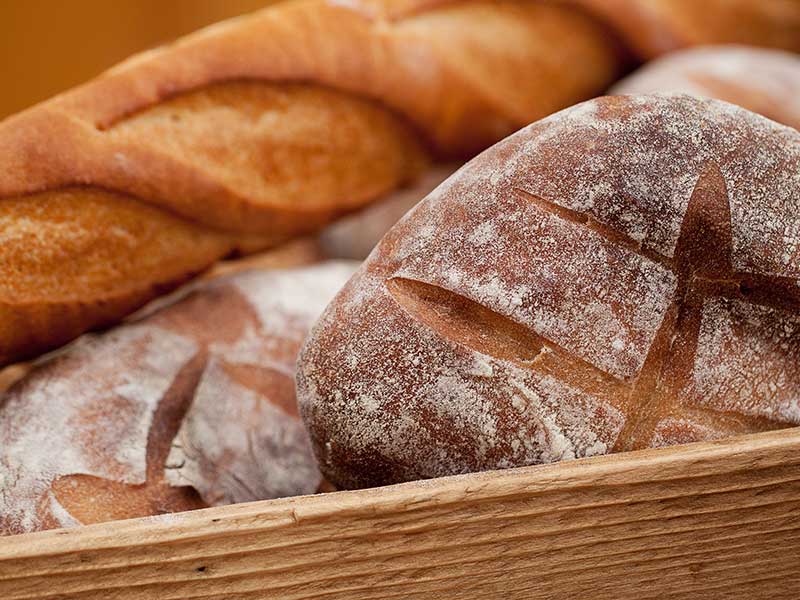
I don’t know about you, but I have made this mistake. After minutes of tiresome kneading and mixing, scoring seems fun and therapeutic. So it’s quite easy to get carried away and score too many cuts on the dough.
This mistake can be fatal, as once the dough has deep cuts or way too many scoring marks, the air bubbles inside can escape, and, you guessed it, the dough collapses into itself, producing a sad, heavy, and dense loaf of bread.
To prevent this from happening, make a few quick cuts right after the dough has fermented and fully risen, then send it straight into the oven.
Not Letting The Bread Rest After Baking
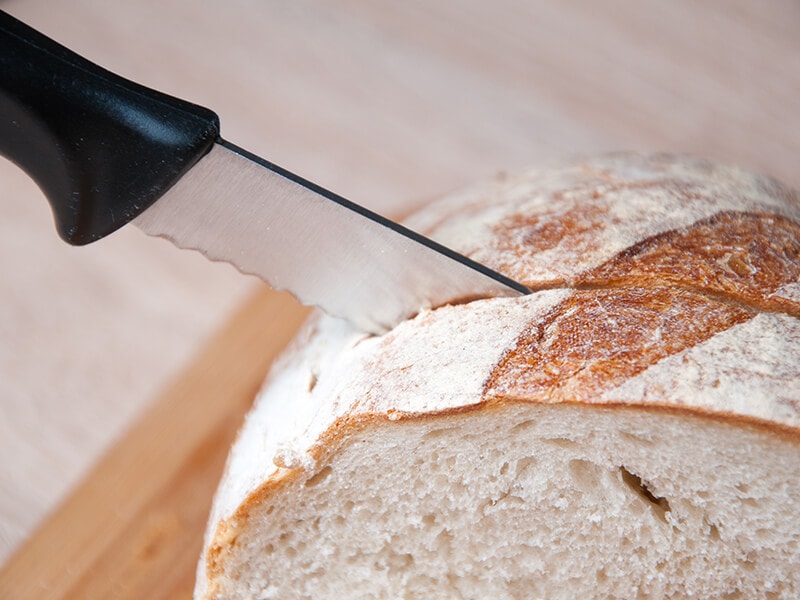
It’s hard to contain the excitement when you take the fresh bread out of the oven. The smell! The brown, crispy crust! The soft interior is peeking out from the scores! Just one look can make your mouth water, and you probably can’t wait to cut it open right away.
You shouldn’t serve the bread right away. Once the bread is out of the oven, let it breathe until it’s barely warm to let the moisture escape. Otherwise, the moisture will turn the crust into a soggy state that, trust me, you don’t want.
External Conditions
It might surprise you, but external conditions like air temperatures and the altitude you’re living in can have a strong bearing on the bread’s quality.
If you live at a high altitude – and by high altitude, I mean over 3000 feet or 915 meters – the lower pressure and dry air make the flour drier, and the yeast rises 25 to 50% faster. In this case, you will need to oil the dough and use about a third less yeast.
You should also pay attention to the room temperature when you bake. As I’ve established above, temperature matters, especially when it comes to fermentation. Either a too-warm or too-cold kitchen can affect the bread’s fermentation and texture.
Therefore, you should ensure the room has a mild temperature when you bake.
Some Additional Tips
It’s good not to make mistakes, but wouldn’t it be even better if you could go over and beyond? Here are some tips for baking your bread correctly and taking it to the next level.
Choose The Right Type Of Yeast
By this point, you have learned how important yeast is. But what you probably don’t know is that there are four types of yeast: Fresh cake yeast, Active dry yeast, Rapid rise yeast, and Instant yeast.
Each type has good and bad, but for bread, it’s highly recommended that you use active dry yeast. This type of yeast allows your dough to rise in a refrigerator environment and even plays a role in making no-knead bread.
What Can I Use As Dough Enhancers?
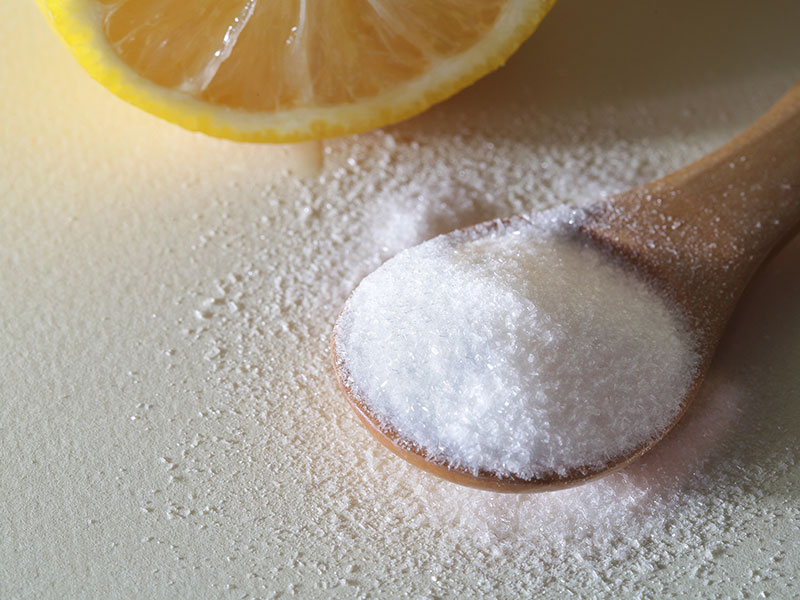
Now dough enhancer might sound strange, and you have probably not heard of it before, but it’s quite effective. Professional bakeries and kitchens use them to improve their bread’s quality. So it’s not that obscure.
Dough enhancer is used for better preservation of the bread and for the dough to rise even better (obviously, as the name suggests).
Several ingredients can work as dough enhancers. They are easy to find and harmless, so if you worry about that, you can breathe a sigh of relief now!
Some of those ingredients are
- Wheat gluten
- Dry milk powder
- Ginger
- Lecithin
- Vitamin C powder
- Potato flakes
- Vinegar
- Apple cider vinegar
It’s super easy to use these ingredients – just add them to the dough, mix, and knead, and you’re good to go!
How To Repurpose Dense Bread
Now you know what to do to prevent your bread from meeting a tragic fate, but what’s done is done. Your current loaf of bread still resembles a loaf of brick with a dense texture that might as well be used to build a fort. So what do you do?
Well, don’t throw it away. You can still repurpose it by incorporating it into other dishes. It may work even better than you think!
Croutons
Essentially, croutons are toasted or fried small cubes of bread. They have an amazing flavor profile and are made from a wide range of ingredients like cheese, salt, pepper, and Italian seasoning.
Garlic Shrimp Crostinis
Garlic shrimp crostinis are wonderful appetizers – they are flavorful and convenient. It is a perk of finger food, after all! It’s quite easy to make with simple yet elegant and delicious ingredients.
If you are racking your brains choosing an appetizer for the next family gathering dinner, these crostinis are a great option!
Bread Pudding
Dessert fans, are you there? If you are, I have the perfect recipe for you. Bread pudding is simply ambrosial, with ingredients like vanilla, cinnamon, nutmeg, and butter blended to create the best dessert in the world.
FAQs
What if you still have questions? Worry not because I’m still here. In this section, I will address some of the more frequently asked bread-related questions.
Have You Got Your Answer?
I hope this post has given you the information you need. Making bread is difficult, and failing is normal, so don’t lose heart! You just need to practice; success will come eventually with your next bread creation.
And that has put an end to this post. Remember to comment and share your thoughts with your friends and fellow cooking enthusiasts! I’m always excited to go through your ideas for cooking.
References
- Berkheiser, K. (2020) Does flour expire? shelf life, safe storage, and more, Healthline. Healthline Media.
- Rosentrater, K.A. and Evers, A.D. (2018) “Flour treatments, applications, quality, storage and transport,” Kent’s Technology of Cereals, pp. 515–564.

